
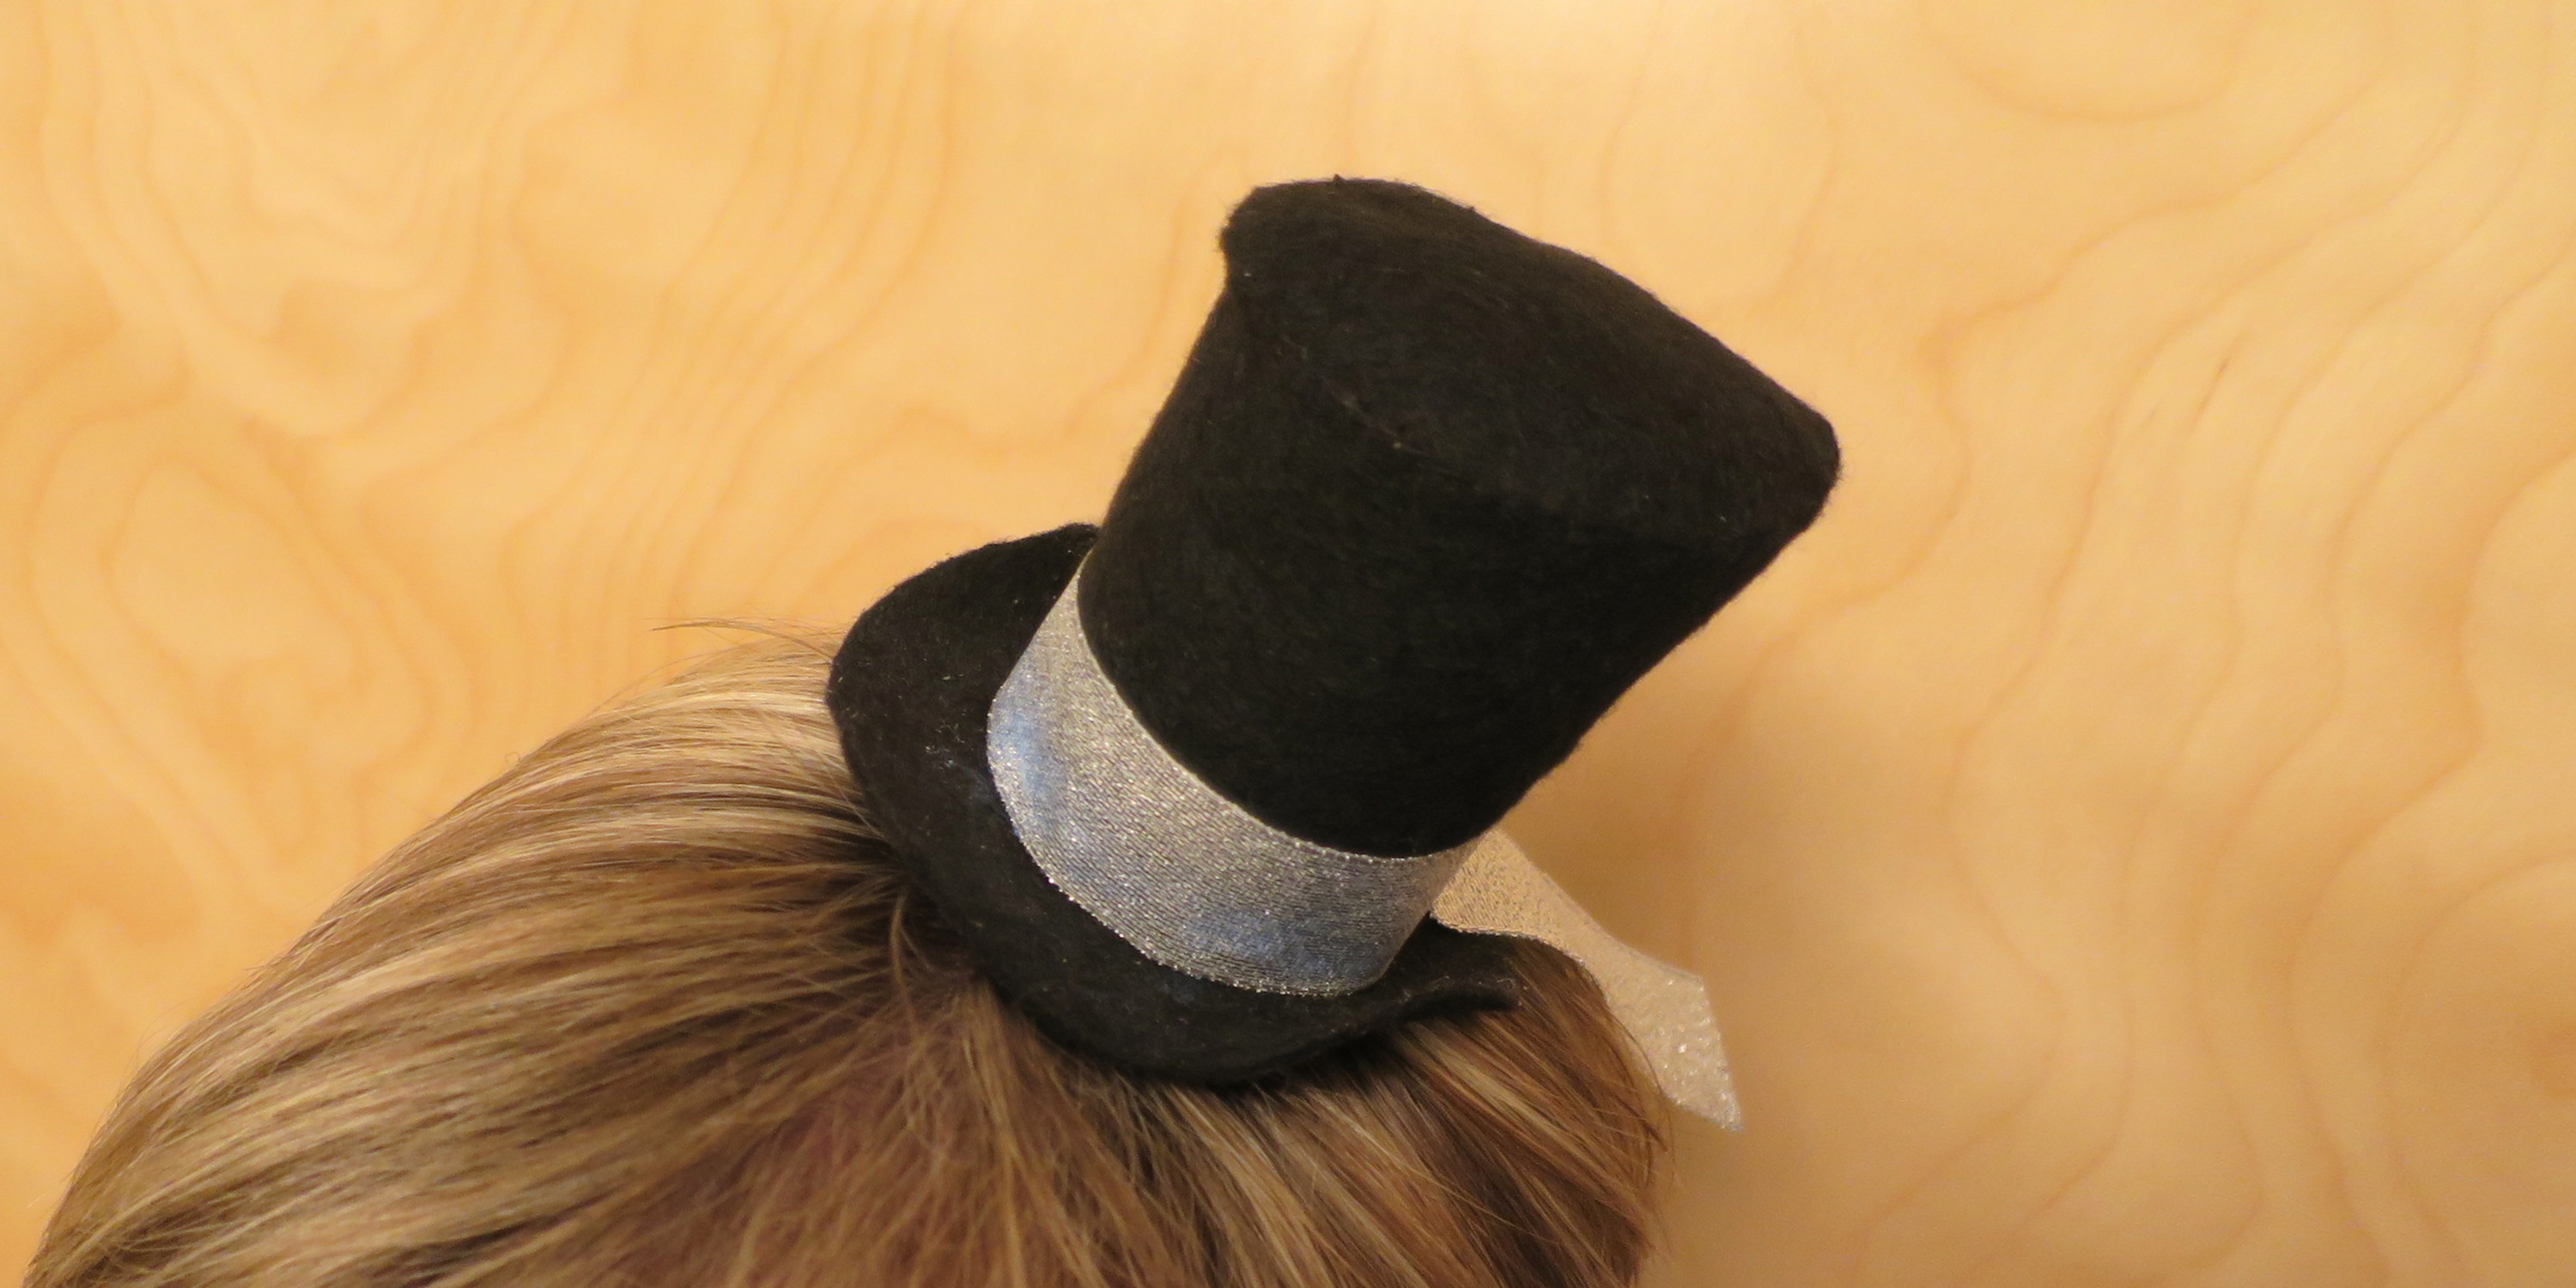

For this last Iron Craft challenge of 2014 we were asked to make something festive. I decided to whip up something fun for New Year’s festivities (though this would be fun for any dress-up occasion), a little top hat fascinator.
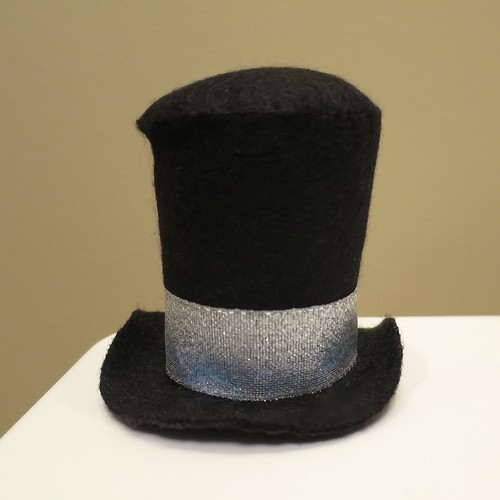
This little fascinator is a cute take on a party hat. I was trying for a sort of Mad Hatter shaped hat and really like the little bit of wonkiness to it. You can keep it simple with just a ribbon around the hat like I did or dress it up with feathers, sequins or even a bit of netting if you wish.

There is plenty of time to make one of these for your New Year’s party look. Mine came together in less than two hours (plus drying time for the fabric stiffener and glue). Plus I was able to make it with all things I had on hand in my craft room!
Top Hat Fascinator
Supplies:
- black felt (the thicker the better)
- fabric scissors
- straight pins
- black thread
- hand sewing needle
- stuffing (I used polyfil)
- fabric stiffener (optional)
- ribbon, sequins, buttons, feathers, netting and such for decoration
- glue
- bobby pins, hair clip or head band
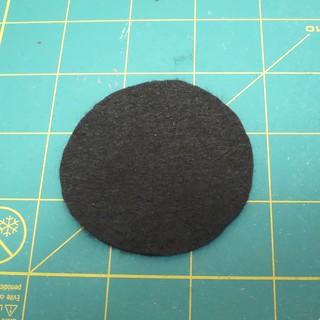
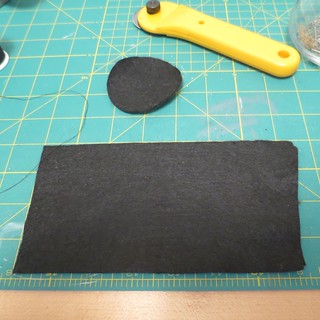
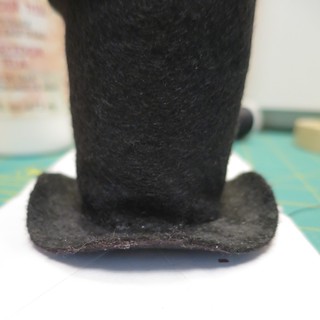
1. Cut a circle of felt for the top of your hat. Mine was about 2.5″ – 2.75″ across.
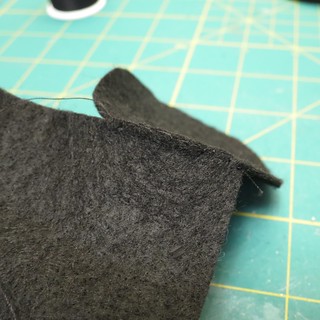
2. Cut a length of black felt wide enough to go around the edge of the circle and a little longer than the height you want your hat. Mine was 8.5″ x 4″.
3. Sew the rectangle around the edge of the circle. Use small neat stitches as this will be the outside of your hat.
4. Once you have sewn all around the edge, sew the rectangle side shut. You want the bottom to be slightly skinnier than the top. Play with how much you take it in until you like the shape.
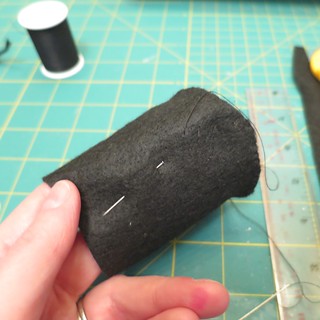
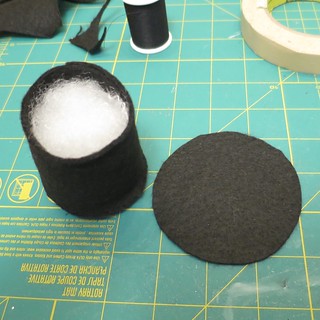
Trim the bottom of the hat so it is straight and the height you want. I cut about an inch of height off mine. Stuff with polyfil. This will help the hat keep its shape.
5. Cut another circle of felt for the brim of your hat. Mine was about .5″ – .75″ inches bigger all the way around.
6. Sew the top of the hat onto the brim.
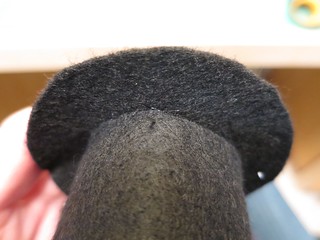
7. If you want to curl the sides of your brim, saturate the sides with fabric stiffener (a small paintbrush made it easy to put on). Curl into shape and let dry.
8. Now have fun with decorations, sewing or gluing them on. I glued on a silver ribbon and let the ends hang off the back.

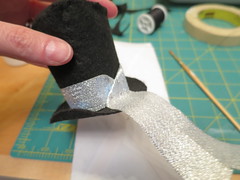
9. Sew or glue the hat to a hair clip or head band.
© 2005 – 2014 Kathy Lewinski & Susan Cornish


Pingback: Tutorial: Felt top hat fascinator for New Years Eve – Sewing