
Weekend before last, one of my favorite crafting partners, my cousin Jenny, came to visit me from Atlanta. We made a stop at REI to get her kids some snow clothes (apparently hard to get in Georgia!) and she fell in love with a wool poncho-type coat. After deciding it was too heavy for down South and just a little too pricey, we left it unpurchased. A few hours later we were in Target and she found this ruana.

(A ruana is a poncho-style outer garment typical of the Andes region of Venezuela and Colombia.)
The plaid was very similar to the coat at REI, but the fleece fabric was much lighter than the wool. Plus is was about ten times less in cost. We thought with a few snaps we could easily turn it into more of a coat like she wanted.
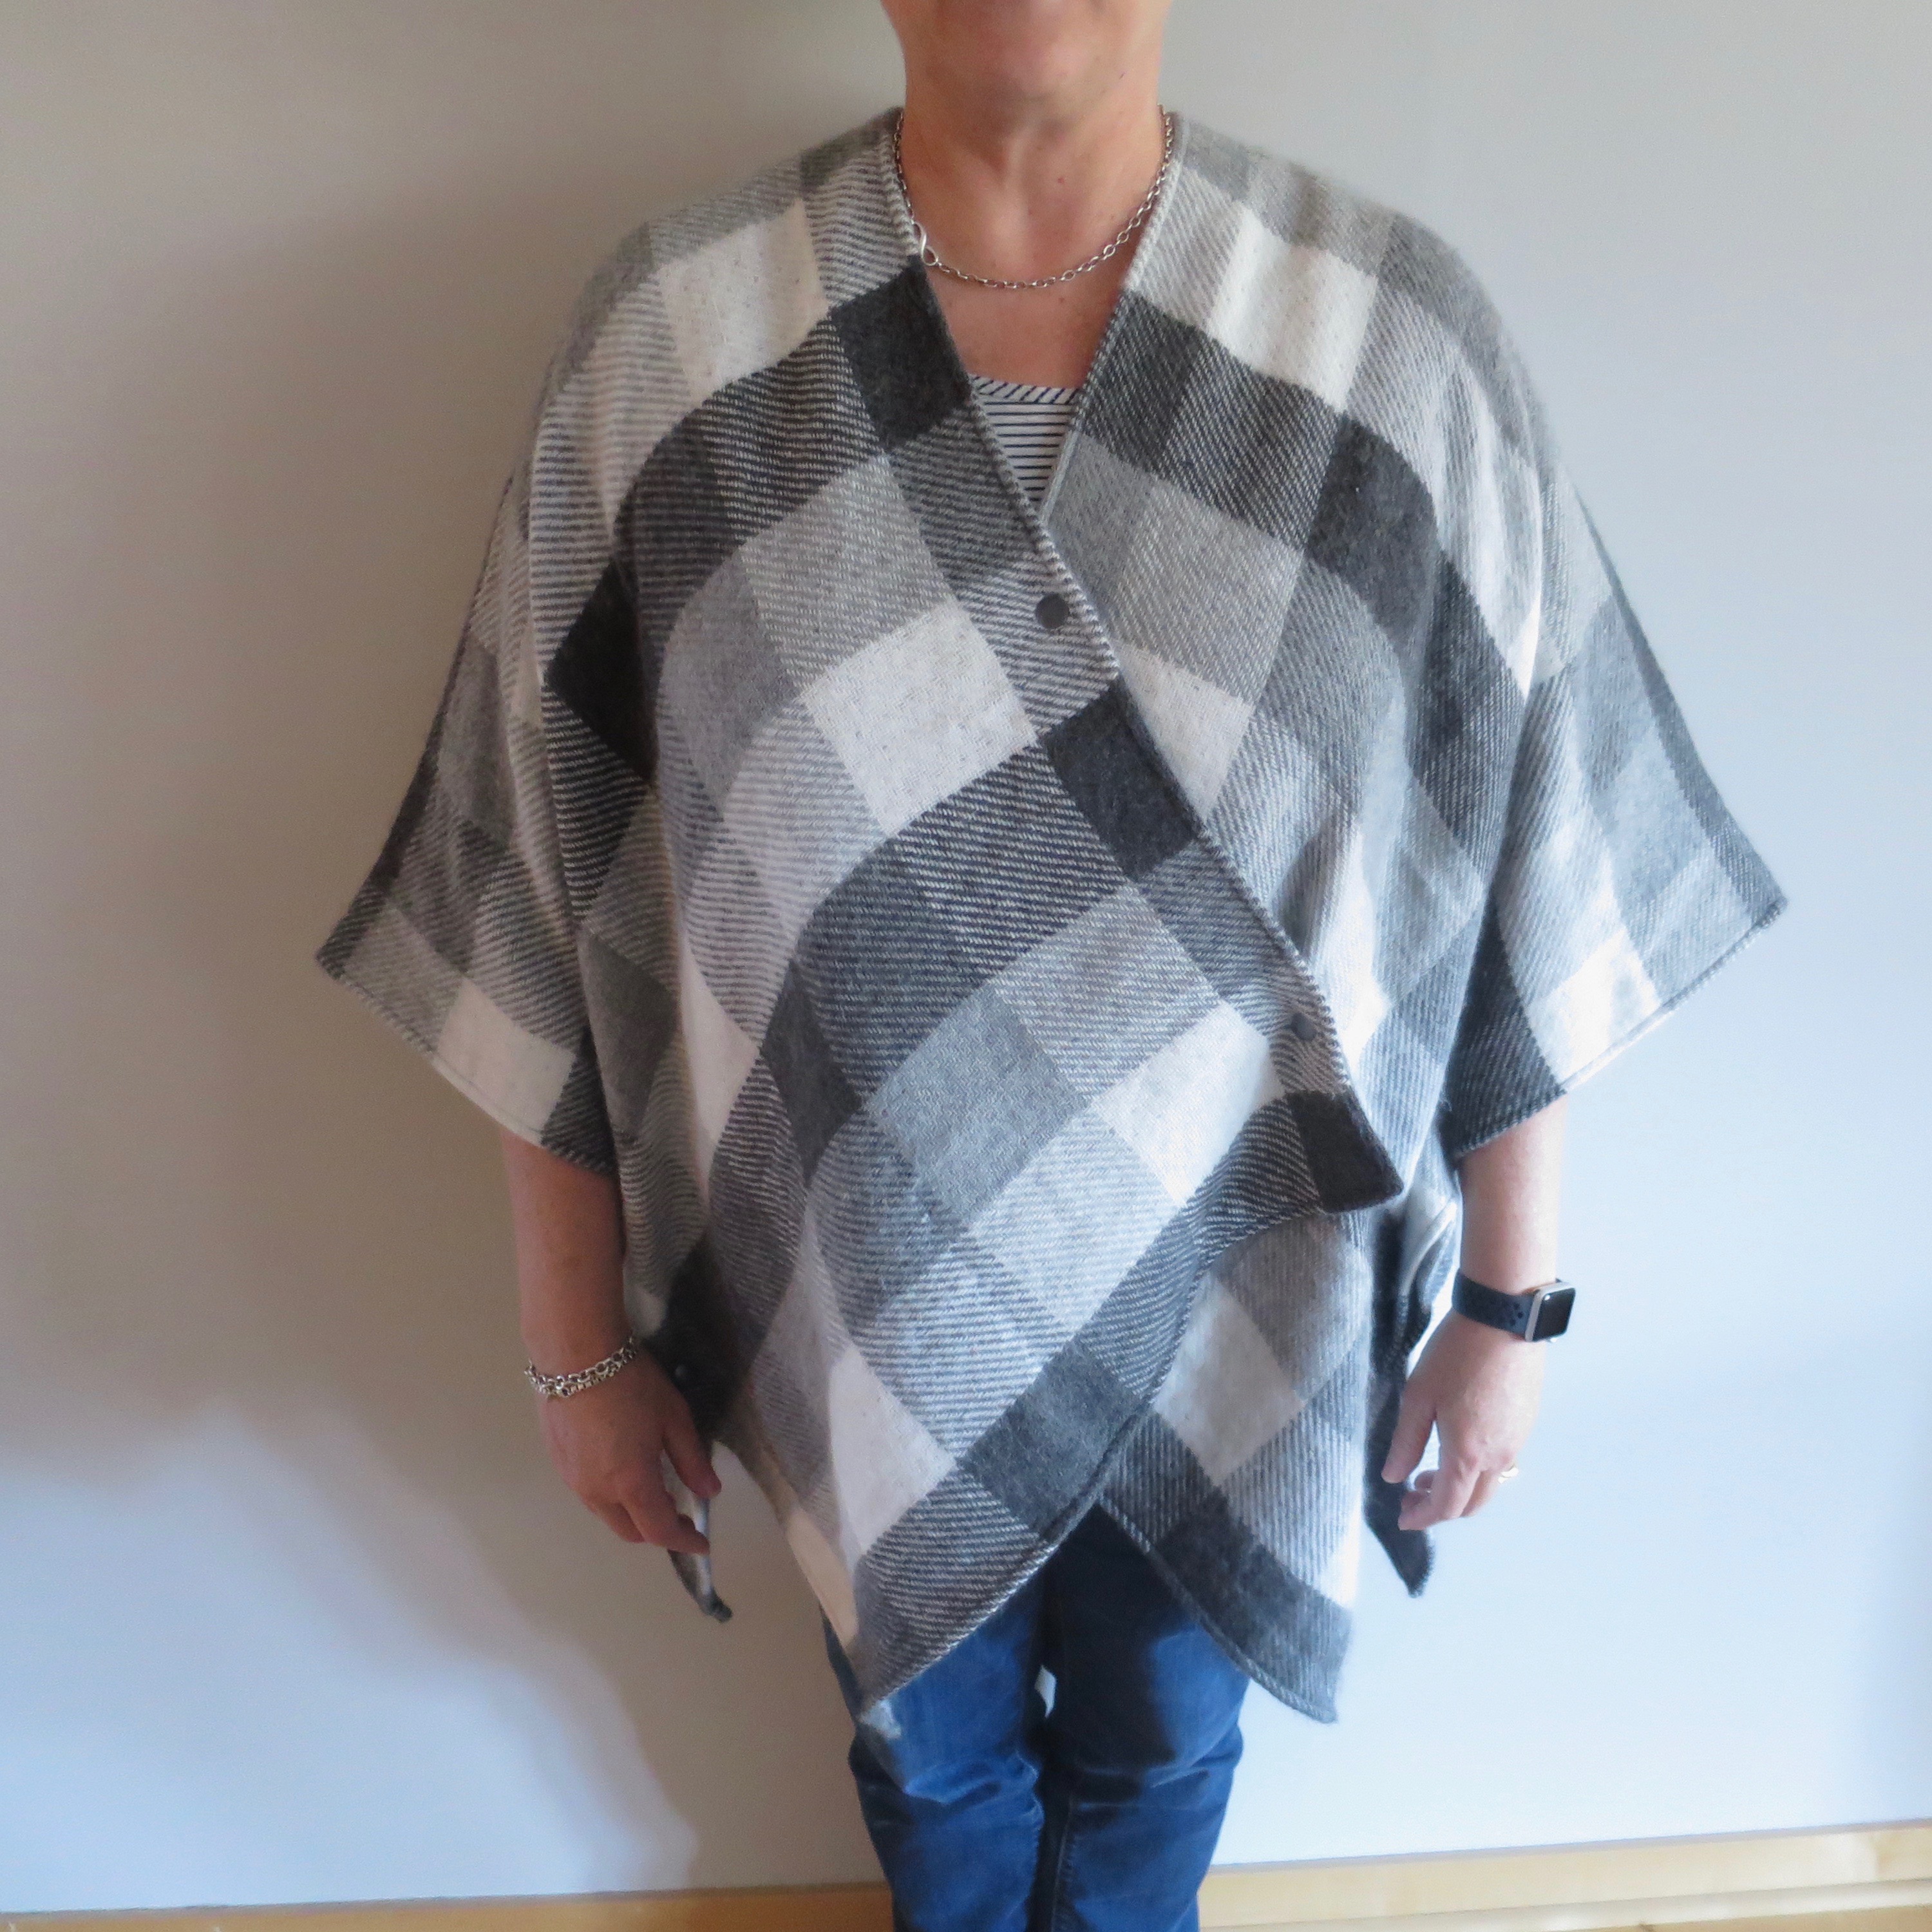
She thought it was just the right weight for “winter” mornings and had a great easy style.
Ruana Coat
Supplies:
- lightweight fleece 56″ x 48″ or store bought ruana (You could use any fabric you wanted really and make it any size you want. This was the size of the one we bought.)
- matching thread (optional)
- small safety pins
- dressmakers marker
- 6 heavy duty snaps (or size for your fabric)
- snap tool
- velcro (optional)
1. (If you are using a pre-made ruana, skip this step.) If starting with fabric, fold it in half lengthwise. Mark the middle of one side. Cut about 2.5 – 3 inches in on each side from the middle, then curve at the fold for a smooth fit around the neck. (You can just do a straight cut down the middle without losing any fabric, but the curve will lay nicer.)
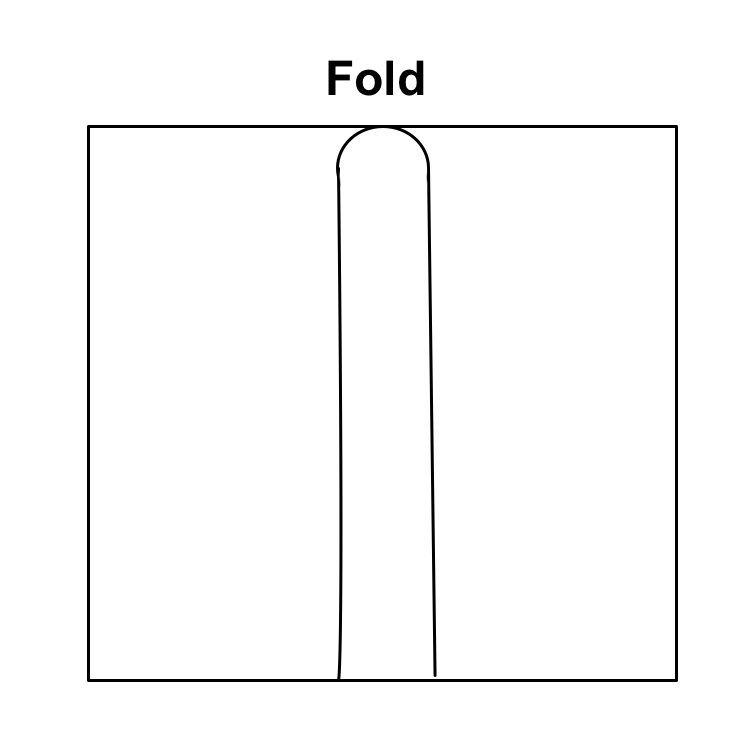
You can hem the fabric if you wish, but if you are using fleece it isn’t necessary.
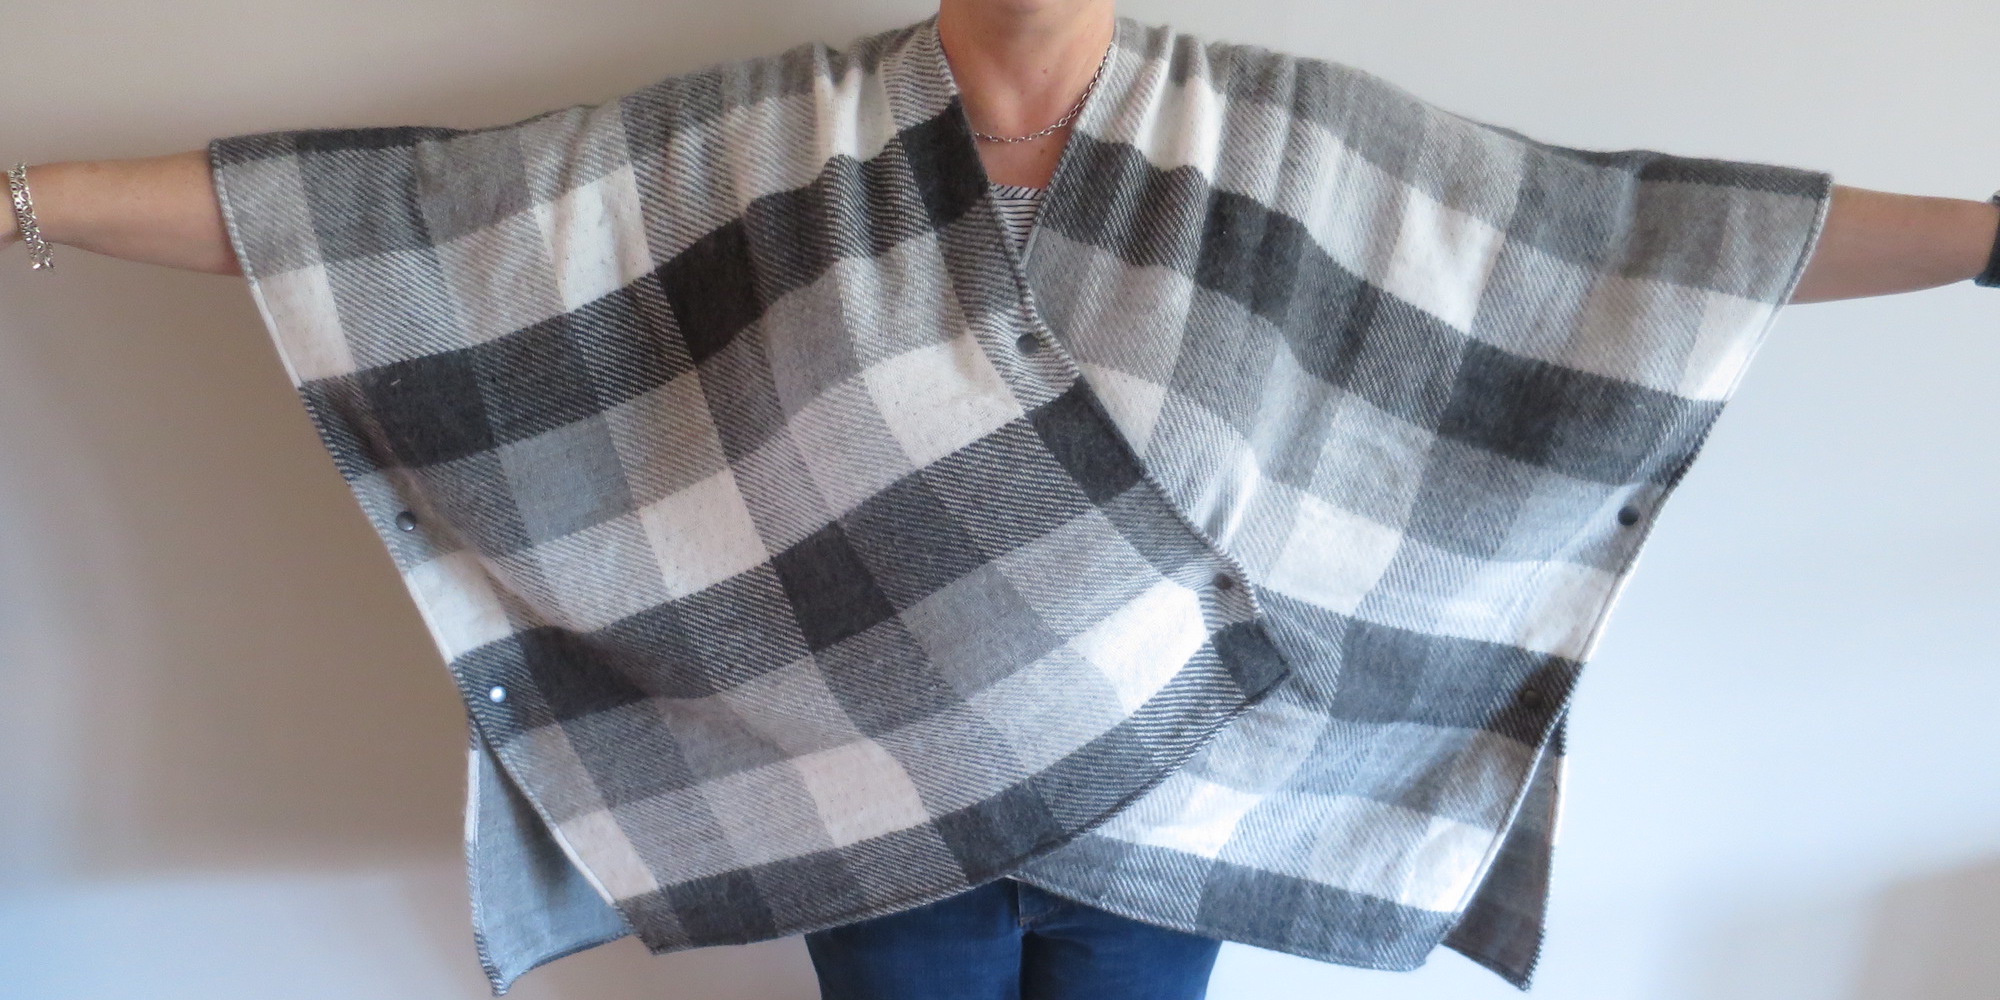
2. Put the ruana on and use safety pins to join together where you want your snaps.
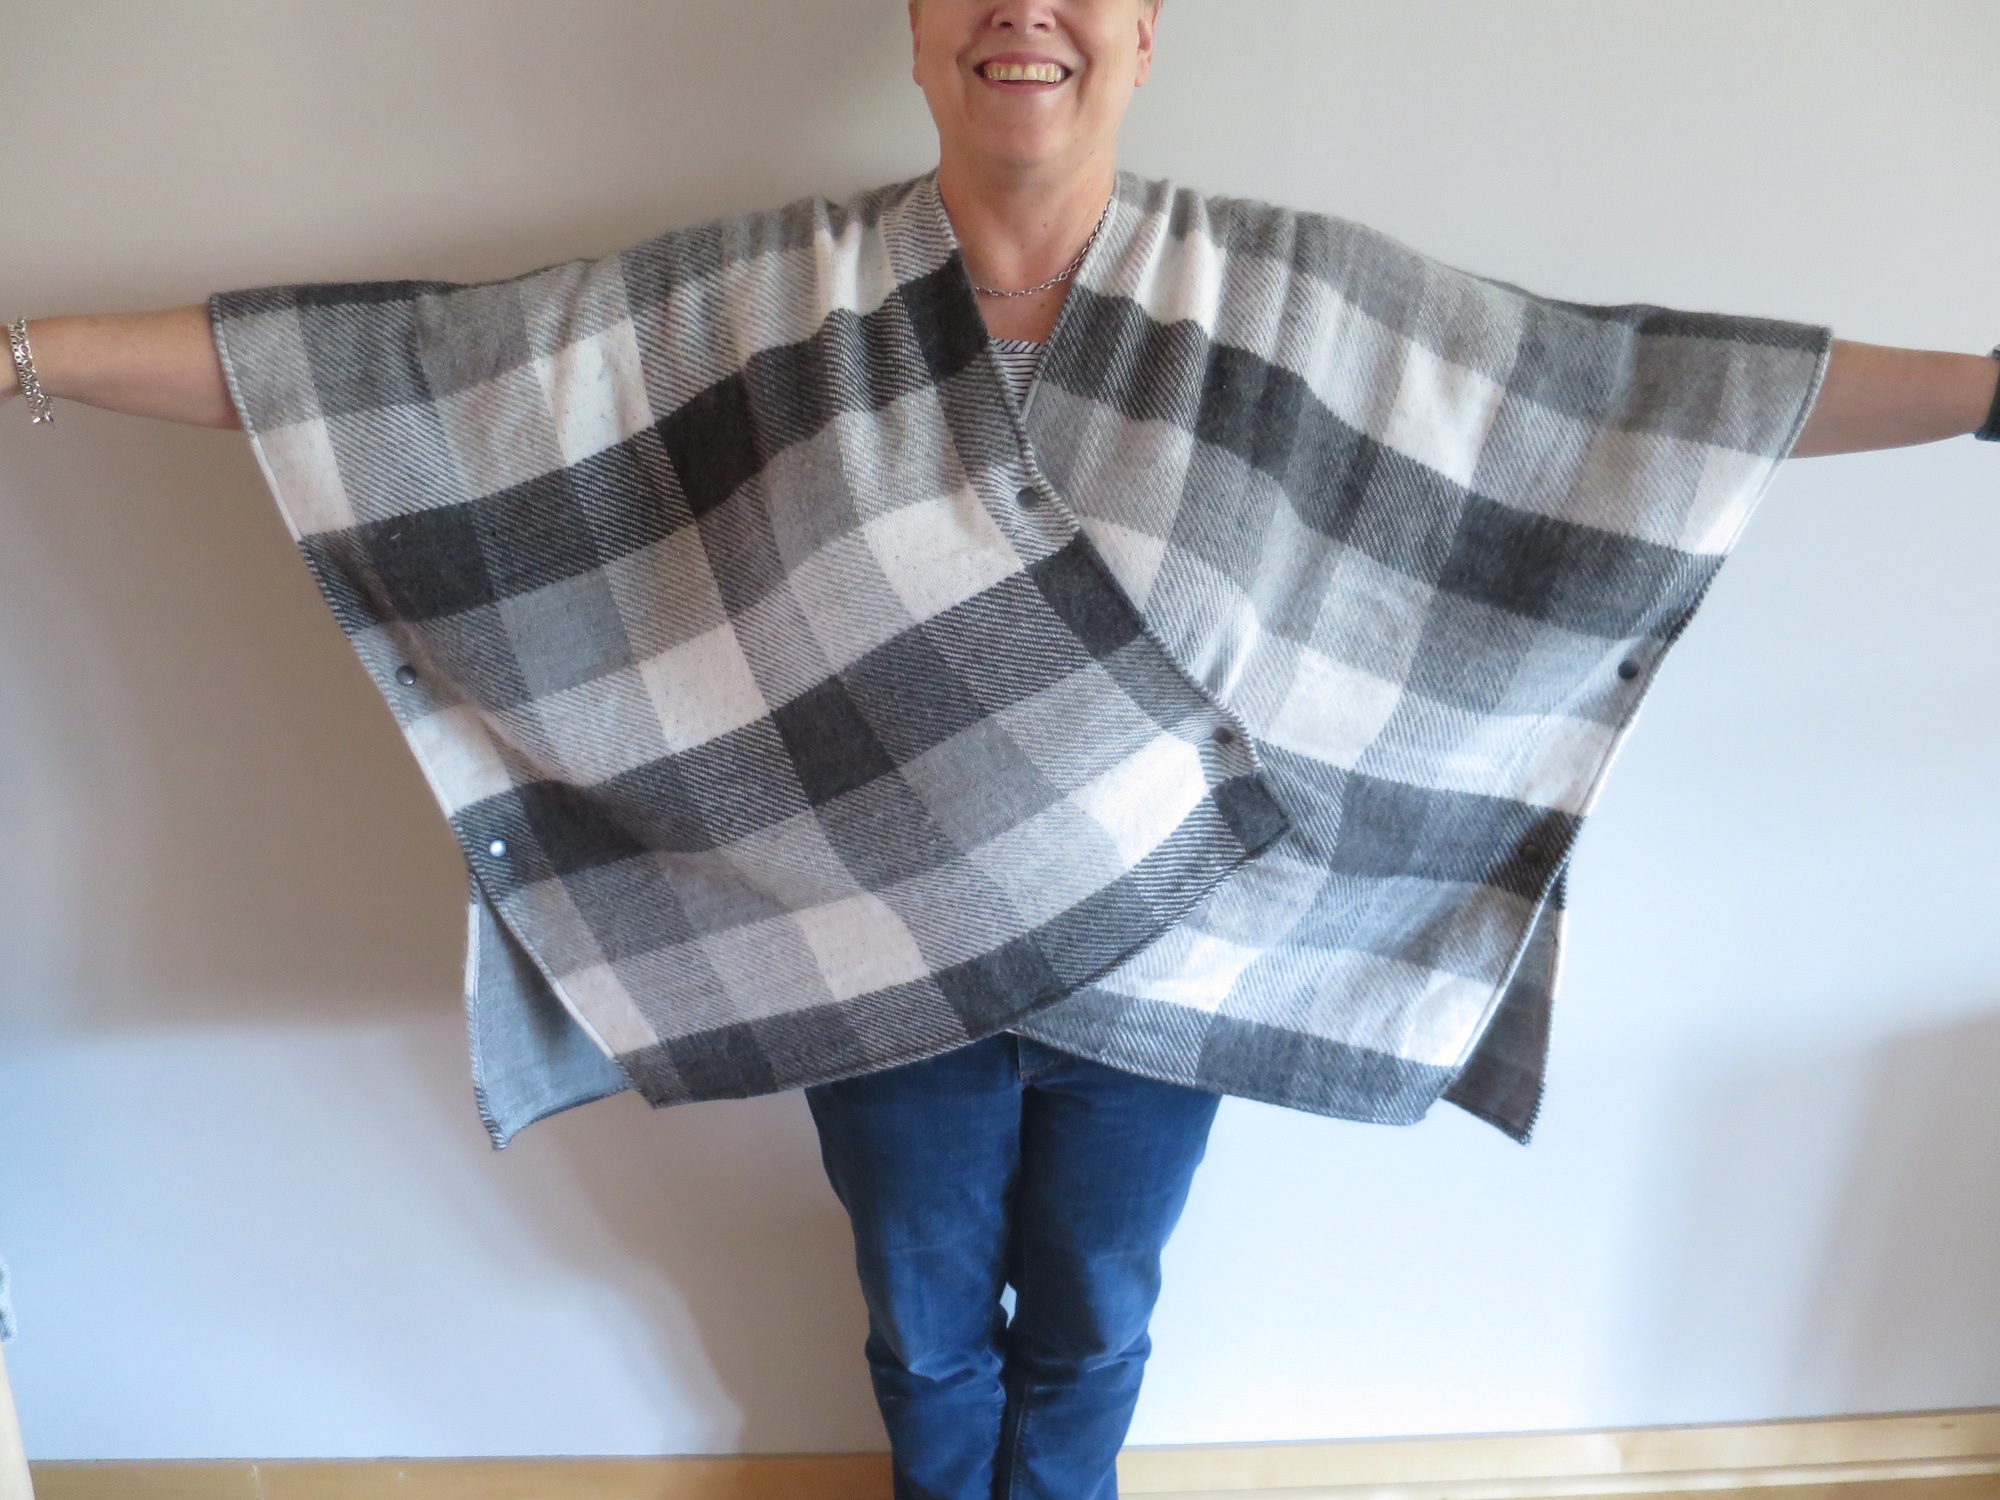
For the sides, we put two snaps which divided it into about thirds to create sleeves and close the sides. For the front, we crossed the ruana and put a snap at the top of where we wanted the neckline and towards the bottom of the front piece.
3. Use a dressmakers maker to mark where you want the snaps. Make sure to mark both pieces of fabric so you know where to place the front and back of the snap.
4. Attach the snaps using the instructions on the snap tool.
5. If you find the front piece underneath sags a bit, you can sew or iron-on some velcro at the corner to hold it in place. We didn’t think ours sagged enough to bother.
© 2005 – 2017 Kathy Lewinski & Susan Cornish