
Jo-Ann asked me if I wanted to make something from their Cape Discovery Summer Catalog. Well, it did not take long to say yes.
We set out to make a treasure map. Ours is not imaginary, we made a REAL treasure map. A map to real buried treasure. It was so much fun to make this map. It was a collaborative, interactive activity. I did “direct” it, but we both had input and we had a great time with all the pieces of the project.
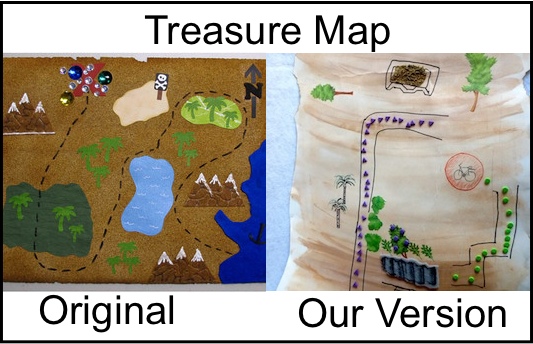
Project Treasure Map
Supplies:
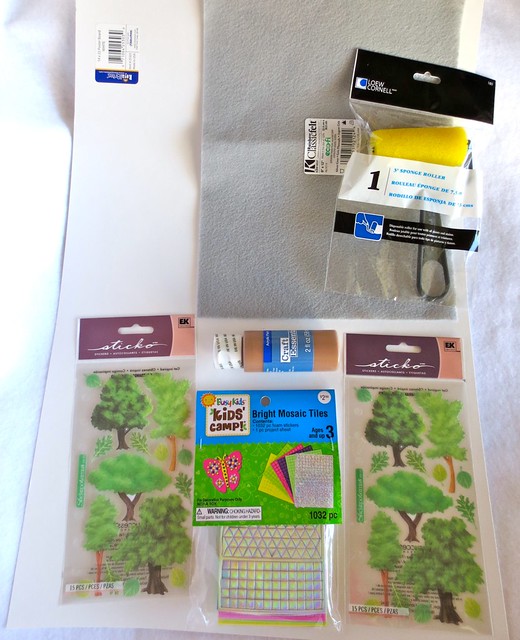
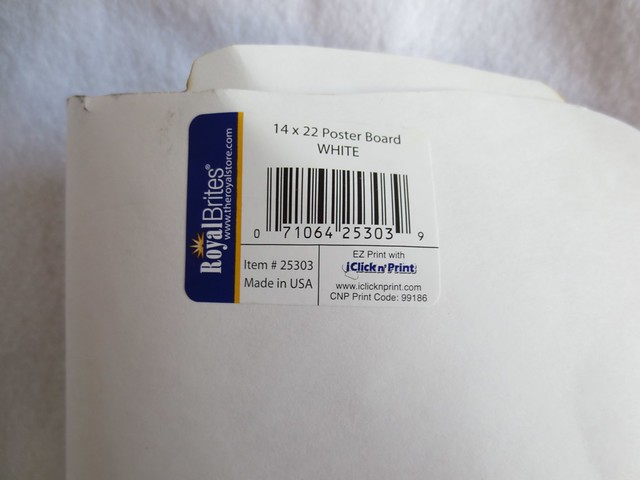
- A great piece of paper
- tree stickers
- assorted stickers (mosaic here)
- paint
- a roller sponge brush
- a sheet of craft felt
Also:
- glue
- scissors
- sharpies
- pencil
- colored pencils
- sand
- Rag
- votive candle
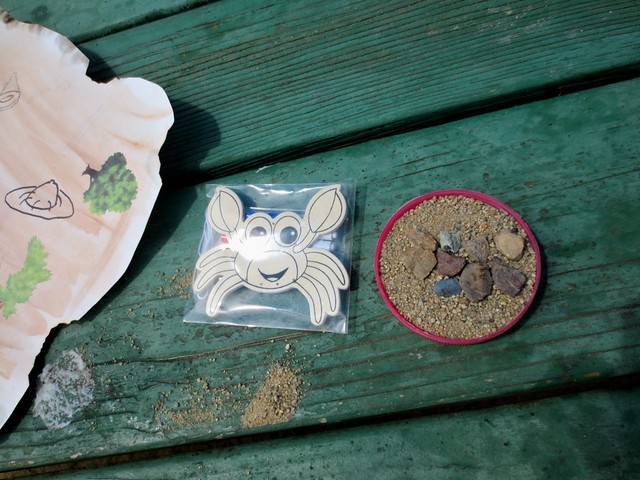
Something to bury. (We used a tiny craft kit from JoAnn’s for our treasure)
Paper:
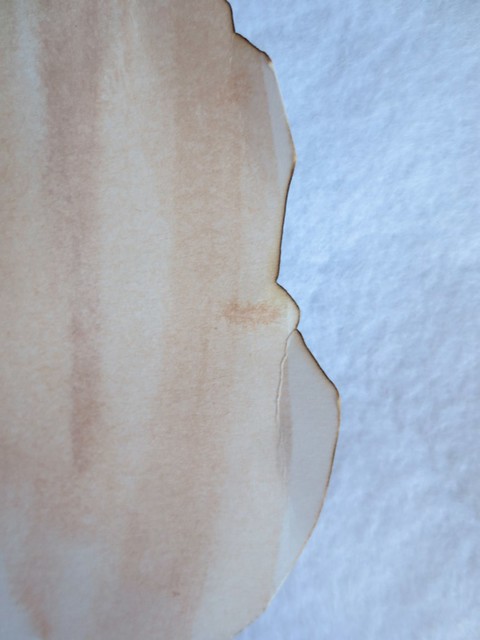
Begin by aging your paper. Roll water down on the paper (this will help some of the paint achieve an antique finish).
Dampen the sponge roller and wring out excess water. Roll the sponge through some paint (as if it were a big house paint roller) and apply paint to the paper. Take a damp rag, and wipe some of the paint off.

Take scissors and cut gentle curves in the sides of the paper, and gently round the corners.
Using the candle, carefully run the edges of the paper past the open flame. Move too slowly and it will catch on fire, move too quickly and there will be no change in the color.
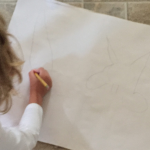
Using a regular pencil sketch the map.
Then, fill in the illustrations with stickers, sharpie pen, and accents.
For ours, I did the prep work and drew things in. Then, I got help with the tree stickers, the “path” stickers, and the coloring.
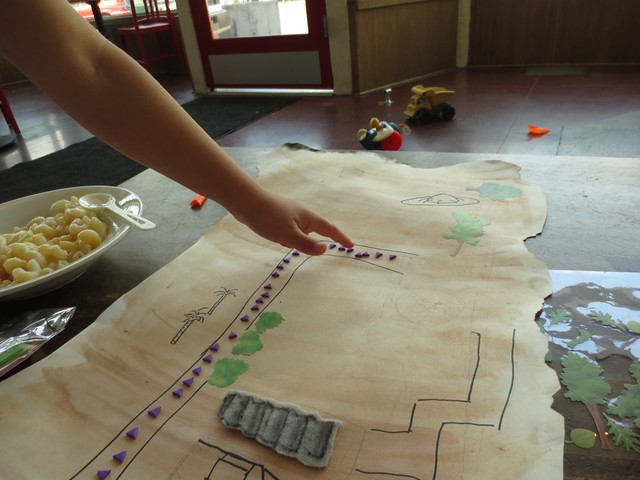
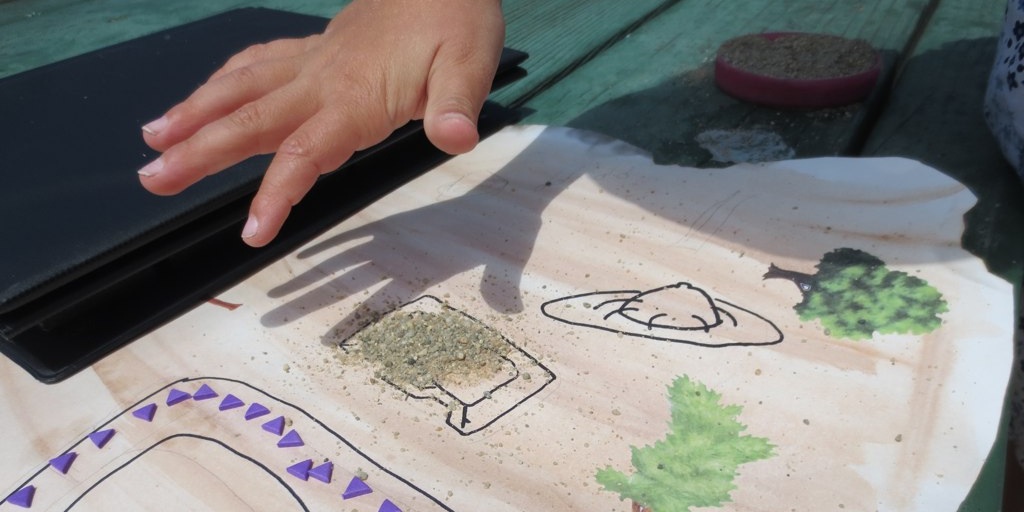
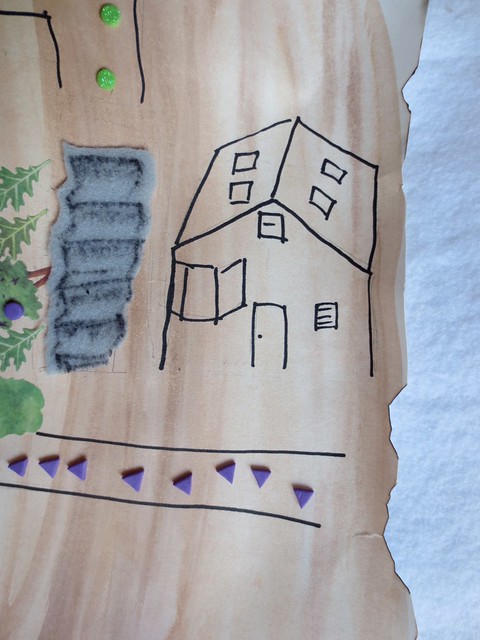
The gray felt is the stair case. Here, my Jr. crafter added the purple pathway.
Our map is an actual map. It features our house,
and two different routes to the cafe and the park near by. We worked on the map at the cafe (eating macaroni)
Our map became an interactive activity.
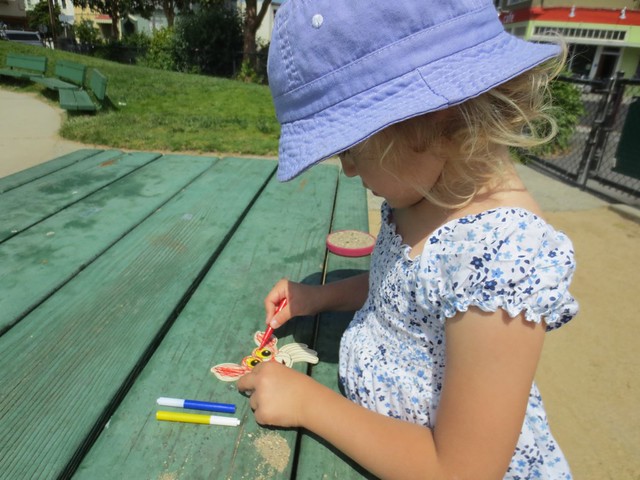
We finished the details and the coloring at the park. When she was distracted I buried treasure in the sand then built a little X over it. In pencil, I drew a big pirate X on the map and called her over to see the finished map. Then she saw the X and had to go looking for the treasure. She found the little mound that I left with a stick “X” in the sand and started digging. Soon she unearthed the little kit “treasure”.
That portion of the activity was so fun that we had to repeat it. So she went off to play, trying not to watch. I buried the treasure again, moved the “X” on the map, and the mound in the sand. She dug it up again.
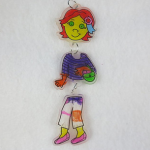
After that, she sat and made the little kit. It was an all inclusive wind chime crab. It came with markers, string, and 4 tiny pipes to string onto the crab.
Tip top fun. Many hours of good crafting time. A great mix of indoor and outdoor pieces of the project. All in all, this was a 10 star top rated good time and I would highly recommend trying your own spin on the map at your favorite park or sandbox.
*Disclaimer: I was given a Jo-Ann’s gift card to purchase the supplies for this project. I was not told what to write or compensated in any other way.
© 2005 – 2013 Kathy Lewinski & Susan Cornish