

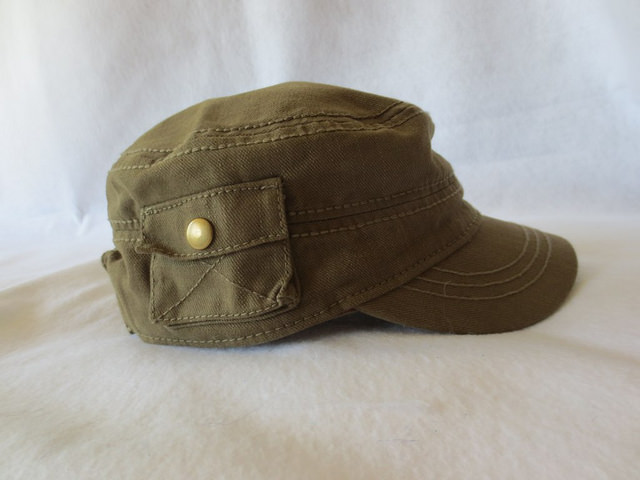
I have lost some hats along the way, so I needed some new ones. The thermometer says “hot hot” but the calendar the stores use says, “get ready for fall”. So when I went shopping for a hat, the choices were slim. I found this one option at Target, but it is a little bit more “street” than I would normally wear, so it became the perfect choice to embellish.
Medallion Cap
Supplies:
- cap
- fabric
- heat n’ bond
- thread
Tools:
- iron
- craft scissors
- sewing machine
Here is the cap before I started.
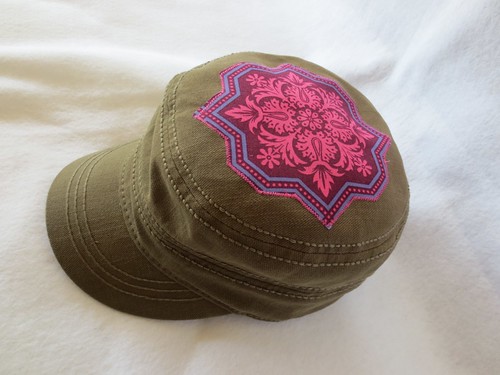
I wanted to make the cap more feminine. My idea was to sew on a large motif flower or bright color.
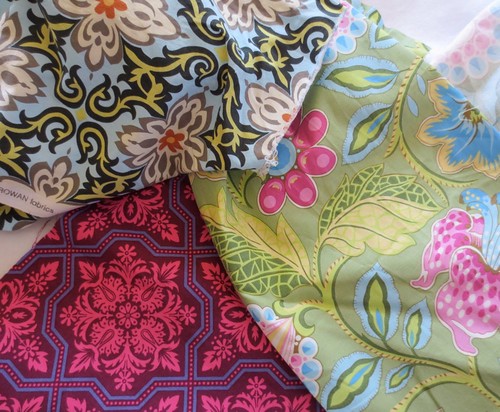
I liked the fabrics that had green already in them, but I chose the hot pink one in the end.
- Iron on Heat n’ Bond to the cotton accent, then cut it out with craft scissors.
- Stuff the cap to make it as rigid as you possibly can to apply the fabric to the top.
- Pull the paper backing off the fabric, and carefully center the design on the cap. Then apply the iron to stick the medalLion down.
- Feed the cap under the needle of your sewing machine and add a small tight zigzag stitch all around the edge. Clip the threads, and wear it proudly!
If you are not reading this post in a feed reader or at http://justcraftyenough.com then the site you are reading is illegally publishing copyrighted material. Contact us at jcraftyenough AT gmail DOT COM. All patterns, text and photographs in this post are the original creations & property of the author unless otherwise noted.
© 2005 – 2014 Kathy Lewinski & Susan Cornish
© 2005 – 2014 Kathy Lewinski & Susan Cornish


