

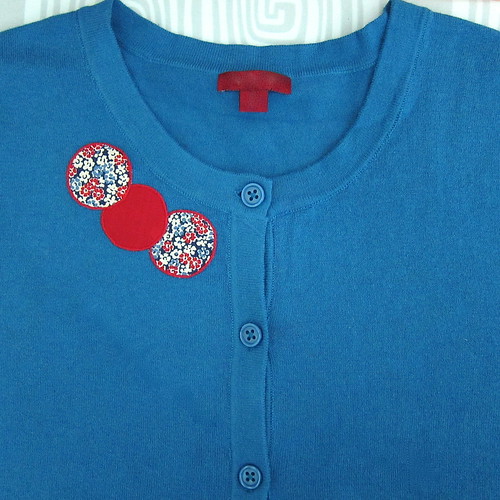
This week for Iron Craft we are being a little selfish and making things for ourselves. I’ve been wanting to do an embellished cardigan for myself for awhile, so this was the perfect opportunity.

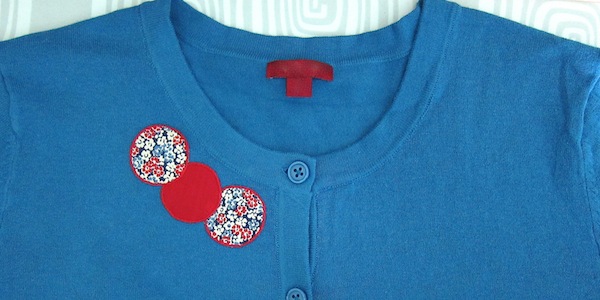
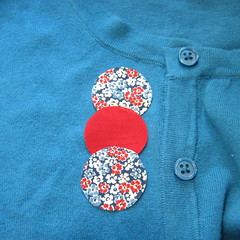
I found this lovely blue cardigan at Target for about $20. Everything else for the project, I already had in my stash. This is a great stash buster for those scraps of quilting fabric. The whole project came together in just a few hours. Double stick webbing makes doing the appliqué super easy. The stitching around the edges is really there more for decoration than to hold the shapes on.
I kept the design on my sweater very simple, but you could go as crazy as you want. Go all the way around the collar. Create a design all the way down the front of one side. Or go even simpler and just appliqué on one small design.
Appliquéd Cardigan
Supplies:
- Cardigan (I think a cotton or cotton-blend will work best)
- Scrap cotton fabric (leftover bits from quilting are perfect)
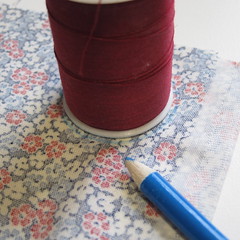
- Round template or compass (Of course, you can use any shape you want. I used round in this example)
- Dressmakers making pencil
- Fabric scissor
- Double stick fusible web like Steam A Seam 2
- Iron
- Embroidery thread
- Sewing needle
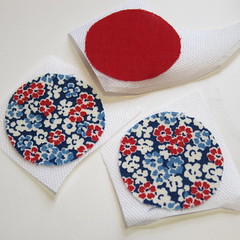
1. Using a compass or some sort of round template, like a spool of thread, draw circles with the dressmakers pencil on the wrong side of your fabric. Cut out circles. Steam iron the circles.
2. Decide on the placement of your circles on your sweater. I found it was best to try things out while wearing the sweater in front of a mirror, since things look different on you than when lying flat. Here’s a few layouts I played with before choosing the final one.
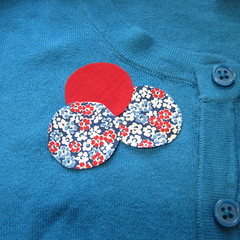
3. Follow the directions on your fusible web to attach the circles to the sweater. Mine was slightly sticky, so it allows you to stick the fabric to one side, then cut it to match your circle.
The paper backing is removed and the stickiness on that side let’s you place it on the sweater and move things around before ironing in place.

4. Stitching around the edge of the circles is optional, but I think it gives it more of a finished look and insures the circles don’t come loose.
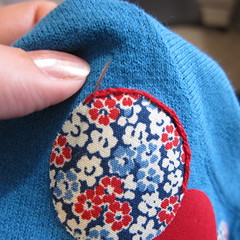

I did a very basic split stitch right around the edge of each circle. You could do something more decorative or, if you are good with a sewing machine, add a zig-zag edge.
Now you have a custom appliquéed sweater to show off this fall.
© 2005 – 2012 Kathy Lewinski & Susan Cornish


Pingback: Tutorial: Applique a cardigan · Needlework News | CraftGossip.com