

For this Iron Craft challenge we were asked to make something that could be used for storage. Last year, one of the lovely ladies doing my Mitten Garland Advent Calendar KAL made me this sweet project bag.

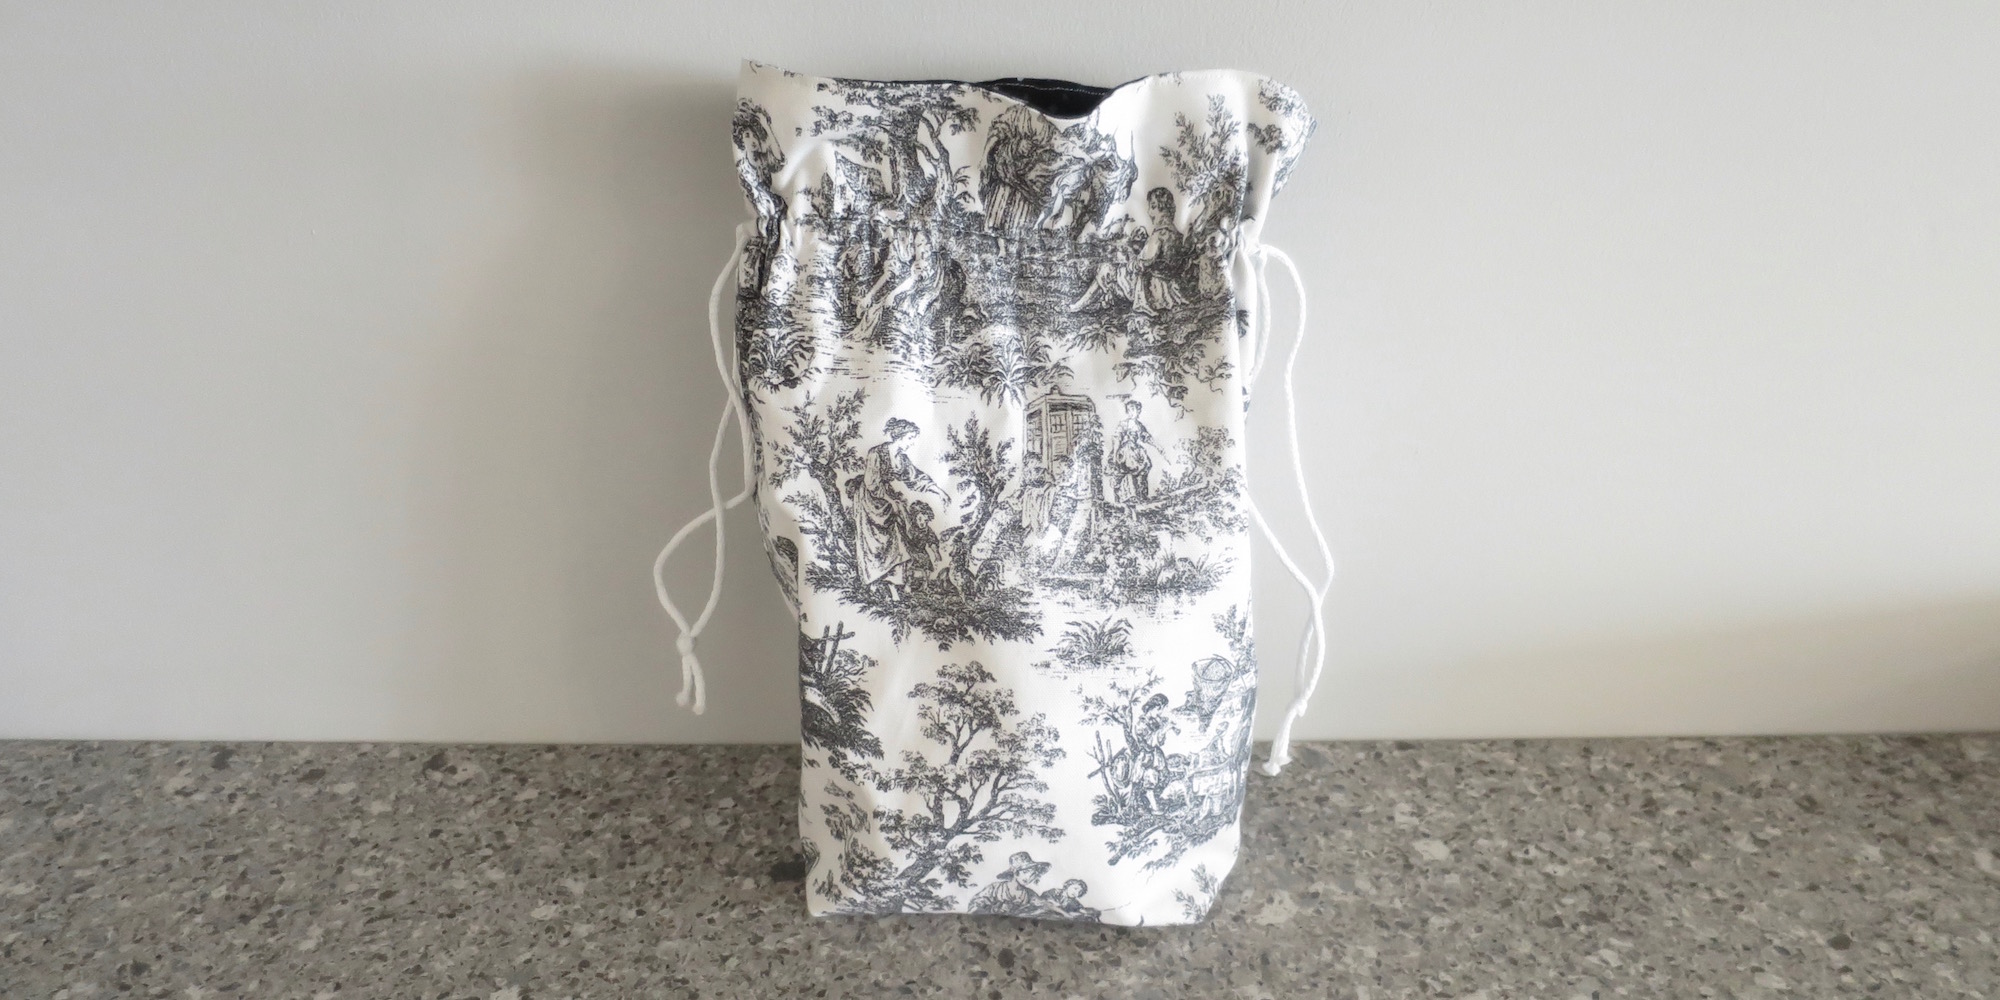
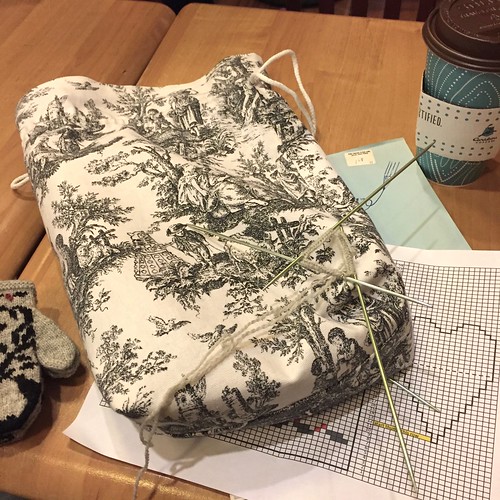
It is such a handy thing for the smaller projects I do that I’ve been wanted more of them. So, I decided to whip one up using the Doctor Who Toile I made for the last challenge. It was the perfect use for the fabric. Here it is in action at knitting last week.
This is a relatively simple sewing project, with the gussets at the bottom being the most challenging part (and they really aren’t that challenging). I made it even simpler and used shoelaces I had around for the drawstring. If you want a a fancier drawstring sew one up from one of your fabrics.
Drawstring Project Bag
You can make this up any size you want, just keep in mind that you will lose width on the bottom and total height to the gusset. You also want it tall enough to have an inch or two of fabric above the drawstring. I started with 12″ wide by 18″ tall squares, my finished bag is 7″ wide at the bottom and just over 14″ tall.
Seam allowance is 1/2″ unless otherwise stated.
Supplies
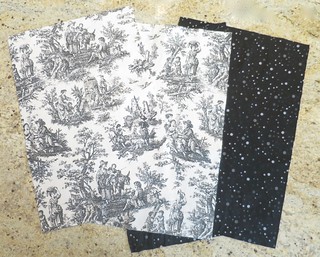
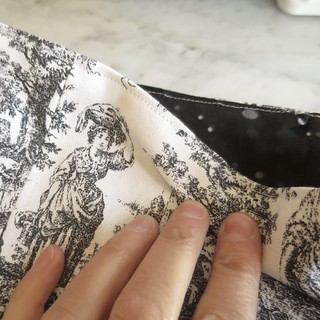
- Enough outer and lining fabric to cut 4 matching pieces the size you want. Use a fabric with a little body, like quilting fabric. My inner fabric is a quilting fabric and the outer fabric is an upholstery toile.
- ruler
- scissors
- straight pins
- matching thread
- sewing machine
- iron
- ironing board
- hand sewing needle
- dressmakers pen or pencil
- stitch ripper or small scissors
- two shoelaces or drawstrings each long enough to go all the way around the bag with a at least 8″ extra length on top of that.
1. Wash and iron your fabrics if your desire. Cut four pieces of fabric, two for the outside of the bag and two for the inside, the exact same size.
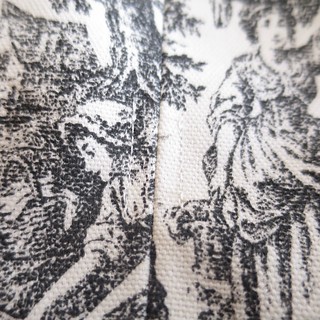
2. Pin the two pieces of outer fabric together with the right sides facing each other. Sew the side and bottom seams. Repeat with the lining fabric.
3. On the outer piece using the bottom seam you just sewed as the middle point, square off the bottom of the bag by making a triangle on each side. You want to side seams and bottom seam to line up on either side of the triangle. My triangles were 4″ wide at the bottom and about 2″ tall. Make sure they are the same size on both ends.
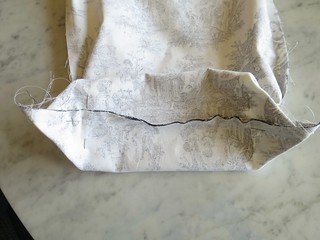
Sew the bottom of the triangle. Repeat with lining piece.
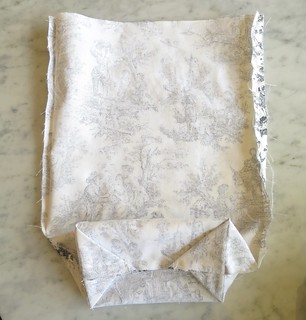
4. Iron open the side seam on both pieces as far down the bag as you can. Iron the gussets toward the bottom of the bag. I like to hand tack the gussets into place, just sewing the point to the bottom seam allowance. I think it keeps the bag neater.
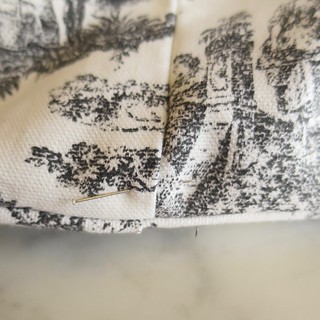
5. Turn the outer piece right side out. Decide where you want the drawstring, mine was 3″ from the top of the unhemmed pieces (after hemming it will be 2.5″ from the top). Use a dressmakers pen or pencil to mark that height on both side seams. Then decide how big a channel you need for your drawstring, it needs to be wide enough to pass two strings through it easily. I used a skinny shoelace and my channel was 1/2″ wide. I wish I had given myself another 1/4″. Mark the width you decide on both side seam. Sew a line 1/4″ from either side of the side seam slightly longer, 1/4″ to 1/2″ more is enough, than the width you are doing your channel.
This will keep the seam allowances in place and make inserting the drawstring a little easier You can also do this will the liner, but it is not as important since you are only opening the channel on the outer piece.
6. Put the liner piece inside the outer piece with wrong sides facing each other. Match up side seams and gusseted bottoms. I like to pin them together at the side seams near the bottom just to make sure everything is in place.
Fold the top of both pieces inside 1/2″ and pin in place. Iron. Top stitch along the top edge of the bag.
(Oh, don’t judge my sloppy top stitching please!)
7. Using the marks you made on the side seams in step 5, sew the draw string channel.

You can see how mine goes through the stitches I made next to the side seams in step 5.
8. With the stitch ripper or small scissors carefully open both side seams at the drawstring channel.

9. Put one shoelace or drawstring through one side seam, work it all the way around the bag and out through the same seam. Put the other drawstring though the other side seam, work it around the whole bag and back out. Tie the ends of the drawstring together on each side and trim if needed.
Fill with a project and take it everywhere!
© 2005 – 2016 Kathy Lewinski & Susan Cornish


2 Comments to Iron Craft ’16 Challenge #9 -Drawstring Project Bag