

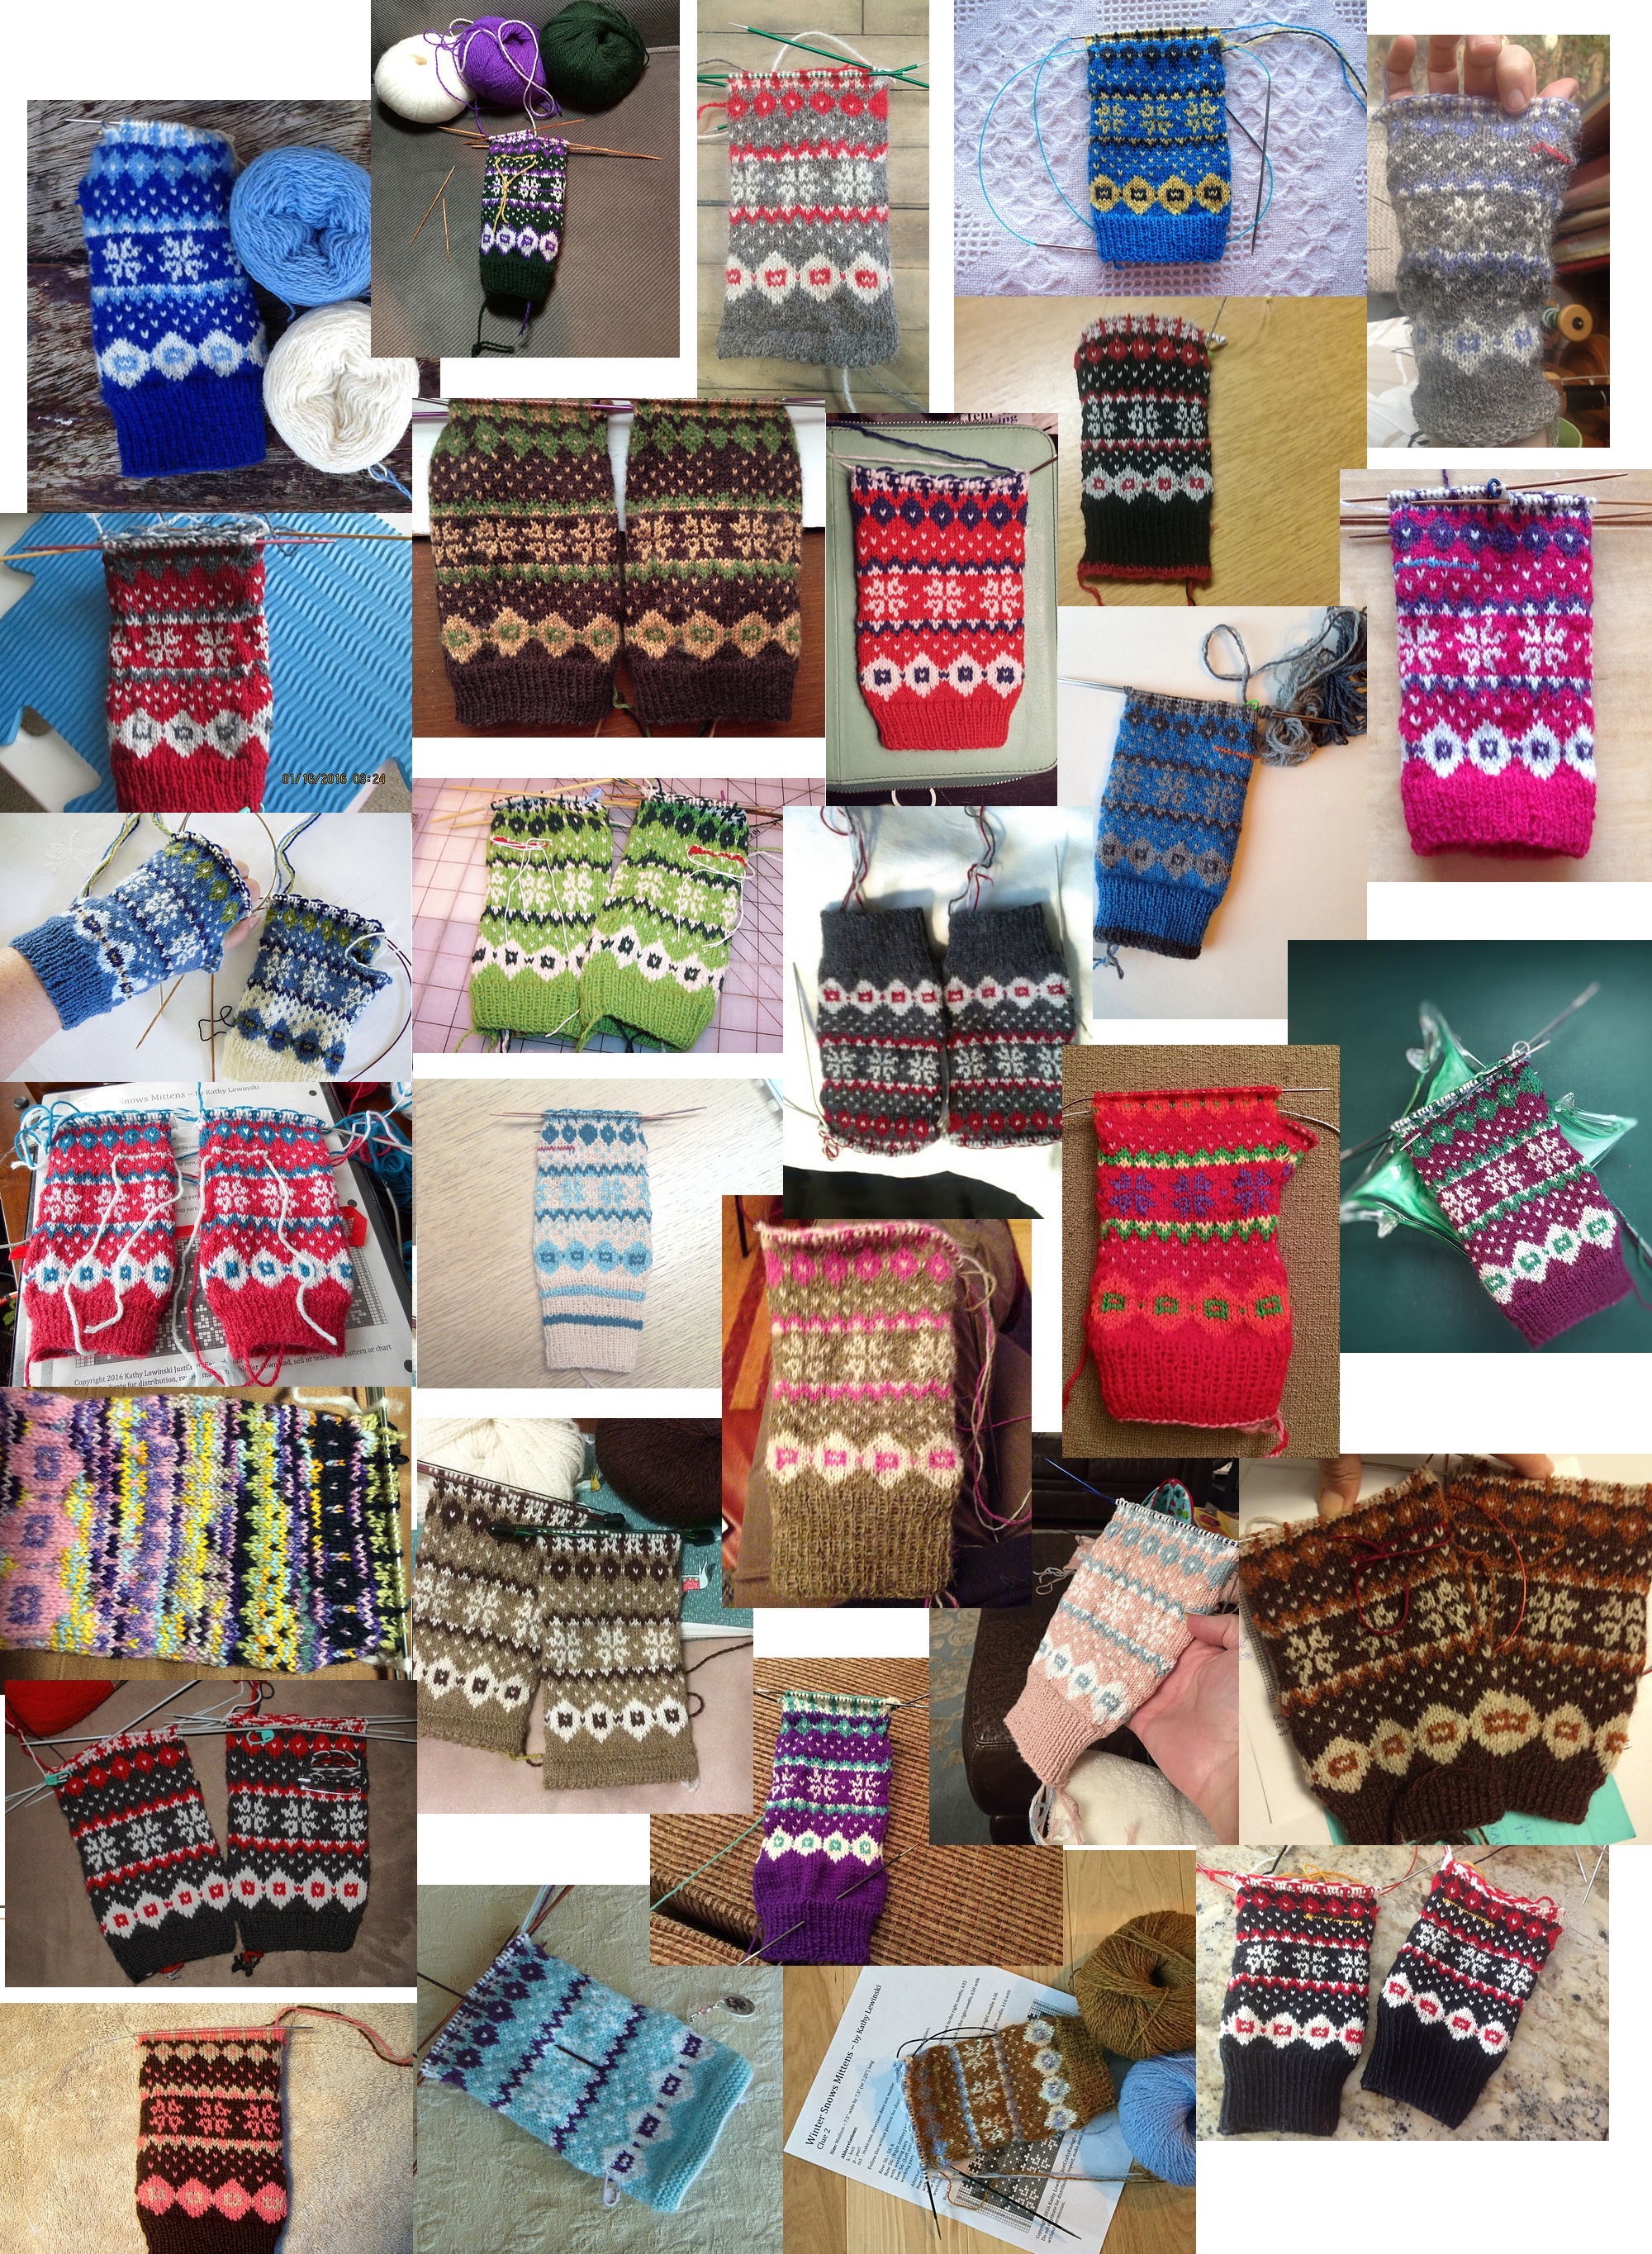
I can’t tell you what fun it has been to watch everyones mittens come along on Ravelry. I’m loving all the different color choices!
We have a lot to talk about this week so let’s get right to it.
This week, we will be finishing the hand of the mitten. It is a little more knitting than we have been doing, but the rows get smaller as you go. Also I want to give you all next week to do your thumbs and finishing. I should warn you, there is one row in this section where you will knit with three colors, but I know you can all handle it for one row!
For each size of the mittens, I have written the pattern in two different lengths with approximately 1/2″ (1.27cm) difference. You may also notice the shorter lengths are a little different than I had first said we would do. I was not happy with offering lengths that were only 1/4″ shorter, so I went back and redid them for 1/2″ which I think gives more fit options. If you find you are between the two lengths, use the shorter size and work a few more rows in your main color, continuing the decrease pattern. If you find you need a longer mitten (like me), use the longer size and do the same thing.
I find that it is best to actually try the mittens on before seaming the top or even before deciding which length to make to confirm they are long enough. This means you will need to take out the scrap yarn on one thumb. If you have never done this before, it is actually easier than it sounds. Work in a well lite place and take you time.
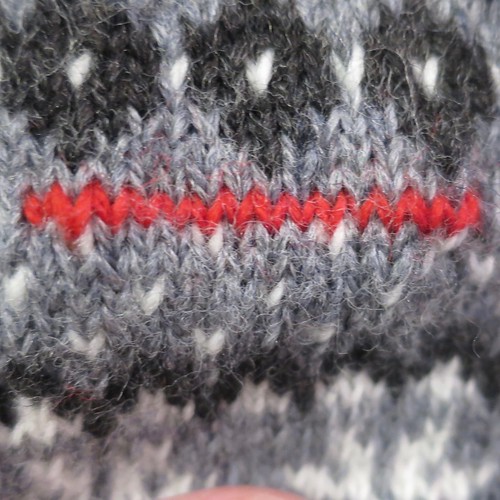
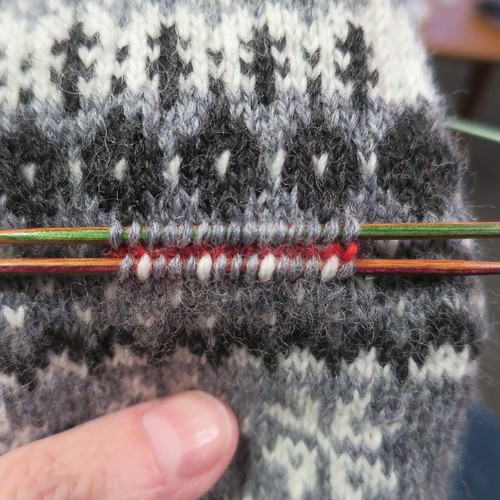
This is what your mitten looks like. You will be putting the stitches above and below the scrap yarn onto either spare needles or stitch holders.
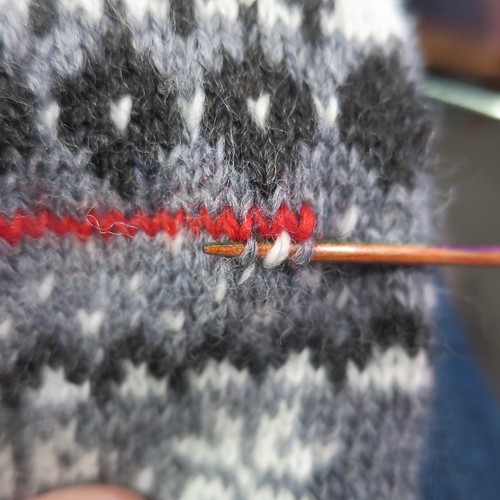
A knit stitch looks like a “v”. Using your spare needle, pick up the right leg of each “v” below the scrap yarn. Make sure to pick up every stitch, 15 for small and medium and 16 for large.
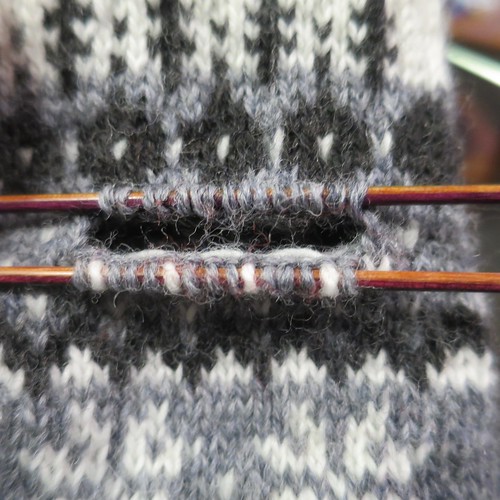
Now, pick up the all the stitches above the scrap yarn the same way with another needle or stitch holder.
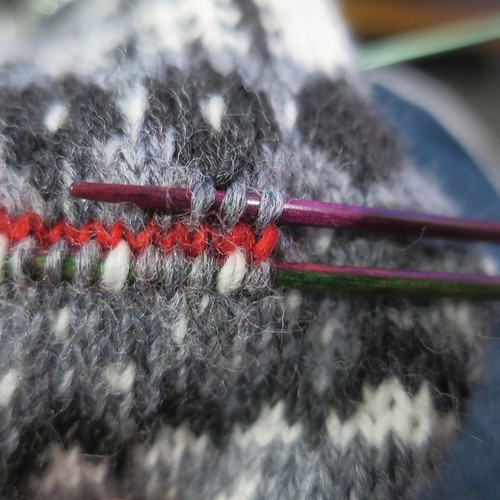
Your mitten will look like this.
Once all the stitches above and below are on needles, carefully remove the scrap yarn.
Now you can try your mitten on. Don’t worry if the thumb feels a little tight on the needles like this, the needles don’t allow it to wrap around you thumb.
Ok, here are your downloads. (There was a small error in the chart for the small size. Both the pattern and chart have been updated as of 2:00pm 1/18/16.)
Winter Snows Mittens Small Clue 3 – Small 7″(17.87cm) wide by 7″ (or 6.5″) long
Winter Snows Mittens Medium Clue 3 – Medium 7.5″(19cm) wide by 7.5″ (or 7″) long
Winter Snows Mittens Large Clue 3 – Large 8″(20.32cm) wide by 8″ (or 7.5″) long
Because this chart is wider than the last two to accommodate the two length, I was afraid it might be a little small for some people to read. So, I have made pdfs available of just the chart for those who would like it a little bigger.
Winter Snows Small Clue 3 Chart
Winter Snows Medium Clue 3 Chart
Winter Snows Large Clue 3 Chart
© 2005 – 2016 Kathy Lewinski & Susan Cornish

7 Comments to Winter Snows Mittens MKAL – Clue 3