

I went to a Baby Shower recently. It was super beautiful. I brought a fun activity that I want to share with you. This could be done with a group, or on a smaller scale, you could do these at home as a gift.
I wanted a craft that would allow everyone would be successful, even those that swear they are “not artistic” so I prepared iron-on appliques.
Embellished Onsies
Time: Please note that for this project, you will need to start a few days in advance to allow enough time to buy, unwrap, wash, dry, iron and prep everything. Its not a big deal, but it is not a craft that you can pick up on the way to the event. Or, do at home and be finished at noon. Unless your staff is free to help you.
(The directions here are given for a large party. Scale your sizes and fabric choices accordingly. I came with 21 projects for 18 RSVP’ed guests.)
Supplies:
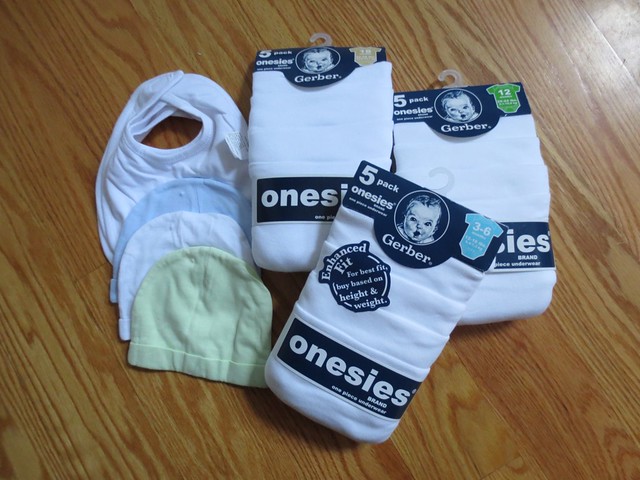
- Onsies in a range of sizes- The onsies are sold in a 5 pack. 1 pack of 6-9 mo. 1 pack 12 mo. and 1 pack 18 mo. That way, the Mom will be seeing our project and sharing our festive joy for a whole YEAR! I purchased all of the onsies and hats at Target. For a SONG. (They are on the web site for $9.99/pack, but I got them on sale for about 1/2 that. ) They were $26 /5 pack at a named children’s clothing shop.
- Hats – The hats were in a 3 pack. (Target)
- Bibs – 3 pack of bibs (JoAnn Fabrics)
- Fabric (1/4 – 1/2 yd each 5-7 different fabrics with varying motifs)
- Two sided paper-backed iron-on (2 yards) (I used Pellon 805 Wonder-Under)
Tools:
- craft scissors (if your group is bigger, you will need 3-4 pairs)
- markers (One that will write on the paper backing of the iron-on. There is a slight plastic coating on this paper, so test them at home before hand.)
- iron
- ironing board or table with towels
Before the Party:
Prepare the hats and onsies – Wash all the onsies, hats and bibs in a gentle wash with scent-free detergent. Iron all the hats and onsies, (This made me question my sanity, standing there ironing cotton knit onsies, but it really helped set a flat surface to put the designs on. Do NOT stretch them while you are ironing. Just make them flat.)
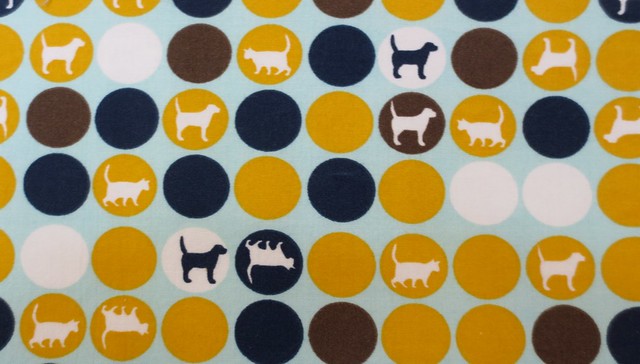
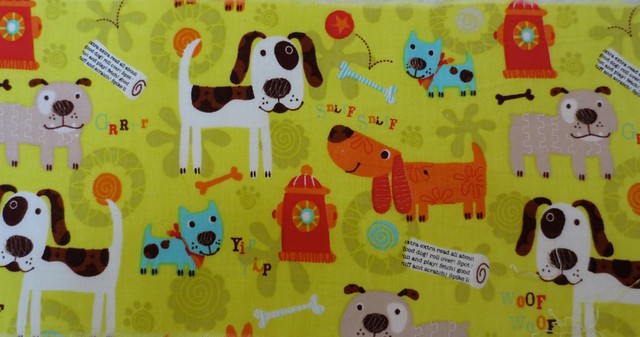
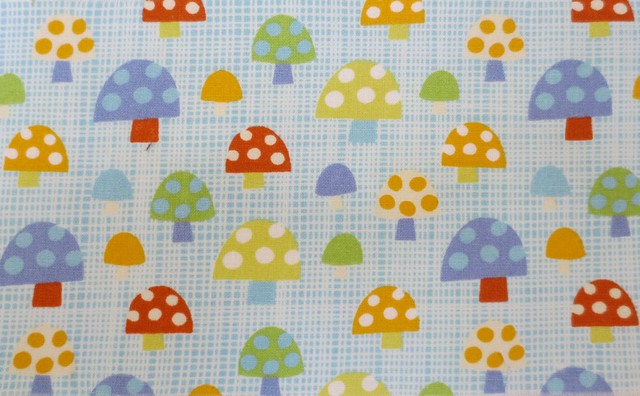
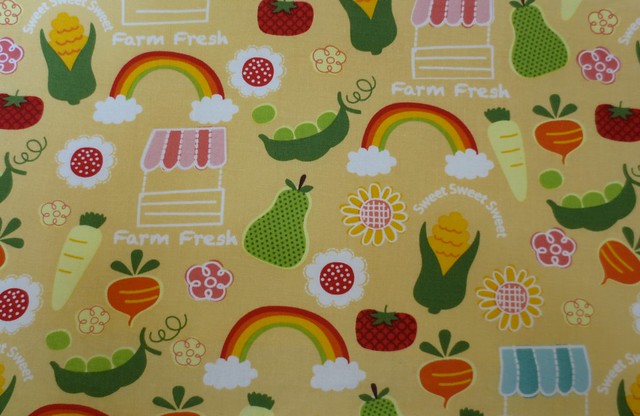
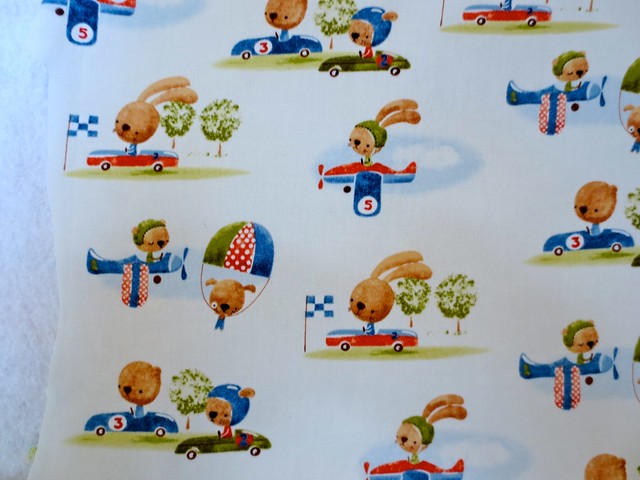
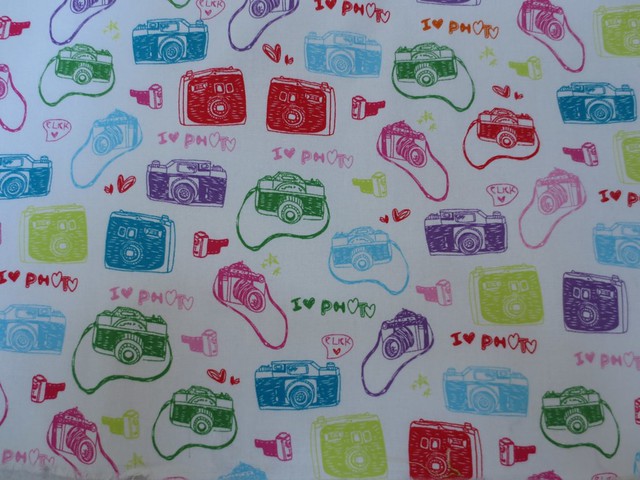
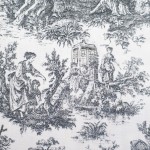
Prepare the appliqué fabric – Wash all the appliqué fabric. Iron all the appliqué fabric. Let the appliqué fabric cool before the next step. Here are the fun fabrics I used.
One fabric at a time, cut pieces of the iron-on to the size of you appliqué fabrics. Carefully lay them on the BACK SIDE of the appliqué fabric and iron them on. Working on these large sheets of fabric, move the iron slowly across the paper, making sure that each area has 6-8 second of heat. Follow the directions of the product you are using. Leave the paper backing on.
On the Day of the Party:
Put all of your supplies in a super cute tote and make your way to the party. (Be sure to coordinate about the iron and ironing surface/board ahead of time. You cannot just iron on someone’s dining room table. And some ironing boards are not really “shower ready”. So just check with your hostess.)
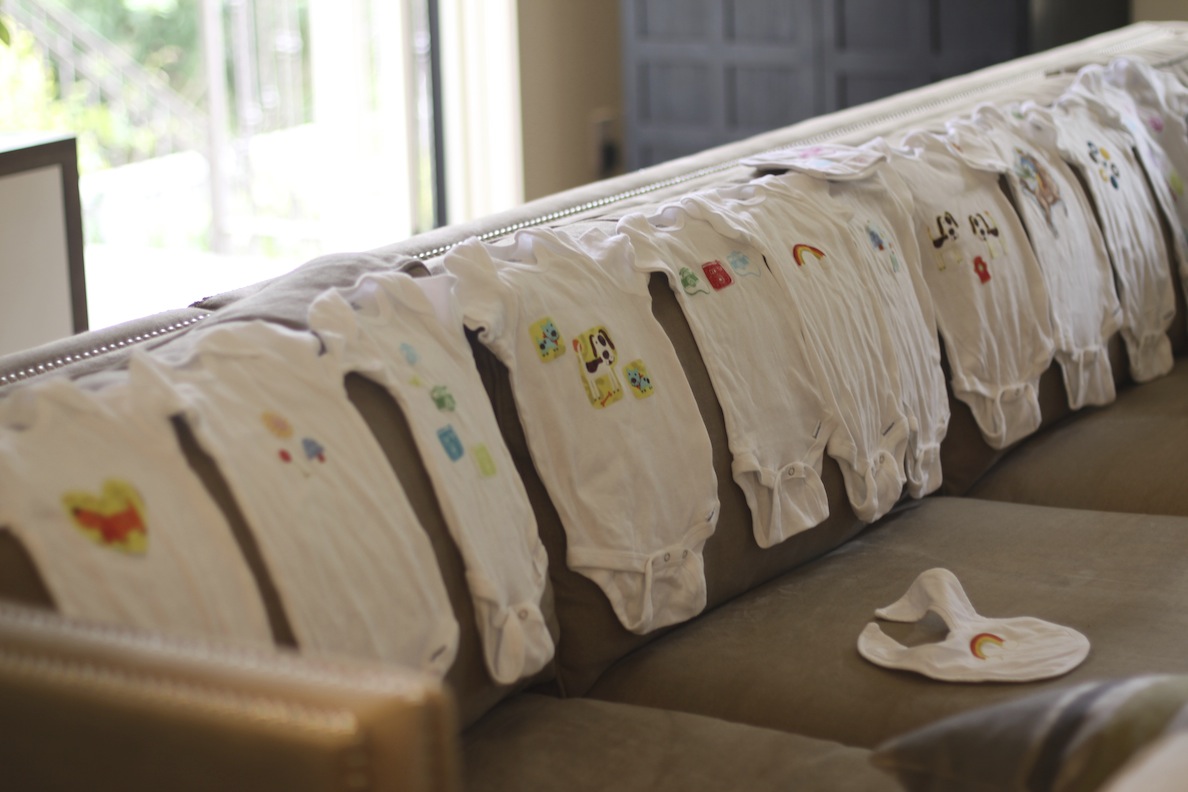
I set out the items buffet style. And then all the fabric choices for guests to see.
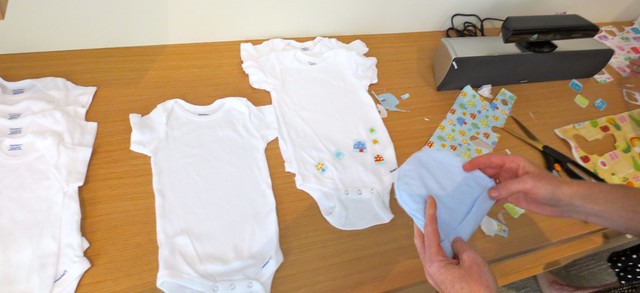
This is how I explained the project. “Pick a fabric that you like. If you feel inspired you can draw a shape on the back directly on to the paper and let the fabric just be the color of the shape. Like, an airplane, for example. You could cut out an airplane out of ANY of this fabric. OR, if you like the print of the fabric, you can just cut out something you see and place that down. It’s totally up to you.”
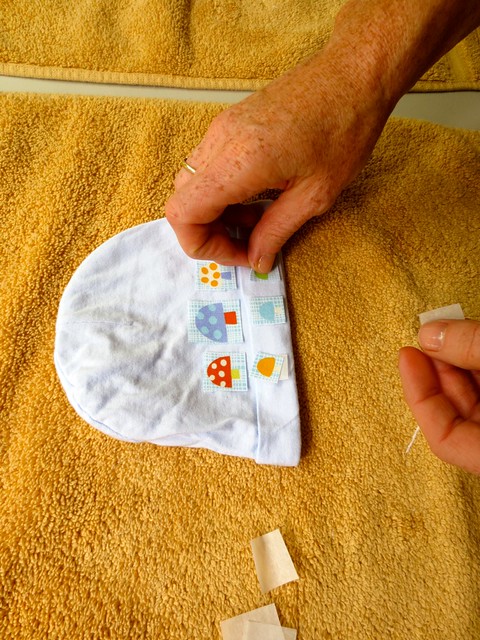
Here is Michelle lining up her mushrooms on a hat.
Cut out the shape/s you would like and line them up however you like on the onsies and hat. Then peel the paper off the back and place the appliqués where you would like them.
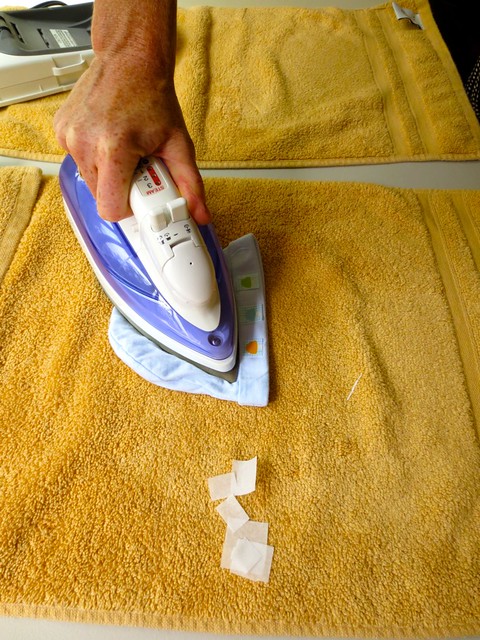
Place the iron flat on the top of the pieces. (Do not use a “scrubbing” ironing motion or you risk moving the pieces.) 5-8 seconds with a hot dry iron are the directions for the iron-on that I used.
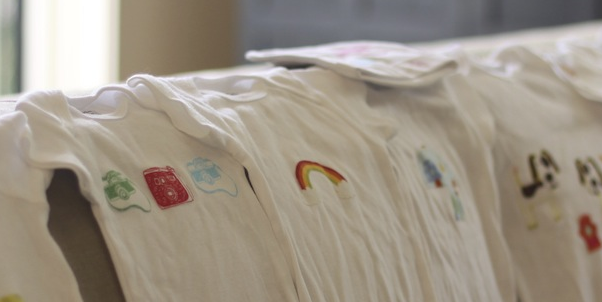
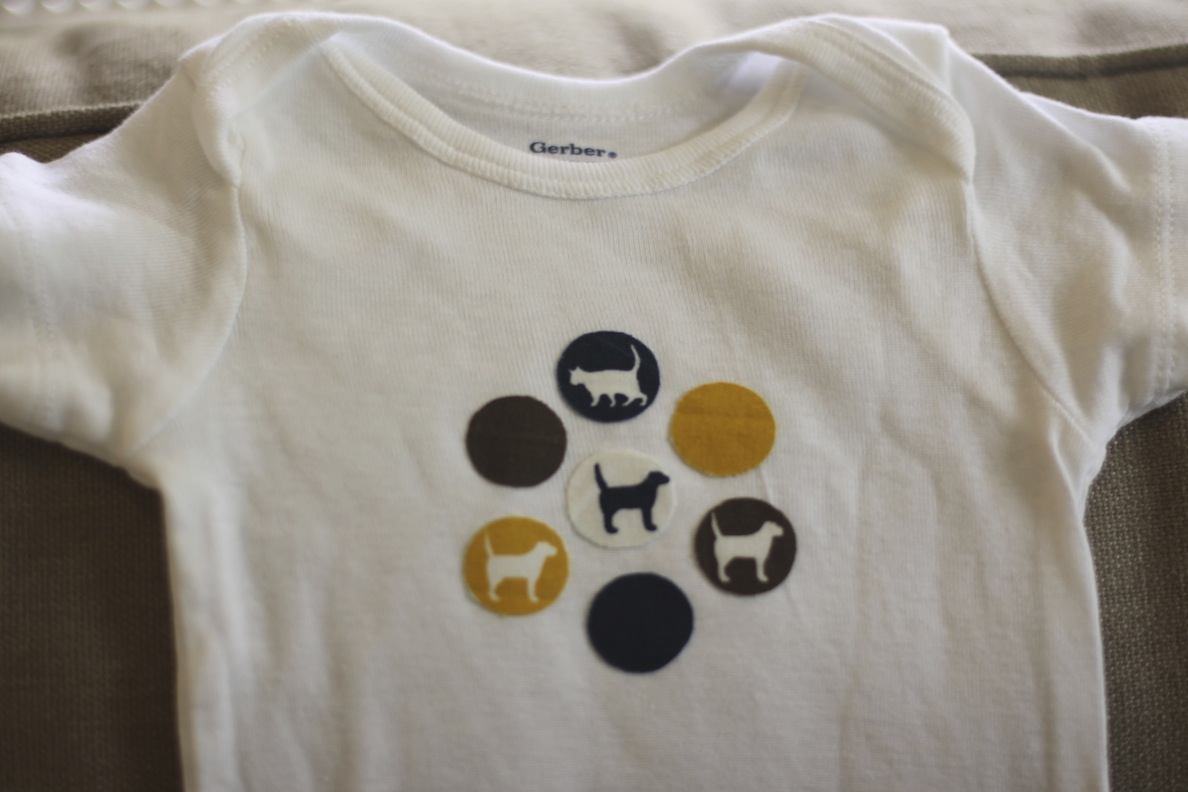
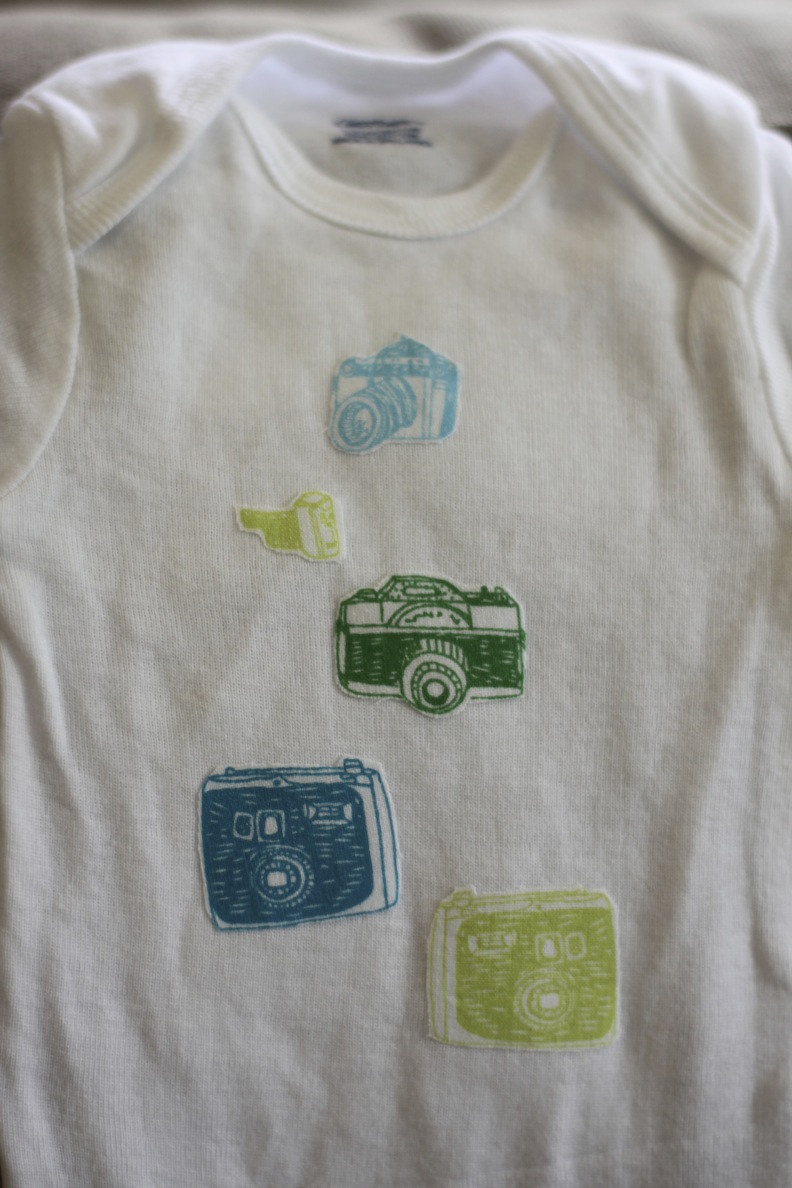
And here is how some of the pieces look!
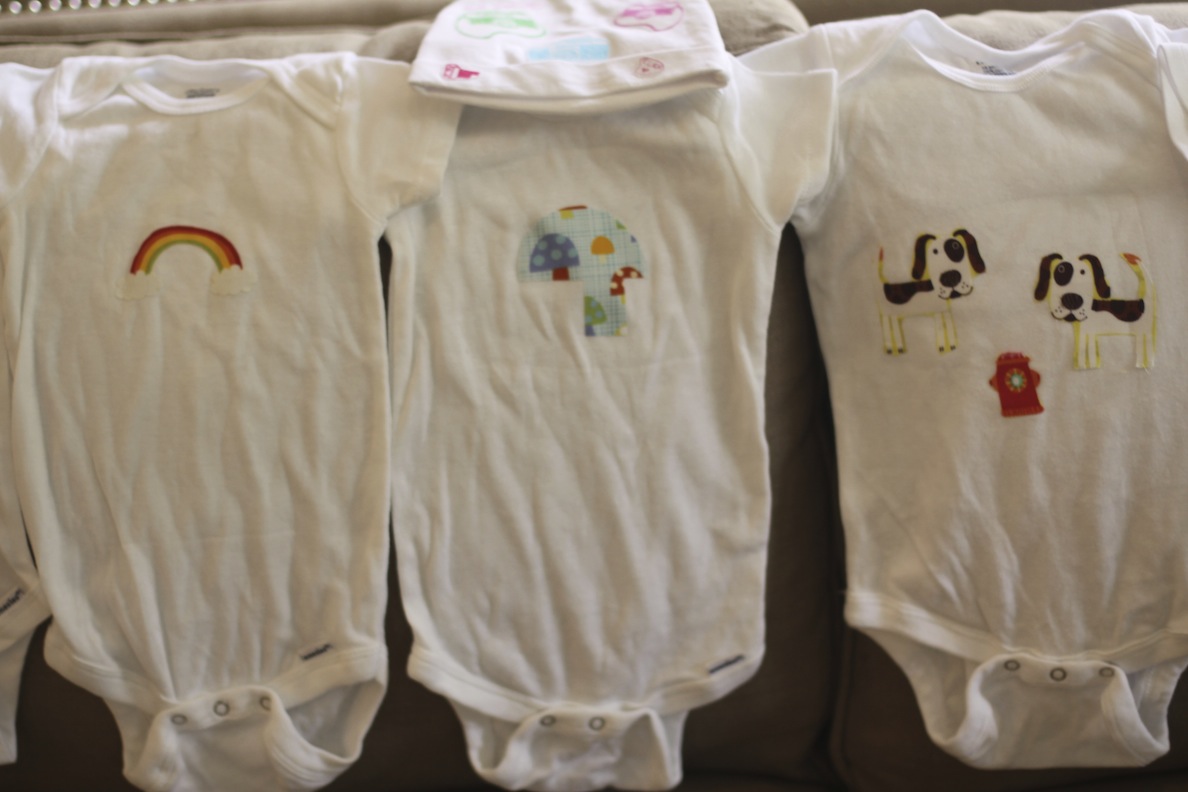
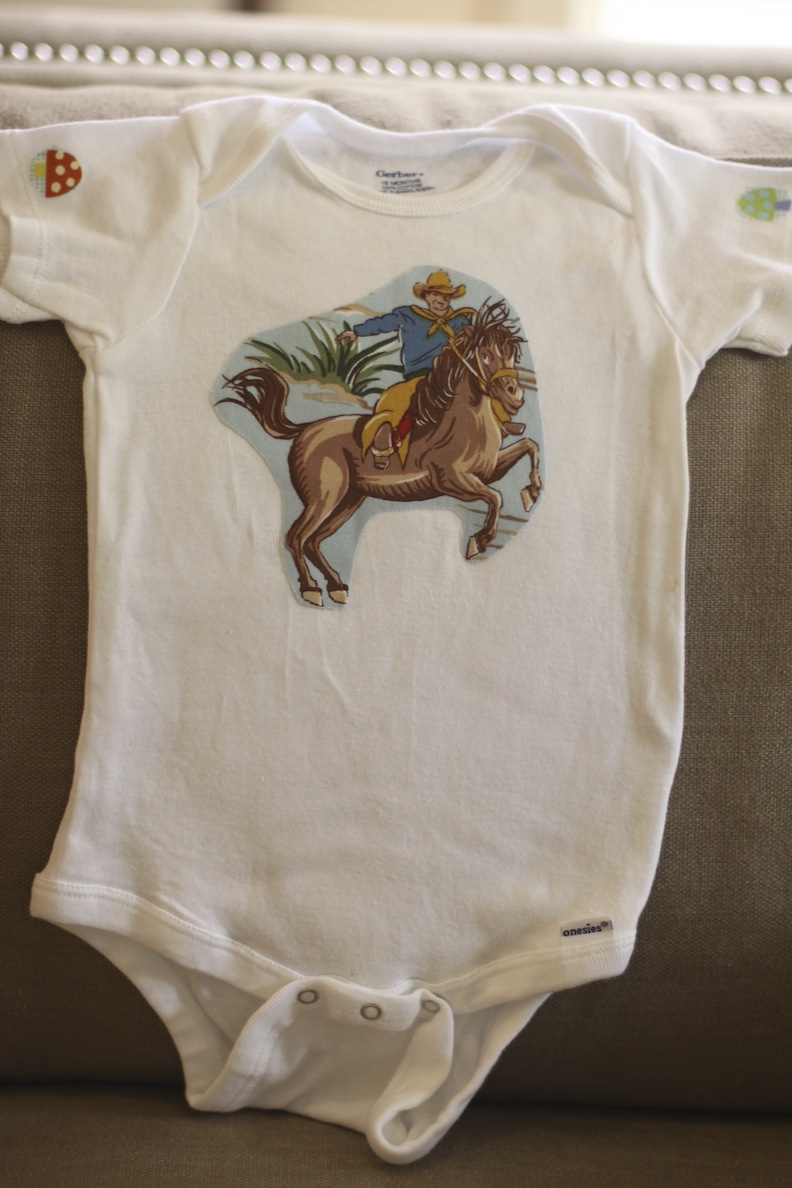
The cowboy above is by the sweet Mama herself. She was enjoying the project and didn’t want to stop, so she put some on sleeves too!
It was SO fun to do this project with these women, because we are all at a co-op and I have done projects with their kids for a year now! We talk about “the process is more important than the product” when you do something with the kids. The same principal applied here. I wanted all the Moms to feel success too, but I wanted it to be THEIR success, not my picture of how the piece was “supposed” to look. It was a fun turn of the tables to take the Mommies through something with some of the same parameters that I have had with all of the kiddie projects.
If you don’t have a shower coming up, you could always do it at a birthday party or just at home on your own. Kids need to have cutting skills and be okay with sharp scissors to do this project. (A dull pair of scissors is not going to cut through fabric and paper.) You could help with the hot iron, but that’s it! It is SO fun, and almost guaranteed success.
Happy Crafting!
© 2005 – 2013 Kathy Lewinski & Susan Cornish

2 Comments to Project: Embellished Onsies