

Inspired by these amazing posts of this fabulous experiment I was so excited to try this at school.

This photo is from Preschoolpowolpackets. And they have great instructions as well.
As it turns out, there are several degrees of intensity in this project.
At first glance, the supply list looks easy enough, but then, at closer inspection, it is a little bit more of a challenge.
![IMG_2962[1]](http://farm9.staticflickr.com/8535/8623580930_7711fcdf26.jpg)
Supplies:
- Yeast
- Warm Water
- Dish Soap
- Food Color
- a bottle
- hydrogen peroxide
- Optional, but great:
- Clipboards
- Pens
- Paper
It’s the hydrogen peroxide that is the tricky part.
“1/2 cup 6% hydrogen peroxide. It is important to use at least 6%. You can use 8% or more (available on Amazon), or you can Salon Care Professional Stabilized Formula. 20 Volume Clear Developer from Sally Beauty Supply works fine too. 3% from the grocery store will NOT work as well. :)”
I went to the drug store to get the Hydrogen Peroxide, and there was only 3% on the shelf. I found out that if it is a stronger solution than that it is “weapon’s grade”. Really? The looked at me like I was a little bit nutty. (I think that is funny, because to get a funny look at a Walgreens in the Mission in San Francisco is quite an accomplishment!)
We ended up getting our Hydrogen Peroxide from a beauty store. It was $7.00.
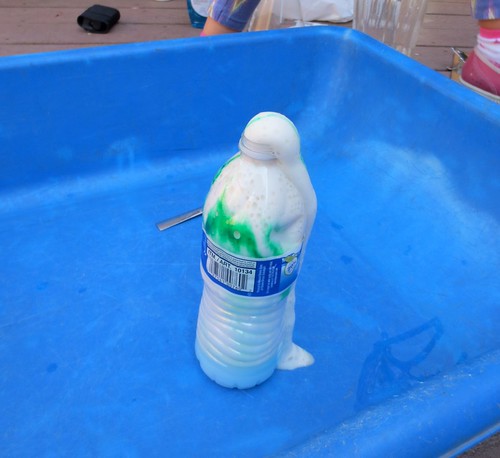
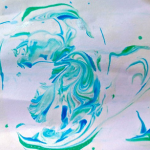
The good news is that it was suspend in a lotion type of solution. So that made it really “splash proof”. The bad news is that the solution meant that the reaction didn’t have the violence that we saw on some of the videos.
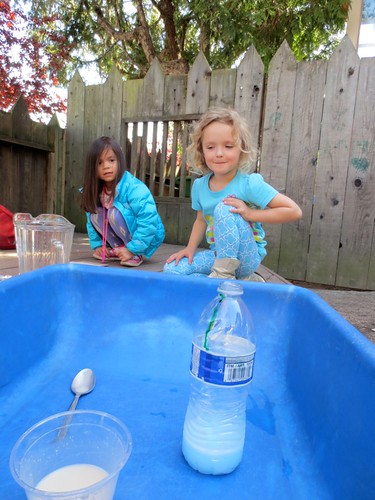
Here we are setting up.
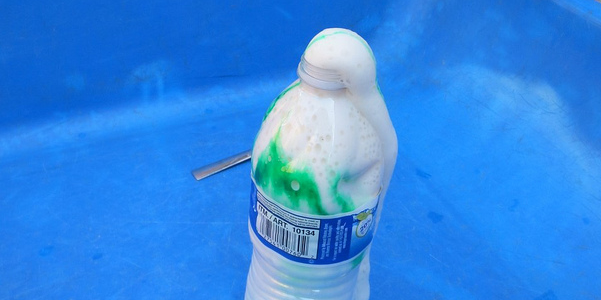
And here we are, anticipating the foamy reaction
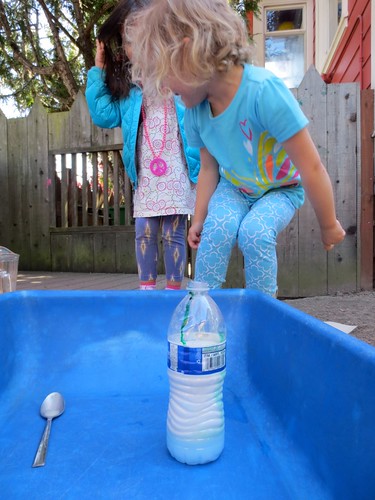
Slowly but surely, we got some results.
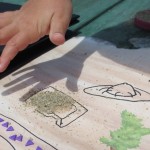
The other part of this activity for us was to be scientists and record the details of our experiment.
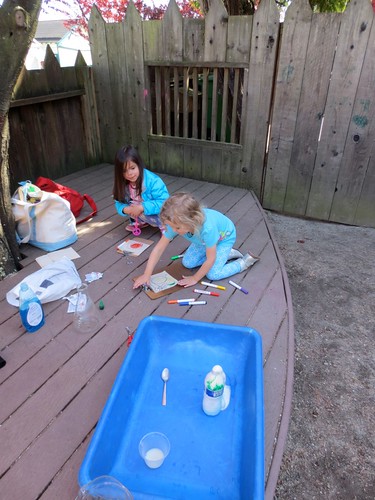
So each kid had a mini clip board, and a half sheet of paper, markers were available and they noted their observations. Some of their records were nothing short of amazing. They drew the bottle in GREAT detail. Or they drew the toothpaste part. But it was always quite clear what they were showing us.
A couple of notes: one web site shows the kids in safety goggles (to prevent any chance of splashing the chemicals into the kid’s eyes). We did not have these goggles available, so I conducted the experiment in a big tub and I had the kids sit pretty far from me for the first round. They sat with their clipboards, taking notes. In the end, with the lotion solution that we were using, I don’t think it was possible to create a splash. They make this a more friendly (splash-proof) product for hairdressers, and in the end, it is splash proof for everyone. (This was just OUR experience. I would take anyone’s safety tips to heart at all times. And of course, when in doubt, make the most conservative choice and move the kids back or get the goggles.)
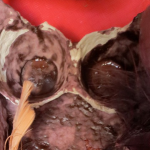
Beaker note: I tried one round in a beaker. I thought this would be FANTASTIC.
![IMG_2950[3]](http://farm9.staticflickr.com/8265/8623581070_82bd583878.jpg)
With greater surface area at the bottom, and then, “toothpaste” foam smooshing through the inverted funnel top and spouting out everywhere. For whatever reason, the beaker was a bust. The bottles worked better.
Have fun!
© 2005 – 2013 Kathy Lewinski & Susan Cornish


One Comment to Preschool Project: Elephant Tooth Paste