
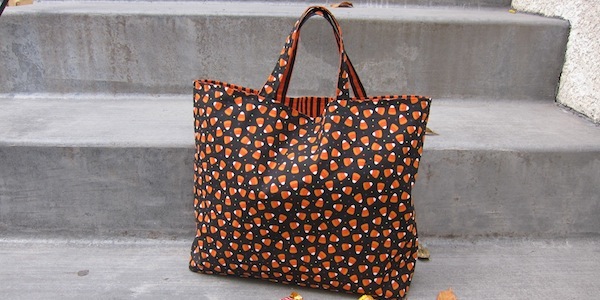

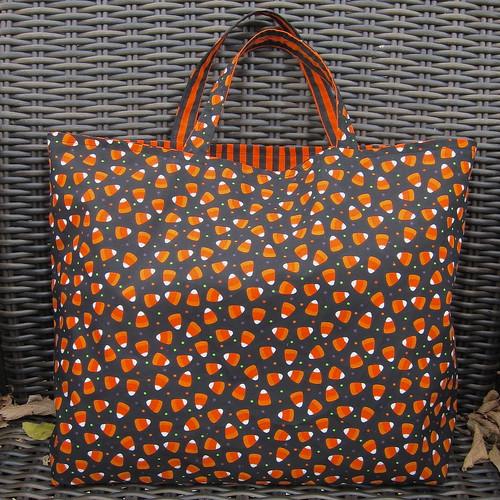
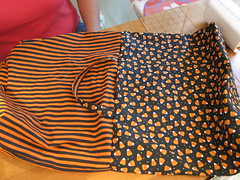
This month’s bag is a quick, little tote bag perfect for trick or treating. It’s reversible so your little ghost or goblin can have their pick of which fabric shows. We kept the straps short so little ones won’t drag it on the ground. Firm interfacing at the bottom helps the tote keep its shape.
Since all our trick or treaters already have their own custom bags we’d like to give this one away. To enter just leave a comment on this post telling us your favorite thing to get in your trick or treat bag. Please only one entry per person. We’ll pick a winner on Wednesday, October 24th. This contest is open to everyone world-wide, but we can’t guarantee delivery outside the US in time for Halloween.
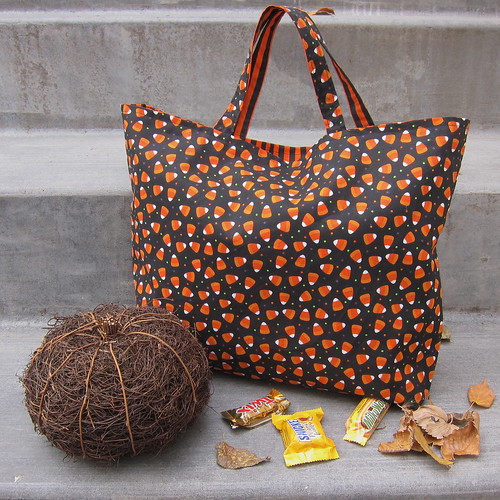
Reversible Trick or Treat Bag
Supplies:
- 1/2 yard each of two cotton fabrics (if you have a design with a pattern that needs to go in a particular direction you may need 3/4 yard. For example to have our stripes go up and down we needed the larger pieces of fabric.)
- thread
- sewing machine
- scissor
- iron
- 3″ x 13″ piece of firm fusible interfacing
All seam allowances are 1/2 inch unless otherwise noted.
Cut two rectangles of each fabric 18″ x 15″
Cut two straps from each fabric 15″ x 1 1/2″
Straps:
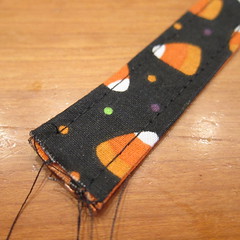
1. Put two straps of different fabric together right sides facing each other. Sew done each long side with a 1/4″ seam allowance.
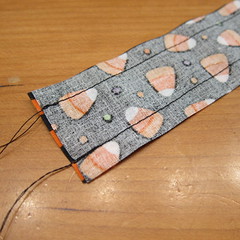
Turn inside out.
2. Press the straps and then top stitch along the long sides.
Bag:
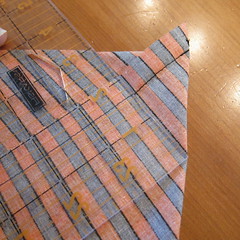
1. Take the two pieces of your outside fabric and put them together right sides facing each other. Sew a 1/2″ seam along one long side. Press the seam towards one side
2. Iron the interfacing on the wrong side of this fabric centered on that bottom seam.

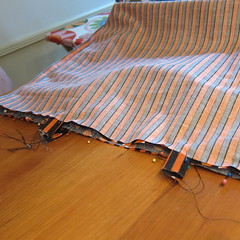
3. With right sides facing each other, sew the two short sides.
4. Sew a 3″ gusset on each side of the bottom. Turn right side out.
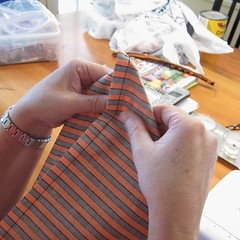
5. Take the two pieces of your outside fabric and put them together right sides facing each other. Sew a 1/2″ seam along one long side and both short side. Sew a 3″ gusset on each side of the bottom. (For more details on making a gusset see this post.)
6. Put the outside of the bag in the inside, their right sides will be facing each other. Match up the side seams and tops.
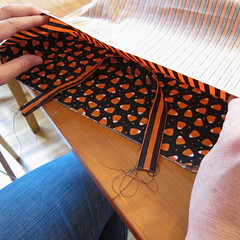
7. Figure out where you want the straps placed.. We did ours in 5″ from the edge of the bag on each side.
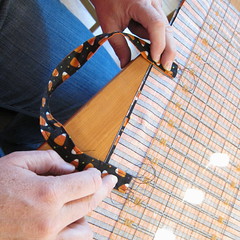
Pin the strap in place in-between the outside and inside layers on both sides on the bag. Make sure to not twist the strap and that the right fabrics face each other (unless of course you want the handle to be contrasting.)
8. Sew around the top leaving a 3″ – 4″ gap.
9. Pull the right sides out through the gap. Push the lining fabric inside.
10. Press around the top seam, making sure to fold in the seam allowance at the open gap. Top stitch around the top closing the gap.
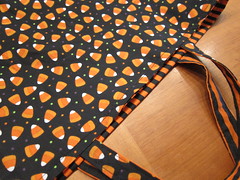
And now you have a strong bag just ready to fill with tons of treats!
© 2005 – 2012 Kathy Lewinski & Susan Cornish


Pingback: 20+ Free Halloween Sewing Patterns & Projects – Bobbin and Button