

For this Iron Craft challenge we were to finish a UFO (unfinished project) or something we had the supplies for but hadn’t gotten around to making. I have a pile of things, especially knitting and quilting projects, to chose from. I went with one that I knew was driving my husband a little crazy, resizing our bedroom quilt.
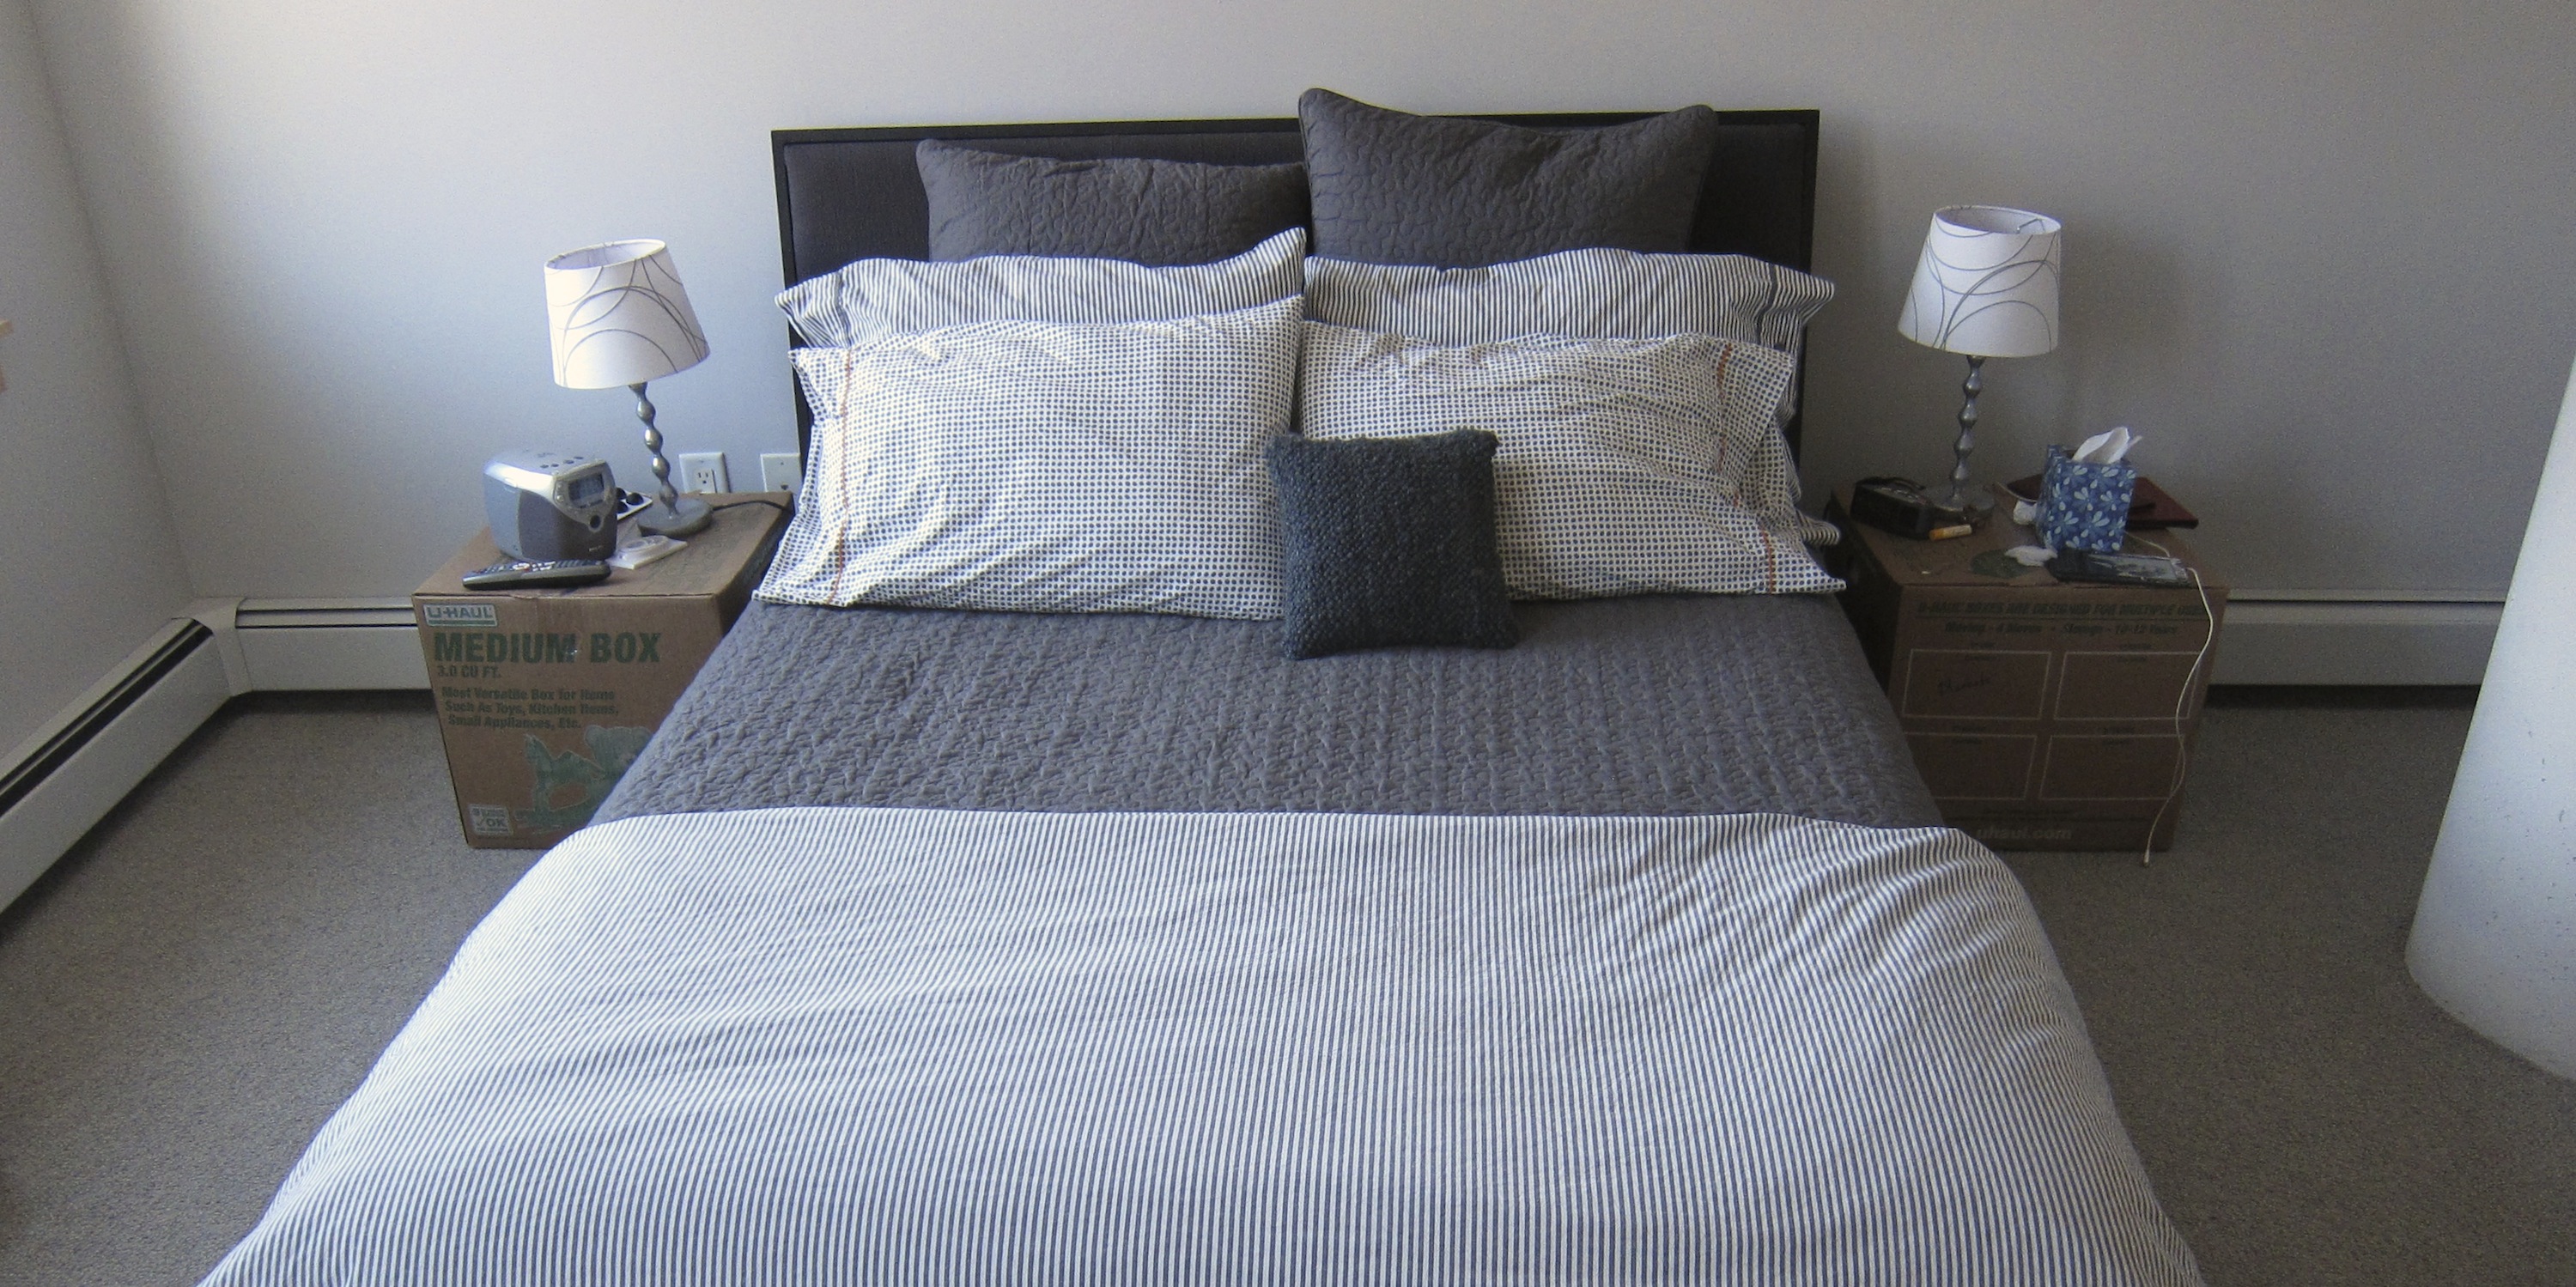
I bought this quilt at IKEA for our new bedroom because it was the perfect grey, made of cotton and a great weight. It came in two sizes Twin/Full and Queen/King. Silly me, I didn’t even thing about how huge a Queen/King was going to be on a platform bed which is lower to the ground. It just puddled on all sides. Of course, I had cut off all the tags and thrown away the receipt before trying it on the bed. I took a look at how it was constructed and decided I could easily resize it myself.
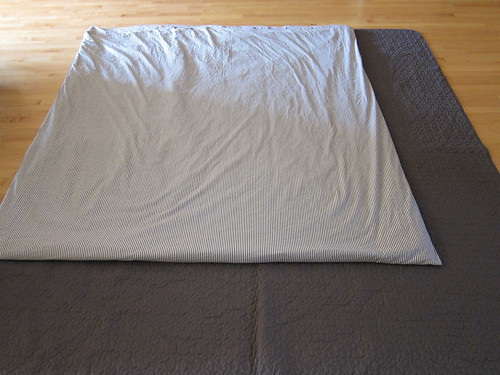
First, I washed and dried the quilt. The label said it would have about 4% shrinkage, so I wanted to make sure it had shrunk before I cut it to size. Then I laid the quilt out and laid out duvet, which is the correct size on top of it. I used it to measure out how much I need to take off the quilt. With a ruler, I marked lines where I would be cutting, but I did not mark the binding.
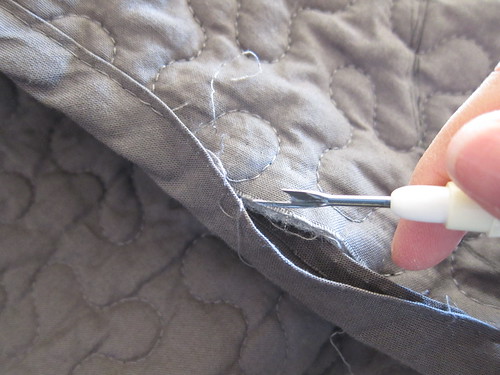
Then I used my stitch ripper to removed the binding from the section I was going to cut off plus a little extra. This binding was just sewn on through both sides with one line of stitching which made it much easier to remove than if it had been blind stitched on. At this point the binding is still attached to my quilt on one full side and about two-thirds of another.
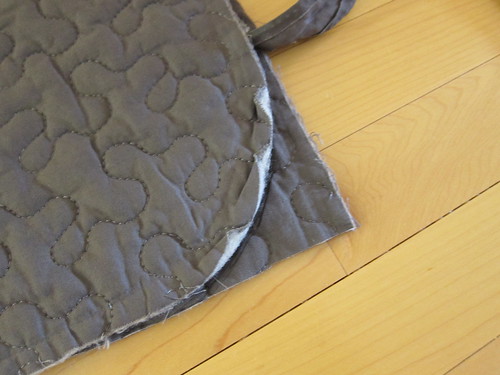
Then I cut off the excess body of the quilt on the lines I had marked before. The quilt had rounded corners, so I used the two I cut off as patterned for the ones on my newly cut sides.
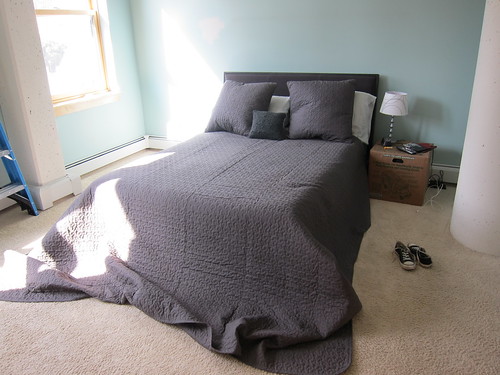
After that it was just a matter of resewing the binding back on, cutting off any excess and doing a new join. I sewed it on by hand, but could have easily done it with a machine. And here it is finished, a perfect fit.

(You can see in the time I did this we also repainted the room and got new carpeting. Soon the cardboard box nightstands will be going too.)
I’m really happy with how this turned out. I was lucky because the original quilt just had a all over random pattern on a solid color, so I wasn’t cutting out part of a design. Also it was pretty closely quilted which made cutting and rebinding really easy. Now I have quite a bit of quilted grey fabric left. Time to make some pillow covers!
© 2005 – 2013 Kathy Lewinski & Susan Cornish


What a great project. So resourceful. It seemed like sewing projects ruled for this challenge.
You did a great job! it looks crisp and perfect now. And much better than sewing a whole new quilt. (You can still do that when ever you want.) I love seeing the grey on the walls. I love it.