

In San Francisco, all plastic shopping bags have been banned. I am glad about that in principal. But it has fueled my obsession with bags! I need to really get some new habits cemented. The bags need to make it to the store with me and then back to the car so they can go to the store again.
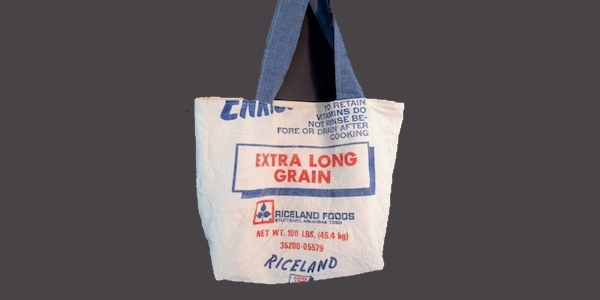
I have a love affair with the old flour and rice sacks. I have a little collection. They have an amazing range of textures, prints, sizes, and so much history in each one. I wanted to do something with them, but it felt like nothing was” important” enough. Finally, I thought I would make a bag that kind of pays homage to the origin of this fabric. That made me brave enough to cut it.
Do you want a Sack bag of your own? Here is how:
Rice or Flour Sack Shopping Bag
Supplies:
- 1 flour sack (or rice sack)
- 1/2 yard of chambray
- 3/4 muslin (unbleached)
- thread (cream)
- 1 small rectangle of the stiffest iron-on interfacing you can get. Mine is 5x 14 and the weight of a shirt board. STIFF.
tools:
- sewing machine
- fabric scissors
- Quilters Ruler
(super helpful, but not necessary)
- iron
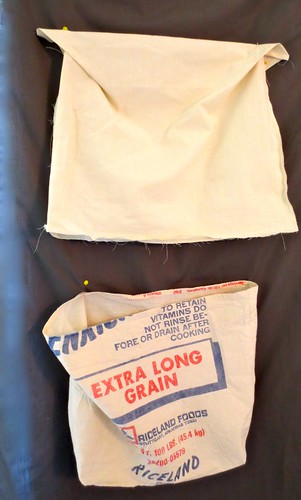
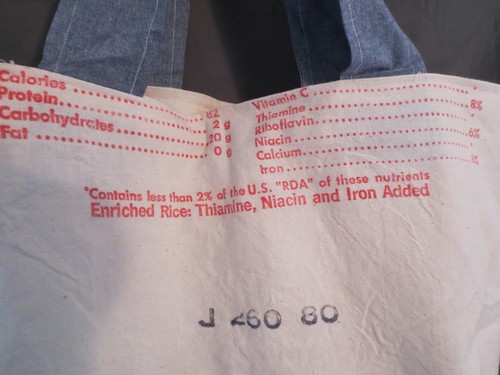
First, examine the bag and admire the sweetness. The logos and the type face on these bags are excellent.

Where would you cut “Pig Popper” up? How could you ever heave your scissors into THAT?
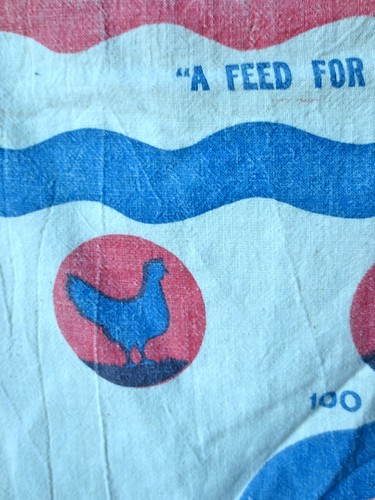
And this cute chicken? I love him. I don’t think I would have to cut him. (but you can see now where there is a little bit of obsession/sickness here.)
What you will do is start by determining where to cut your bag. Figure roughly in half if it is a “standard” size. And you will get two bags out of it. But you want to maximize the logo placement and funny words on both bags.
Process Overview:
- sew a bag
- sew a liner
- make straps
- sew the bag, liner and straps together
First, cut the bag into two pieces, roughly in half across the middle. Sew the bottom of the Rice Sack shut. (If you are using the bottom section of the sack, sew across their stitches for reinforcement. If you are using the top half of the bag, sew a strong seam across the bottom. And reinforce it.)
Measure the whole bag. Make two muslin rectangles to match it (don’t forget to add your seam allowance on the muslin). This will be your lining. Put the two piece of muslin together and sew the sides and bottom together.
Next step is to square off the corners, like a paper grocery bag. Start with the lining. Pull the corners of the bag so that they are at right angles to the bottom. If you have a quilter’s square, this is how you will get a perfect right angle on the corner. If you don’t have one, don’t worry. Fold the corner, and with a ruler, measure the distance across where you want your seam to be. Then make sure that your bottom seam is half way between the edges.
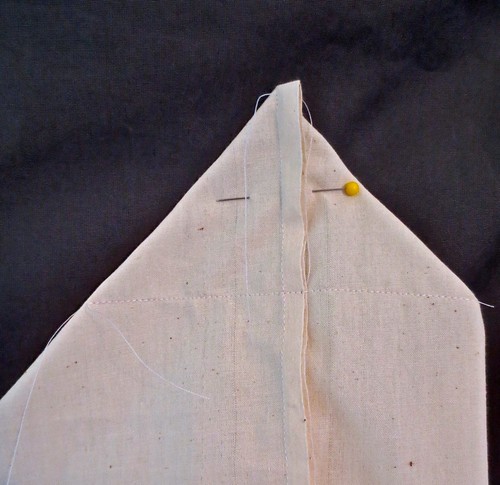
Sew one corner down, and then measure it. How far across is the seam. And how long is the triangle. Those are the measurements that you will take and make the other corner match. And then, you will repeat those corners on the rice bag as well. Once you are satisfied, trim the triangles off with leaving a generous seam allowance. Press the seams and corners so they are a little bit crisp.
The next step is to add the interfacing piece to give structure to the bottom.
After squaring my corners, the bottom of my bag measures 5″ x 14″, so that is how big I cut my interfacing.
Follow the manufacturers instructions to iron it down. (I ironed it to the rice bag, face down, on the inside of the bag)
At this point you have two bags, one from the rice sack, and one from the muslin. Now you will sew the two together. This is a little bit tricky.
I took the bags, and I put them together with the right side of the muslin bag sitting inside of the rice sack bag. I put in two pins, and then I turned it inside out and carefully moved the pins so that I could sew around them. Use a HUGE stitch length on this first pass because 1. your are going to need to pick out a few stitches where the handles go. And 2. if you didn’t get this part lined up correctly, then you can pick it out really easily. Leave about a 4 inch hole in the top seam, so that you can turn the bag inside out.
Once you have sewn this all the way around, press that top seam.
Straps.
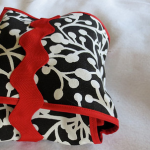
I was wondering what I would do for straps. I didn’t want to just use “webbing”. I thought about these hard working bags. And came up with the next most hard working fabric: Chambray. I made the straps thick and long enough to put over your shoulder in case you have to hold a person’s hand when you cross the street. I cut one long strip, sewed a tube, turned it inside out, pressed it, and top stitched it. Then, I cut it in half.
I figured out where I wanted the straps to be and pinned them in place to make sure they were even. Then, I took a seam ripper and I ripped open the stitches on the top seam where I wanted the straps to be. I fit the straps into the slots. Pin the straps in place in their spots, then turn the bag all the way inside out again. Sew the top seam with a finer stitch around. (be sure to leave the hole to turn the bag out again.) Reinforce the straps with some extra stitching. Then turn the whole bag right-side- out again. Press the bag. (at this point, if you want to hand stitch the hole that you left open, now would be the time.) Top stitch a seam all around the top of the bag.
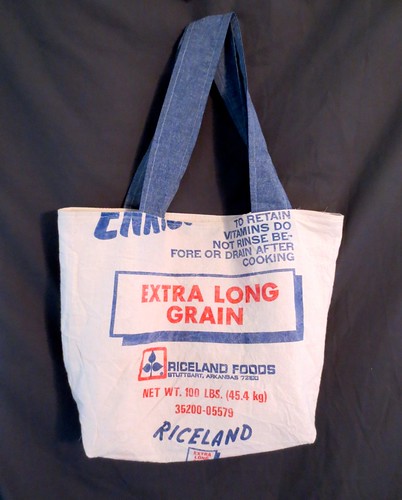
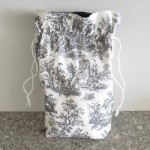
Step back, and admire!
© 2005 – 2012 Kathy Lewinski & Susan Cornish


Pingback: How to sew a recycled rice bag tote bag · Recycled Crafts | CraftGossip.com