For the current Iron Craft challenge, we were to incorporate dots into a project. I bought some Sharpie paint pens awhile back and have been wanting to use them to decorate some cheap porcelain. This seemed like the perfect project for it.
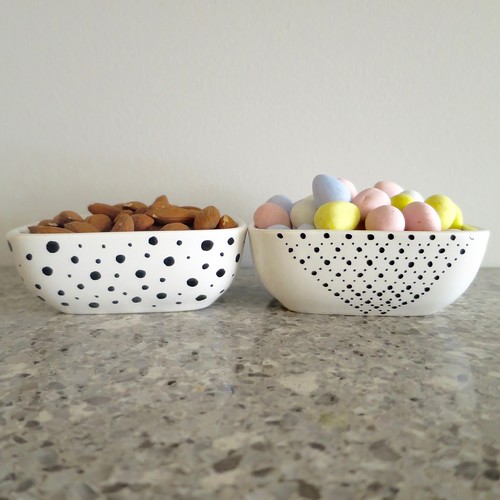
I found these $1.99 square bowls at Target. They are the perfect size for a little snack and I have needed something like them. As you can tell, I just drew all my designs by hand, so my dots aren’t perfect. This was not my original plan.
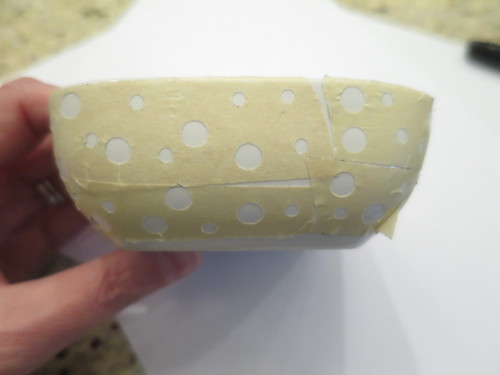
I actually spent a good hour and a half or so making stencils from masking tape and different sizes of hole punch. I covered a bowl and started filling in the stencils only to find out the paint pens bled right through the masking tape. So much for the best laid plans. Luckily, until you bake your pieces, the designs can easily be removed with rubbing alcohol.
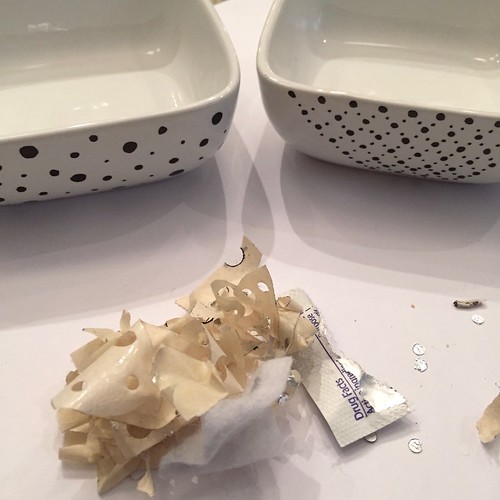
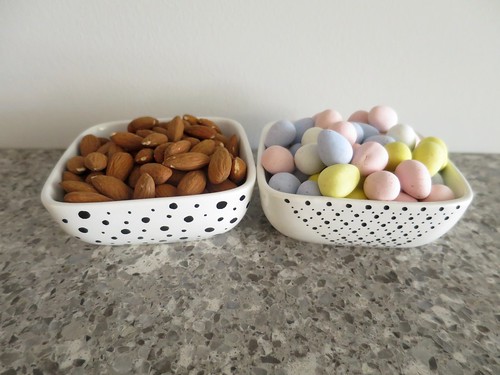
In the end, I do like the hand drawn ones, they have their own charm. I really like how the pens worked and the great shine the designs have on them. My only complaint is that even though my pens were a fine point, they lost the point pretty quickly during the first bowl. I would actually like something even finer. I have the pens and five colors and thinking I might try a few other accent pieces.
Sharpie Painted Dishes
This is a super simple project and would be easy for kids to do to create custom pieces as well. The paint washes easily off your hands with alcohol.
Supplies:
- porcelain dishes (you can find cheap ones at places like the dollar store, Target, World Market..)
- Sharpie oil-based paint pens (make sure to get the oil and not water based)
- rubbing alcohol or vodka (I used some alcohol wipes I had on hand.)
- paper towels
- scrap paper
- baking sheet
- oven
1. Wash and dry your dishes, removing all tags. Then clean again with a little rubbing alcohol. Let dry.
2. Draw your design on our dishes. If you make a mistake clean it off with the alcohol. Make sure to completely clean it as smudges will be permanent once you bake the dish.
3. Let dry for 3 days. Check to see if there are any smudges or things you want to clean up before baking.
4. Put the dishes on a baking sheet and put in a cold oven. Set the oven to 450F and the timer for 1 hour. When the hour is up, turn off the oven and leave the dishes inside to cool.
Now you have dishes you can eat off of and wash. I’m not sure if they will hold up in the dishwasher, but mine have stood hand washing just fine.
You can also use these marker on glasses.
© 2005 – 2016 Kathy Lewinski & Susan Cornish



7 Comments to Iron Craft ’16 Challenge #7 – Sharpie Painted Dishes