

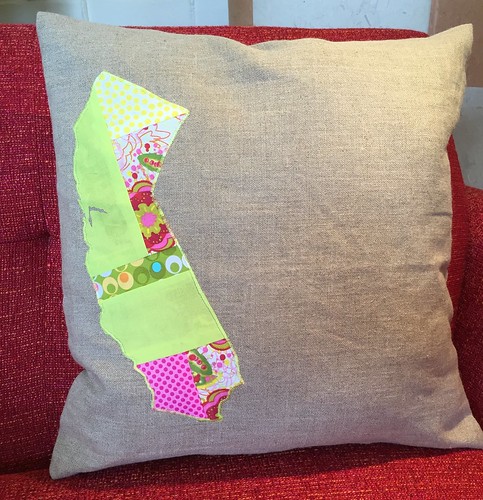
I am on a mission to make pillows this year. I see so many that I love around and in the shops. (And they are EXPENSIVE!) So I am going to take it on and sew a bunch. The first pillow in a Year Of Pillows is a lovely state pillow.
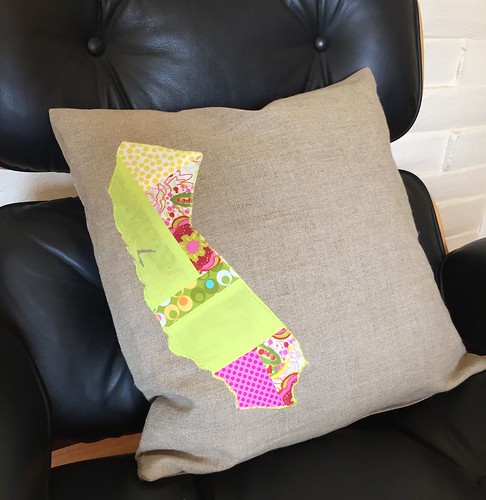
State Pillow
Supplies:
Pillow
- linen fabric
- matching zipper
- pillow form (or stuffing)
State applique:
- state shape print out
- scrap fabric (either one piece or a quilted piece)
- iron-on paper-back adhesive
Directions:
Sew the pillow cover. (Simple as that?)
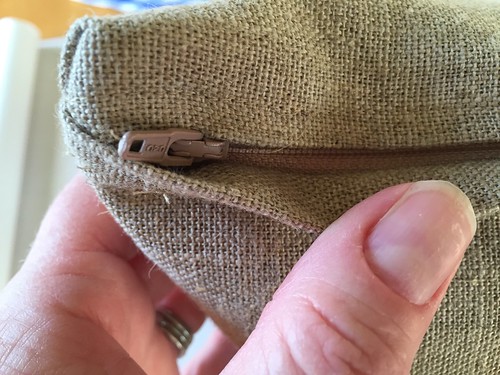
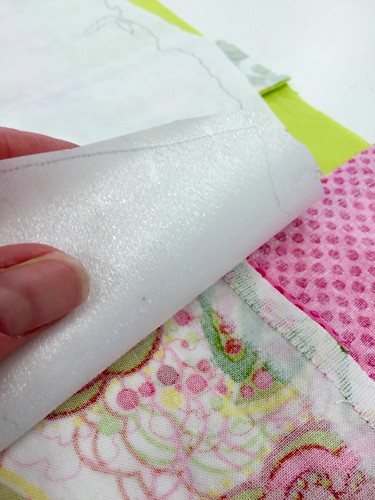
For this one I wanted to try a different zipper treatment. I didn’t just do an “invisible” zipper, I did a completely hidden zipper.
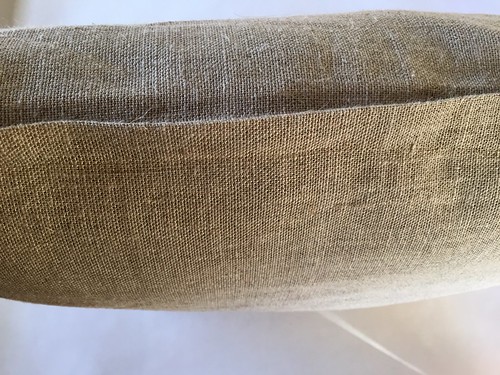
I sewed one side of the zipper down even with the teeth. The other side I folded and made it overlap so that the fold would fully cover the zipper
State applique:
If you type “(name of state) shape” into Google you will get a lot of choices. Pick one and print it out. Use a photo copy machine if you want to enlarge or shrink you piece.
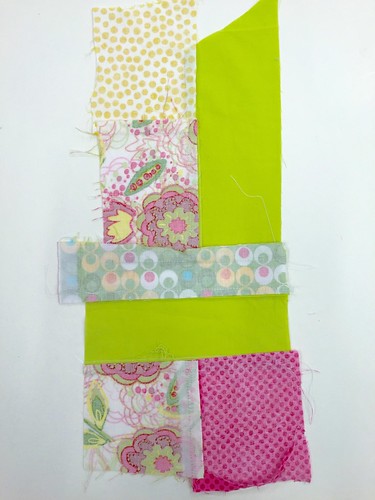
You could just cut your shape out of one piece of fabric. The silhouette alone would be nice and striking. I wanted to add one more dimension to it, so I made a small quilted piece to cut the state shape out of. To do this, sew pieces of fabric that you like together, and press the seams to get a flat surface.
Please Note: States (and letters) have a direction (a forwards and a backwards) so it is critical that the State come out on your project facing the right way. To explain the concept lets get some terms down. For the iron-on interfacing there is a paper side and a shiny “glue” side.
Get a print out of your image. If it is not dark enough or the outline is not pronounced enough, retrace over the important lines with a sharpie. This is your TEMPLATE. This needs to be traced to the paper side of the iron- on interfacing. The GLUE side should be “forwards” and the paper side will be “backwards”.
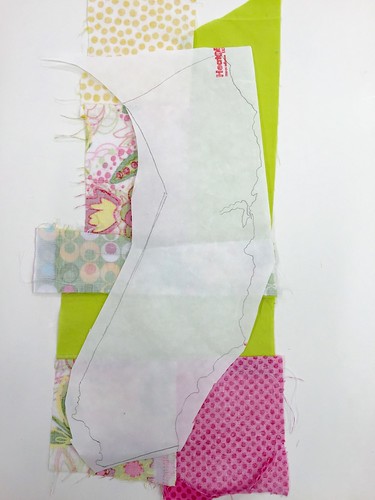
(That is why the outline really needs to be DARK, because you will be tracing it from the wrong side.) Then iron this piece down with the glue side DOWN on the BACK SIDE of the fabric.
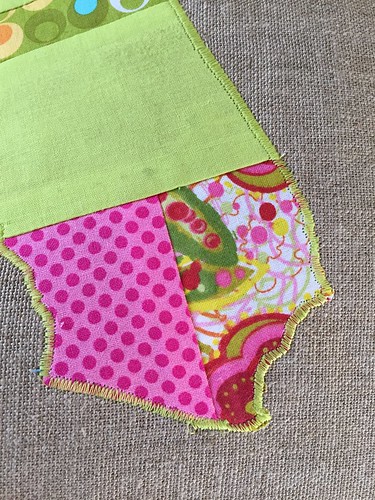
Cut out the paper and fabric shape along the outline. Then, when you are ready to place the State on your pillow, peel the paper off the State, (now the glue is on the back of the State piece) turn it over so that the glue side is DOWN on the pillow, and now the picture is facing the right direction.
- print out shape: right direction
- trace to paper side of interfacing: backwards
- attach iron to fabric: shiny side down to wrong side of fabric
- iron on to pillow: right side of fabric
Once the State piece is ironed down, then satin stitch around it for an extra polished finish.
I love the finished product here. It is whimsical, that is for sure. But I got to use colors that I love but cannot wear. This was a fun project to make.
Happy Crafting!
© 2005 – 2016 Kathy Lewinski & Susan Cornish


