

This week, we will be taking our numbers from last week and turn them into a custom template for our hand. Get out your worksheet and gauge swatch from last week and let’s get started. (There is a lot of information here for sure. Feel free to ask questions on the forum.)
Turning Your Measurements into Rows and Columns:
First we need to do some simple math to figure out the number of rows and columns will be in the different sections of our mittens. Once again, I have created a worksheet for you.
Mitten Measurement Worksheet 2 in Word
Mitten Measurement Worksheet 2 PDF
The first part of your homework for this week is to fill out the first page of this sheet.
The Cuff
You’ll notice the worksheet asks for a cuff length and that is not something I had you measure. This is where we get to start thinking about designing.
Cuff length is more about preference and your design than your measurements. Do you want a long cuff or a short cuff? I typically do 2″ – 3″ because I want the cuff to tuck in my coat sleeve. Do you want to do a hemmed edge? Then you need to add extra rows for the hem. This is a personal choice. You can change is as you are designing, but for now pick a length that seems right to you. (We’ll talk about cuff width a little later.)
Design Format
Now is the time to think about how you are going to work on your design. For this DAL, we will talked about three different ways.
1. Pencil and paper: This is how I started out. It is good if computers make you uncomfortable, though you will still need to print out graph paper. It can be a little clumsy designing on paper, you’ll do a lot of erasing to even move something over one stitch.
2. Excel: Up until now, this has been my go to way to design. You have to do a little bit of work to set up your graph paper, but being able to cut, copy, and paste designs make doing tweaks to your work easy. I am not going to be teaching Excel here especially because every version is different, but if you are familiar with Excel this is a good way to go.
3. Stitch Fiddle: An online design site. There are, I’m sure other programs for knitwear design, but Stitch Fiddle is free and I’ve found it easy to use. You don’t have to download anything. It walks you through the steps of using it the first time you go on. Since it was created just for designing it makes working in your gauge super easy. Sander, the designer of Stitch Fiddle, is following along on our forum, so if you have questions while using it be sure to tag him, sanderdebruijne.
No matter which way you are designing, you need to create your knitting graph paper whether it be a physical piece of paper or digital.
Knitting Graph Paper:
Do you need to use special knitting graph paper to chart your mittens? The answer depends on what you are planning to do with the mittens. If you are making mittens without color work you can use any graph paper you want. If you are planning on doing color work, you’ll want to use graph paper that is set to your gauge. (The only exception would be if your gauge is exactly the same for stitches and rows.) The reason is, the difference in number of stitches and rows per inch will alter the proportions of your color work design.
In this graphic, the heart is the exact same number of stitches and rows in both charts. The difference is the left heart is on square paper and the right one is on knitting graph paper.
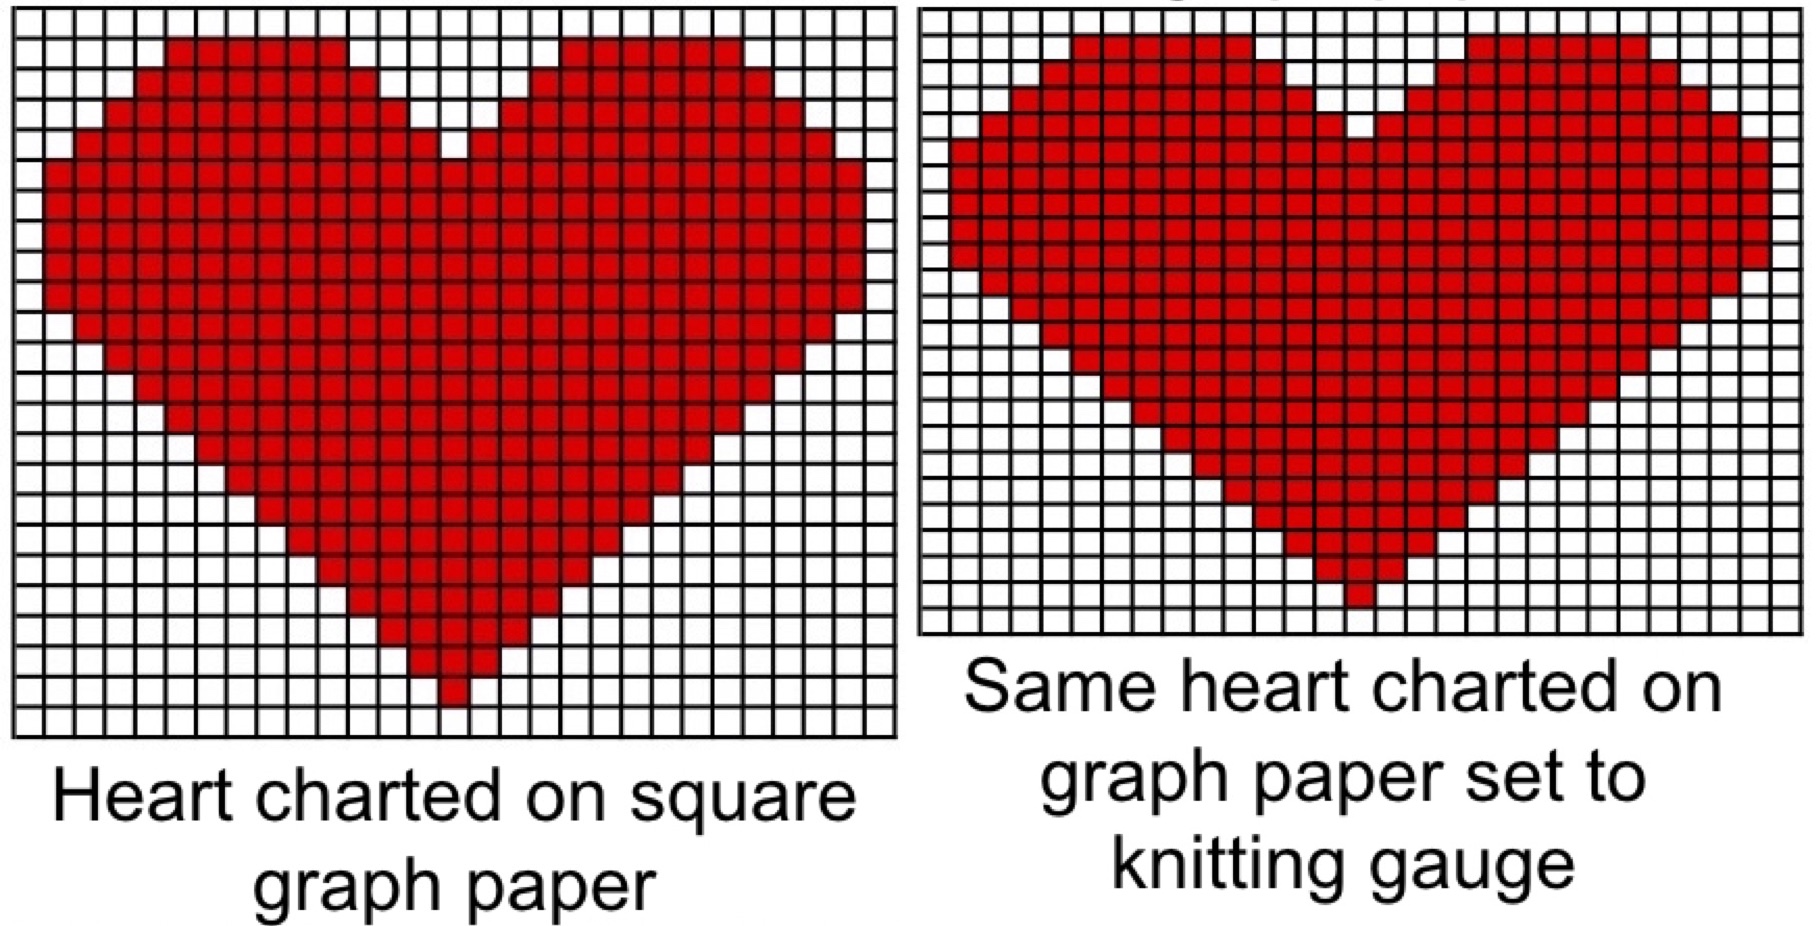
You can see how important it is to chart your pattern with squares that are the correct dimensions to know how your design will look knit up.
Pencil and Paper:
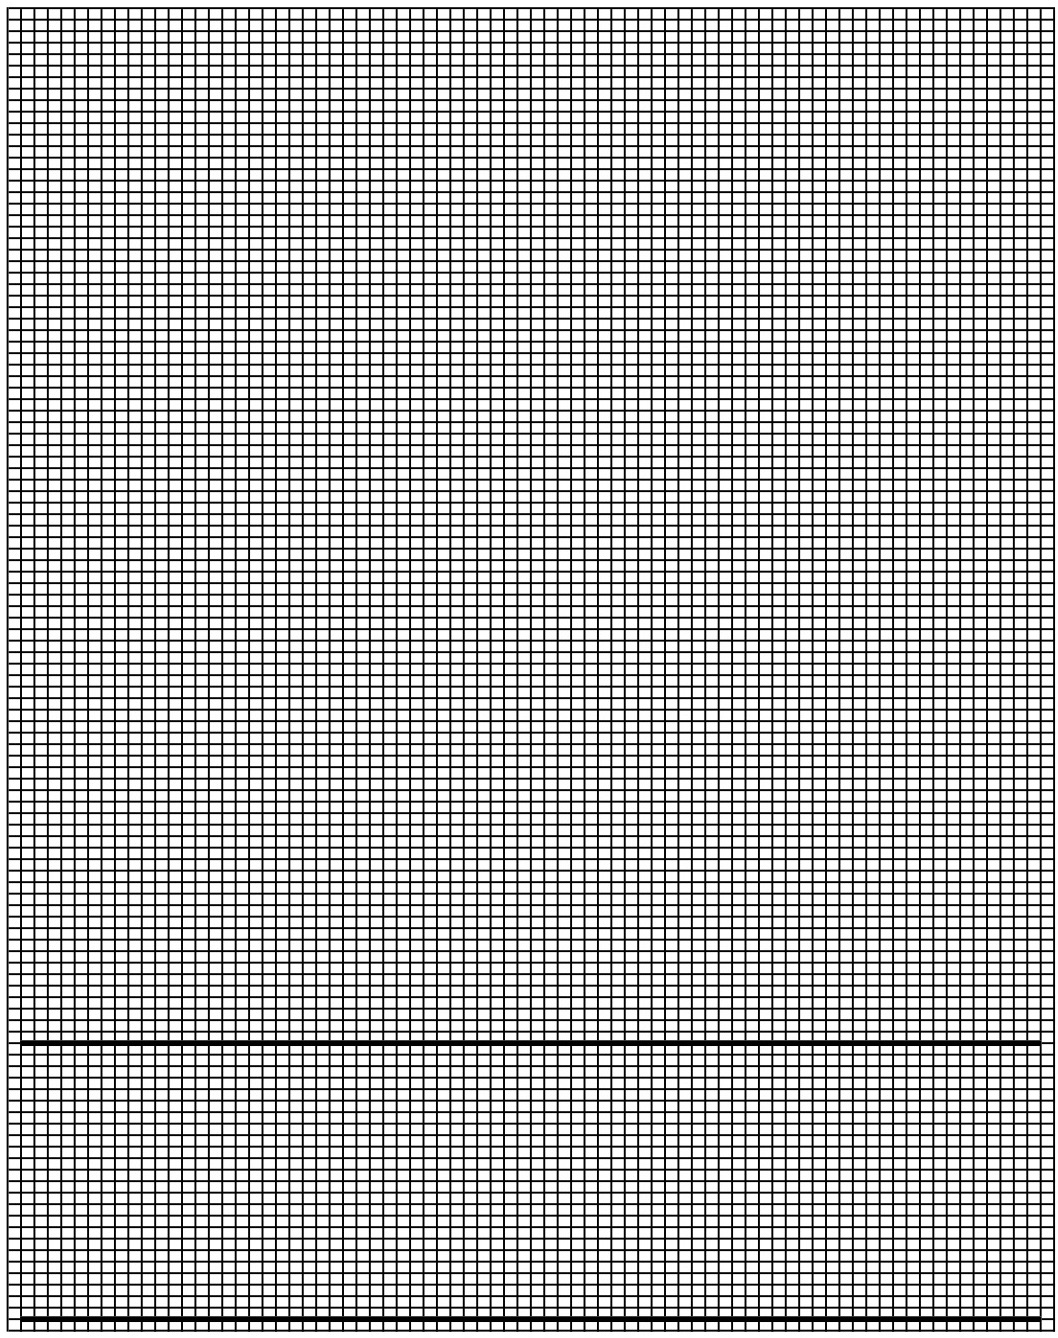
There are quite a few sites online where you can print out free sheets of knitting graph paper. I prefer the ones that let you enter your exact gauge, like ABCs of Knitting. Just enter your stitch and row size and a reduction you like, 1/5 looks good to me, and print out your sheets. Sweaterscapes helps you figure out the aspect of your gauge and then offers graph paper in all different sizes.
You can also follow the steps below to create graph paper in Excel or Fiddle Stitch and print it out.
Excel:
To figure out the height and width you need for your cells in excel you need to do a little math. My gauge is 10 stitches and 12 rows per 1 inch. For the width, I divide 1 by 10 which gives me a measurement of 0.1″. For the height, I divided 1 by 12 which gives me a measurement of 0.083.
Open a worksheet in Excel and highlight the whole thing. Then go in to formatting. Format the column width to the measurement you got for stitches. Format the row height to the measurement you got for rows. You’ll also want to format the cell borders so all the cells have a thin border on all four sides.
You now have knitting graph paper for your gauge. Make sure to save it! You will most likely want to zoom out to work. (If you want to use paper and pencil to design print it out now.)
Stitch Fiddle
Go to Stitch Fiddle and follow the steps to do color knitting in the round with your own design. Then you can enter the numbers for the size of your graph and your gauge. Enter the number of columns and rows you need your graph to be to fit your mitten. The column number should be at least the number of stitches you need for your mitten, G on your worksheet. The row number should be at least the number of rows you need for the hand and cuff of your mittens, K on your worksheet. Click the box next to gauge then, enter your stitch gauge into horizontal and your row gauge into vertical. When you click start now, you will get your graph paper.
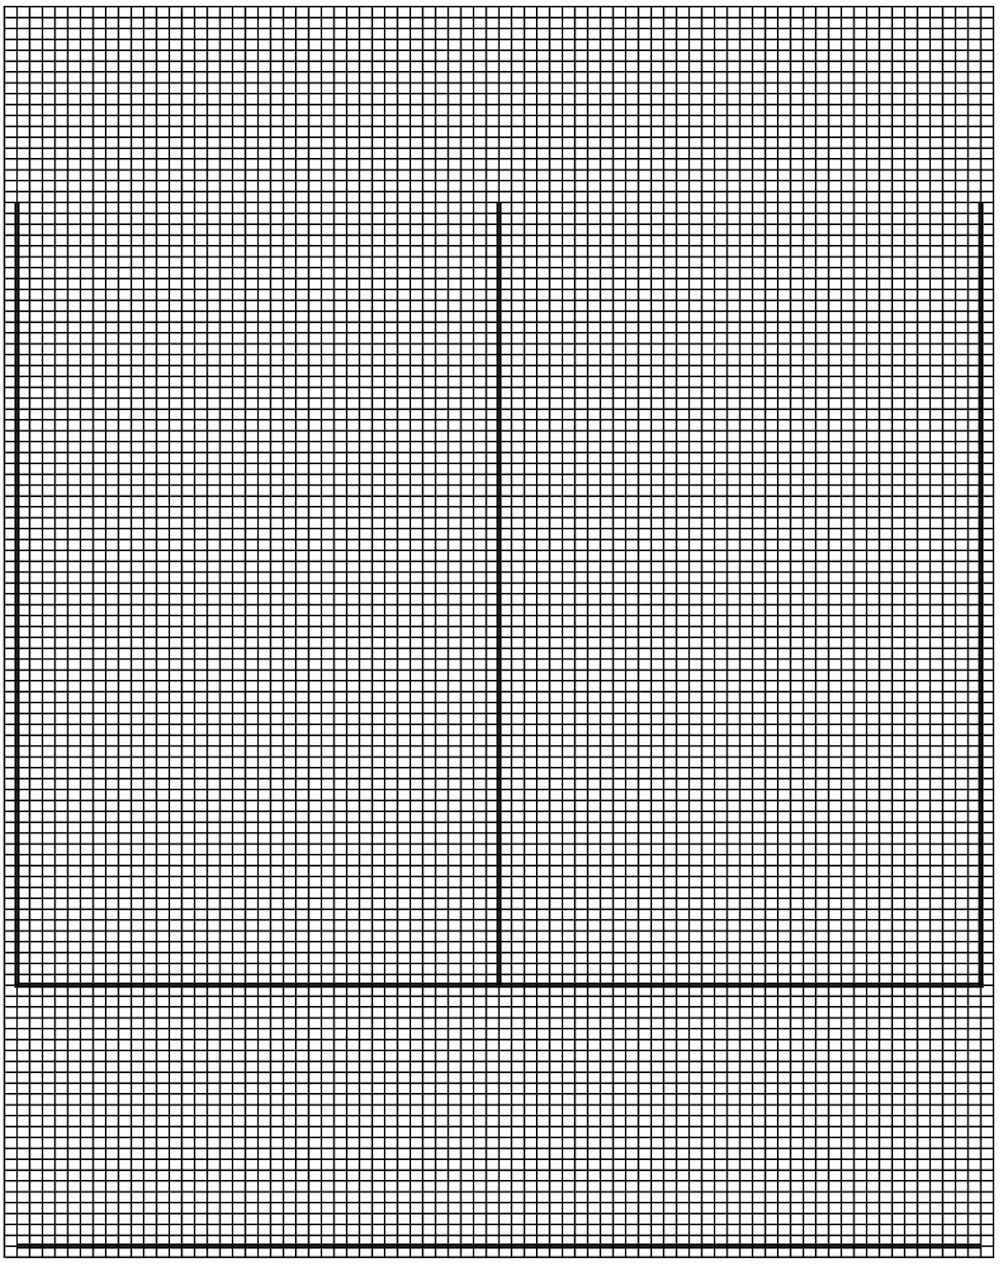
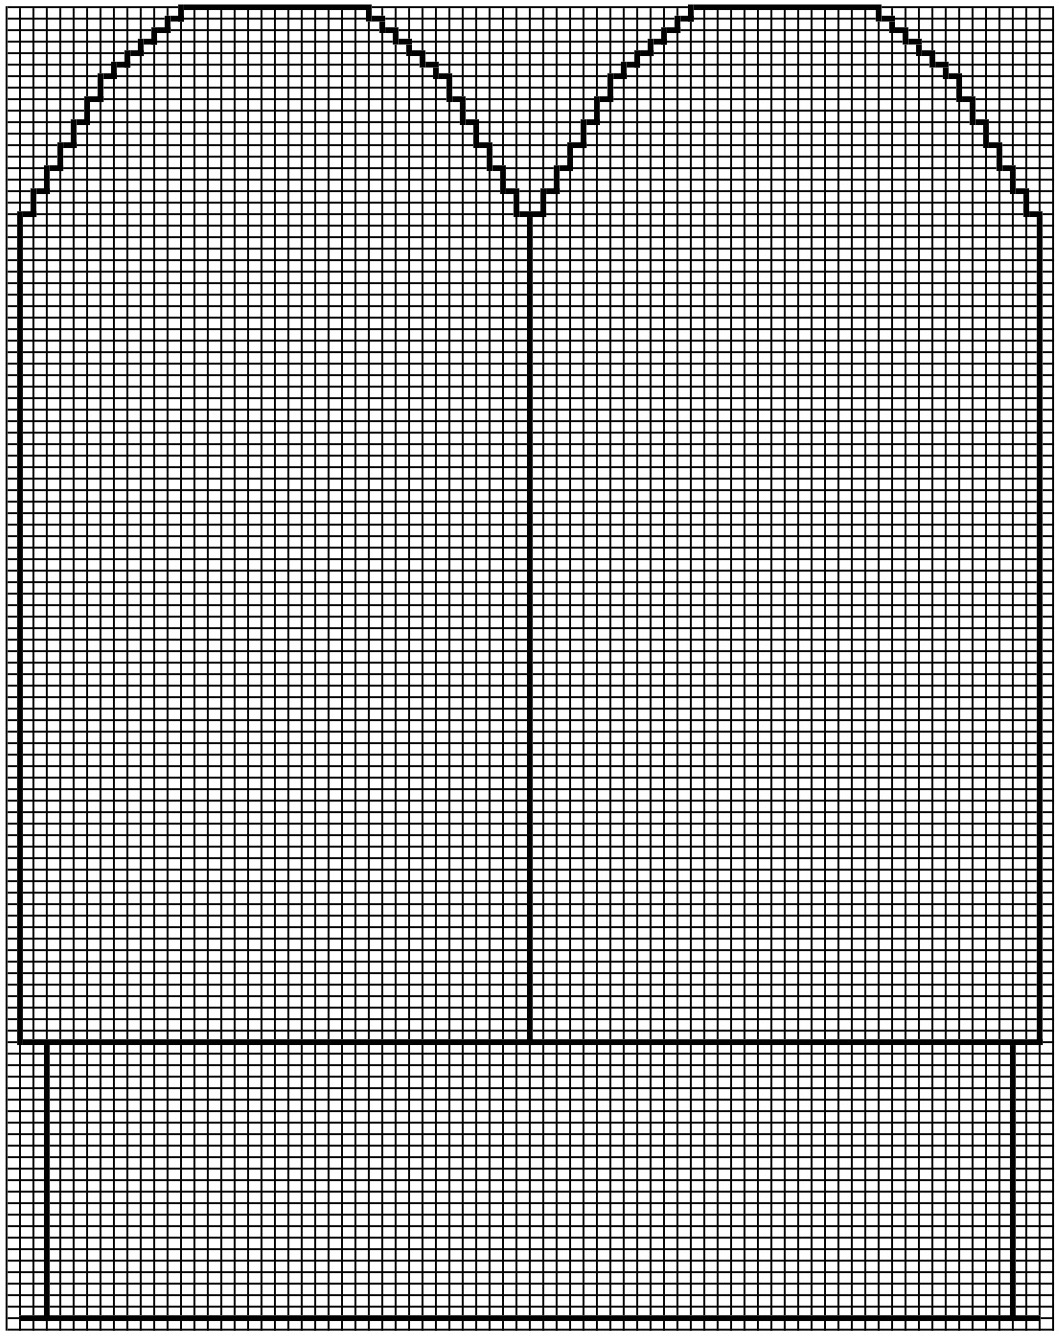
Charting Your Hand
It’s time to start drawing out your pattern. Basically, what you are doing is drawing the outline of a mitten that is your size. The row and stitch numbers (G – K) you figured out the worksheet above will tell you how many stitches wide and rows long all the parts of your mitten need to be. Page two of the worksheet shows you how those numbers fit into making the mitten pattern. (The example is based on my measurements, yours will of course be based on your numbers.)
With a pencil and paper, just use a ruler and paper to draw in your lines. In Excel, use the thick cell borders in formatting. In Stitch Fiddle use the line tool.
I start by drawing a line the width of my mitten (G) at the bottom of your graph paper. The number of stitches needs to be divisible by 2 (to make the front and back of the mitten), so if yours isn’t add one extra stitch to the width. My measurements tell me my width should be 75 stitches, so I draw a line 76 stitches long. Now I draw a second line the same length above this one but up the number of rows I figured out for my cuff height (J). (This will create a mitten that fits close to the hand which is the fit I like, if you want a looser mitten add a few stitches.)
Then, I draw lines up either side the length to the top of my pinky finger (I). I do another line this same number of rows down the middle to mark the front and back of the mitten.
Now I design the top of my mitten. I mark the total row height (measurement H) with a temporary line or by marking a square. Then I draw in decreases between the middle and side lines. For a rounded top, I start with decreases every 2 or 3 rows and then switch to every row about 1/2 – 2/3rds up. For a more pointed top, I just do decreases every row. This is a place you can play with until you get a shape you like. When I have a shaping I like, I draw in the final line on top.
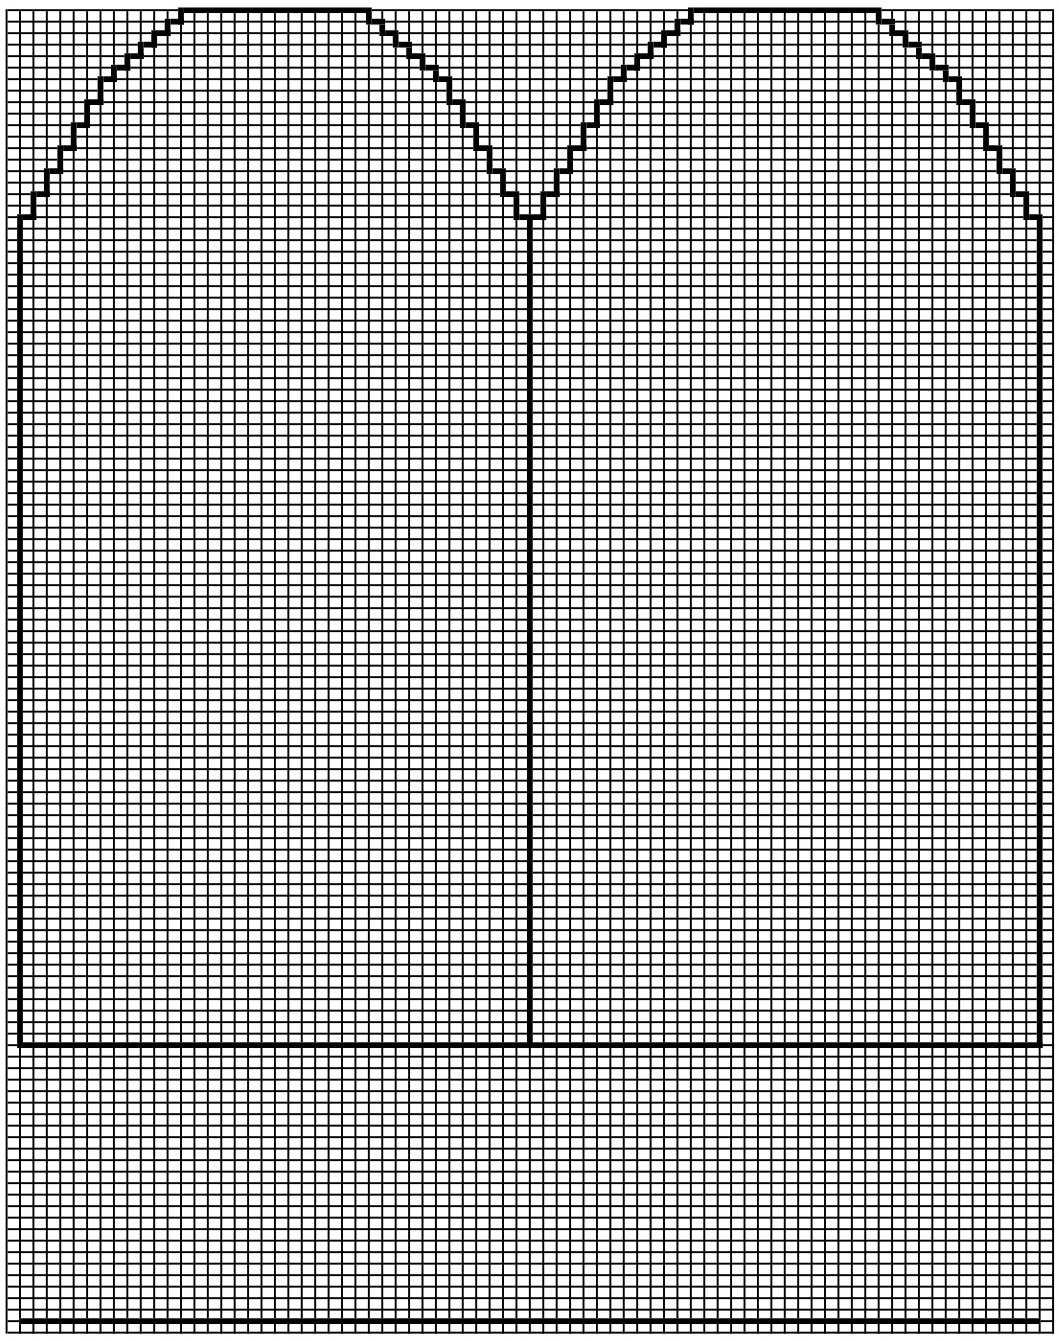
All this is left is to decide on the width of your cuff and draw in those lines. Adjust the bottom line so it is that length. Typically, I do the cuff 2 or 4 stitches skinnier than the hand. I want it to be tight around my wrist but I still need to get my hand in it. Ribbing will help pull a cuff in tighter. If you are doing a hemmed cuff you want to make sure it isn’t too skinny to get on since it won’t have the same give as ribbing. Also keep in mind, you can knit your cuff with a smaller needle to make it slightly tighter.
Save your chart! Keep on mind this is a design process and things like the shape of the mitten top can change as you add your color work pattern. Next week we will chose a thumb type and chart it.
© 2005 – 2016 Kathy Lewinski & Susan Cornish

2 Comments to DAL Week 2: Charting Your Hand