

Many years ago when Matt and I opened an account at a local bank they gave us a stadium seat/blanket combo as a gift. Basically what it is, is a blanket that can be folded into a square and zippered shut to use as a stadium seat. It also has a strap that makes it easy to carry. We have used it for picnics, football game and fireworks. It is just so handy. For Christmas this year I decided to try my hand as sewing some up as presents.
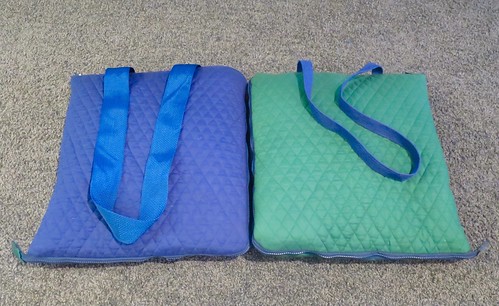
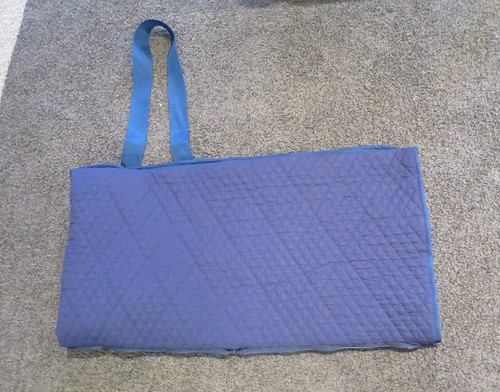
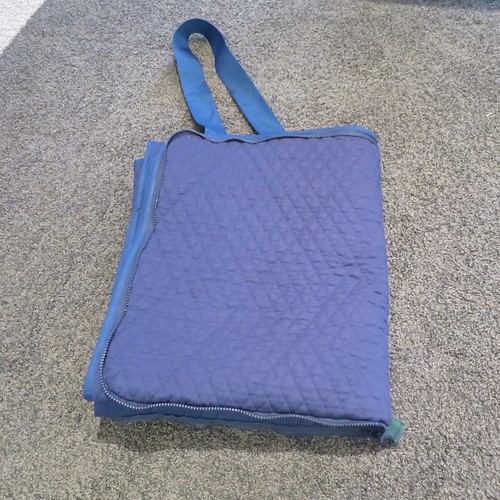
This is what they look like when folded up and zipped.
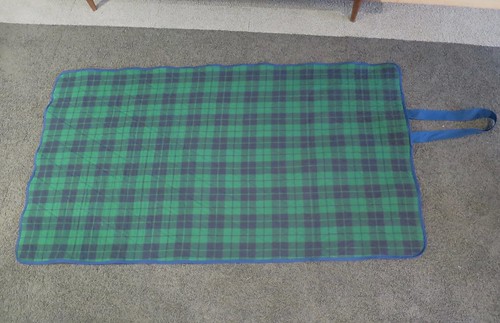
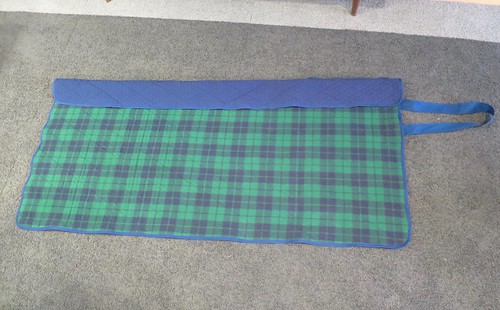
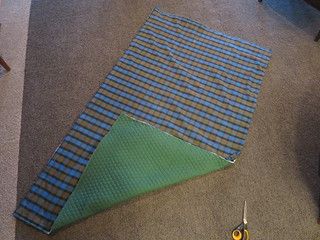
Here is one open with the flannel side up. And here it is getting folded up.
It is the perfect thing to keep in the car for whenever you need a blanket of padded seat.
I used pre-quilted fabric and some nice flannel to make my blankets. The pre-quilted fabric made the quilting really easy for me. You can of course make this without pre-quilted fabric and just add a layer of batting between your fabrics. I would suggest using something like a heavy cotton for the outside.
You could also make this without any batting and use a heavy wool blanket as the inside. They reason I wouldn’t use batting in this case, is because it would make it too thick to zip shut.
Stadium Seat/Blanket
Supplies:
- 2 yards flannel, 41″ wide
- 2 yards pre-quilted fabric 42″ wide (or 2 yards backing fabric and 2 yards batting)
- straight pins
- scissors
- thread to match quilting or for quilting
- sewing machine
- 48″ dual-separating parka separating zipper
- small screwdriver (optional)
- hand sewing needle
- 1 yd matching webbed strap
- 2 packages wide double fold bias tape
- thread to match bias tape
I made two blankets and took pictures as I went, so you’ll see sometimes a green blanket and sometimes a blue one.
1. Wash, dry and iron your fabrics. I’ll warn you up front the pre-quilted fabric shrinks a lot. It’ll actually end up being smaller than the flannel after washing.
2. Quilt the blanket – Put the pre-quilted fabric and flannel together with right sides facing out. Trim and square so they are the same size. (Save a scrap of the flannel, you’ll need it later for the zipper.) (If you are not using pre-quilted fabric, just make a sandwich with batting in the middle.) Pin or baste together. I chose to machine baste the edges to help keep things flat during quilting.
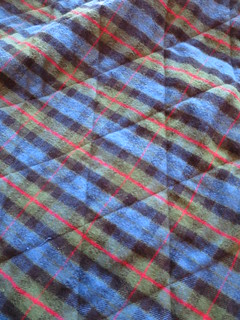
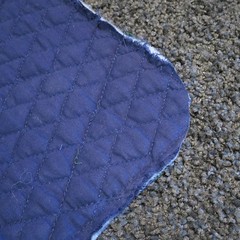
Machine quilt the two fabrics together. Since I was using pre-quilted fabric I just follow some of the lines on it creating 4″ diamonds. I pinned along the lines I was planning to sew to help prevent any buckles or bubbles. (If you are not using pre-quilted fabric, quilt any design you’d like.)
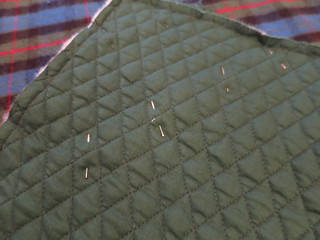
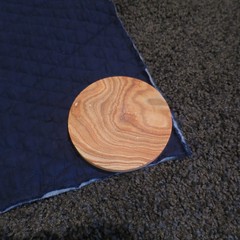
I chose to curve the corners of my blanket for a little less bulk when folded and to make adding the binding a little easier. I just used a coaster as a template.
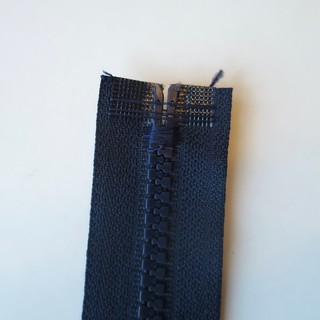
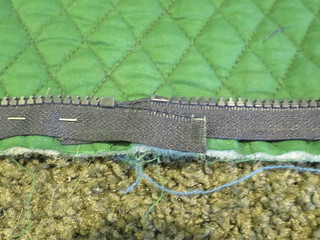
3. Prepare the zipper (this took me a few tries to get right, so follow along) –
This should be the zipper you are working with.
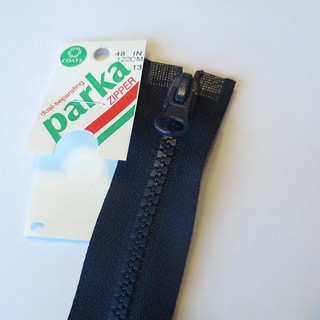
It has two pulls and can be opened from either end, but it will only work one way on the blanket correctly. (Believe me if you do it the wrong way it will not stay closed with the blanket is zipped up into a seat.) When the zipper is closed you will have a pull on both ends.
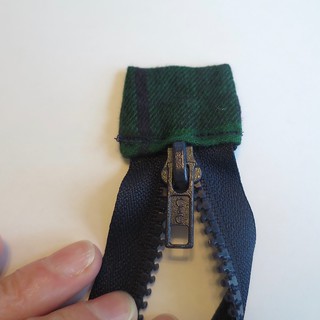
You want to remove the pull at what you would normally think of as the top of the zipper. I was able to easily pry it off with a screwdriver.
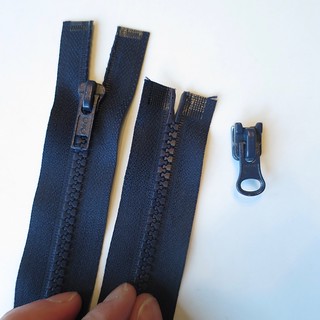
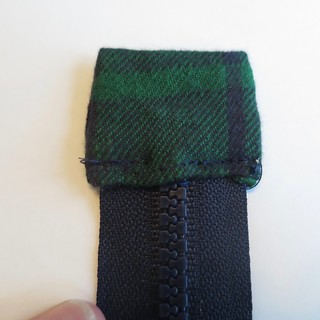
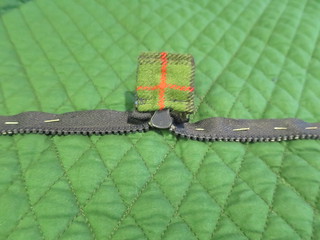
Now you need to close that end so the zipper pull doesn’t come off. Hand stitch the end you just took the pull from to create a stop.
Use a scrap of flannel to make a little sleeve to cover this end of the zipper and sew it on. You don’t need to to this, but it looks more finished and gives a place to hold the zipper when closing it.
4. Place the zipper on the blanket – Spread the blanket out with the non-flannel side up. You can place your zipper two different ways. Either way it will be along the edge of one of the short sides of the blanket. You can place it so it is in the middle.
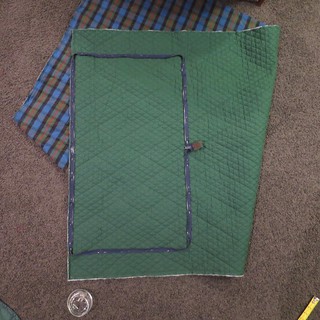
Or off to one side along a corner.
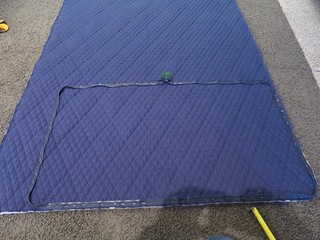
Both ways folded up nicely, though the middle version gave a little more of an even seat for sitting on.
Open the zipper and pin the open ends along the edge where you want the middle of the zipper to be.
Now, you’ll have to play with your zipper a bit to get a rectangle with the bottom and top being the longer sides and the corners being curved. Make sure the other end of the zipper, the one you added the flannel tab to, is directly above the open ends.
This end of the zipper needs to be placed so the pull is face down.
5. Add strap – Fold the webbing strap in half and pin it in place under the zipper so it’s ends are flush with the edge of the blanket.
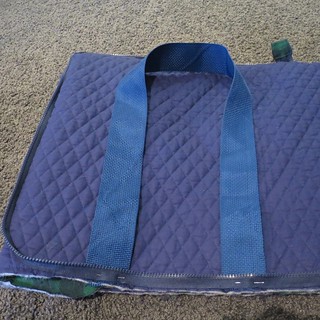
You are placing the strap so it is centered on one half of the longer side of the zipper rectangle, like so.
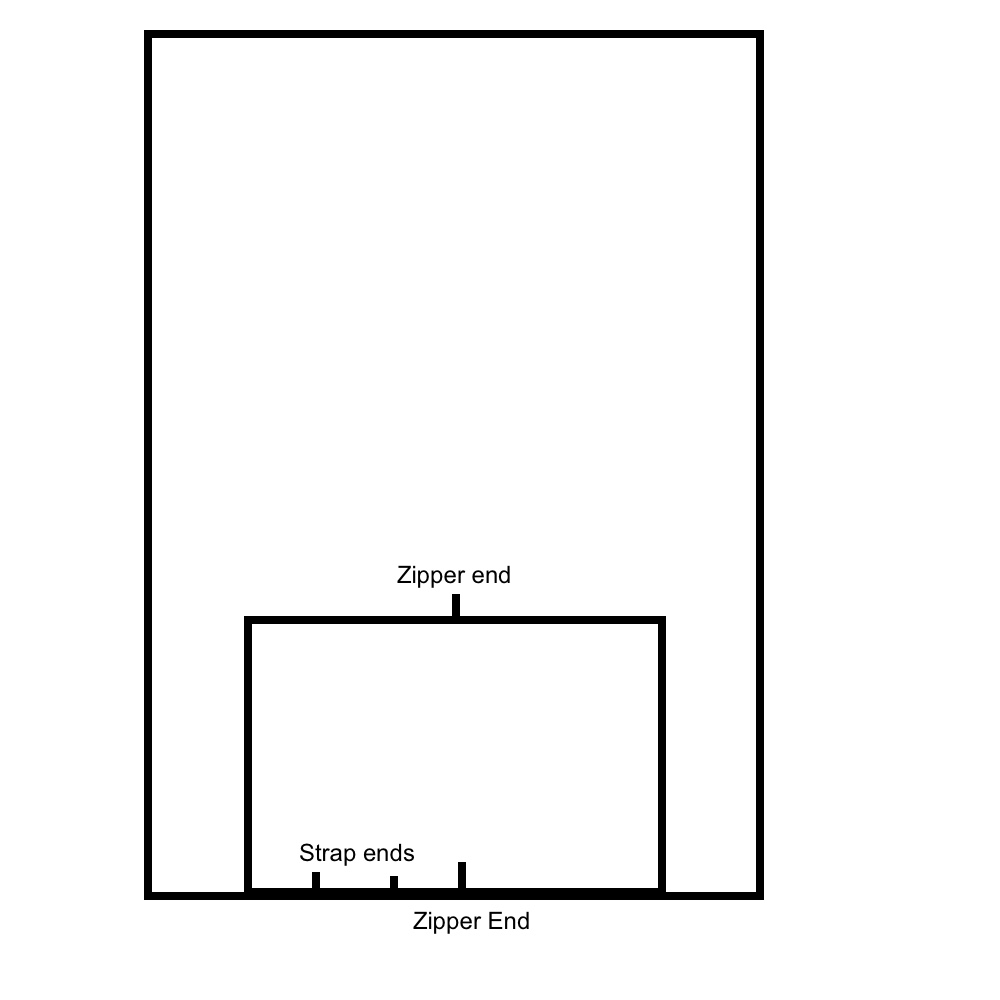
When the blanket is zipped shut the rectangle is folded in half which is why you are centering the strap on half.
6. Sew the zipper and strap into place – I used a 1/4″ seam allowance. Reinforce the stitching over the strap ends.
7. Use the bias tape to bind the edge of the blanket – I was under a time limit so I just pinned it on and sewed through it. If I had a little more time, I would have sewn it on using a hand sewn blind stitch.

