

There are scarves everywhere these days. They are the new fun accessory. There are endless variations on the this theme, so we want to dissect some of the choices available.
Flat Scarf:
Supplies:
- 9-12 inches of light chiffon or light weight linen- A good choice of fabric would be sheer, elegant fabric or lace. The fabric should be very similar (or equally beautiful) on the front and the back.If you would lose detail or design by doubling the fabric, then don’t – leave it single.
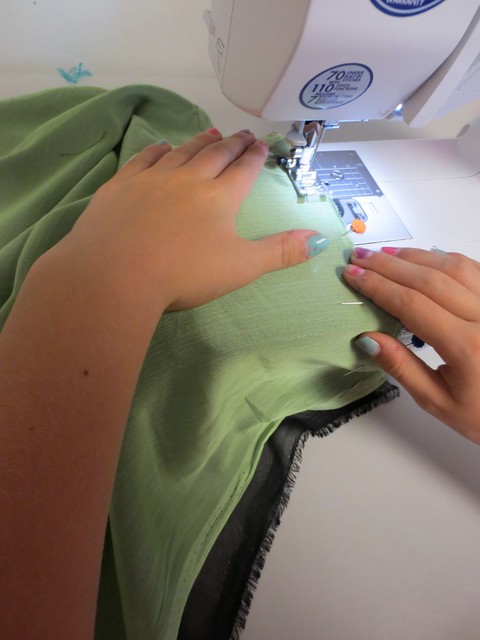
Directions: For this scarf you are just going to take a long section of fabric, and hem all the way around. Make as small a hem as you possibly can, so as not to add weight to the edges. One of the easiest ways to finish the edges of the fabric is to zig zag around the edges. If you turn your sewing machine’s stitch width to a wide setting, and let the needle run off the edge, it will curl the fabric slightly. That will form a sort of a “hem” around the edge. This is a good beginner technique. It does not require the precision that a delicate roll-hem requires.
Another way to do it is to sew a tube. This is the right way to go if the fabric has a good drape and is slinky or silky, but it is only beautiful on one side.
Tube Scarf:
Supplies:
- For this technique you would need 12-20″ of appropriate fabric

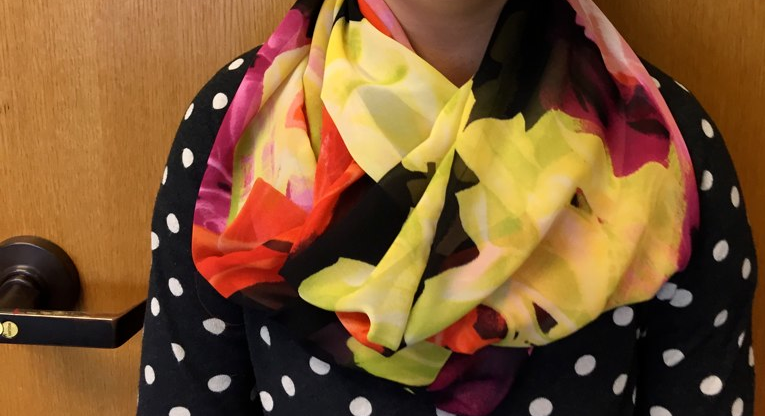
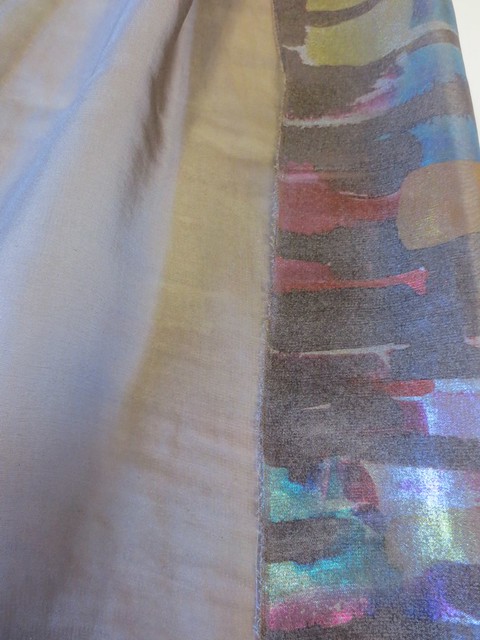
If it is printed on one side and has a pronounced “front and back” then the best treatment will be to sew a tube.
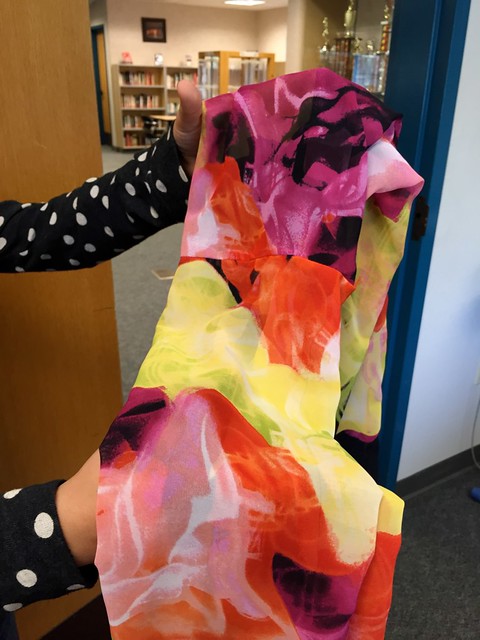
Directions: Fold the fabric the long way, right sides together. Pin as needed. Sew the seam down the long side. Turn the tube inside out, and press the seam. To close the circle of the scarf, turn the tube inside out. The seam side should be out, showing. Now, reach your hand into the tube, and pull the bottom up to the top. Now, the top selvedge edges of the tube are both together. The right sides are together. Match where the seam is on the “inner” circle and the “outter” circle, and place a pin there. Then pin the circle. Sew almost all the way around the circle, but leave a little (2″) opening. Pull the tube back to “right sides out” position. Hand sew the small hole you just pulled the scarf through. If you really want to be clever, you can use one fabric for the front, and one for the back. 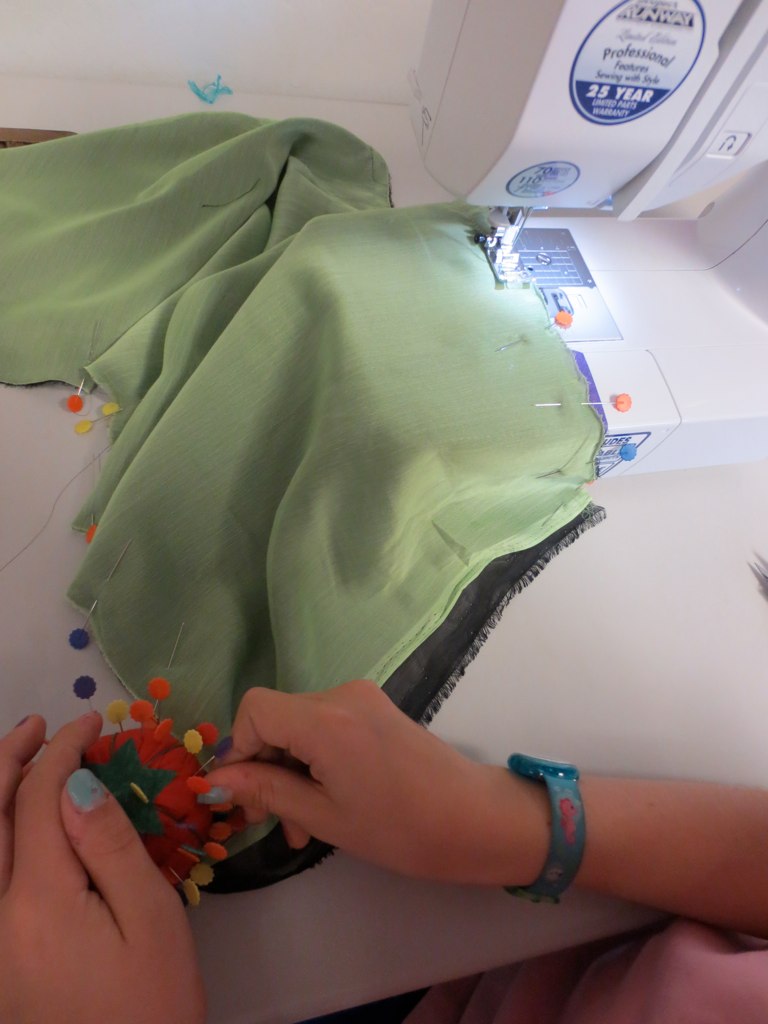
Here, one friend is working with black chiffon for one side, and lime chiffon for the other. (This looks PERFECT for her Mom. And she put the two fabrics together.) (I hope her Mom loves it!)
When K sewed this together, she added 1/2 turn, so at the seam, the black meets the lime. She created a mobius. It gave the scarf a beautiful movement and drape. So factor that into your thoughts as you plan.
Once you have the fabric, these scarves can be done in about 1 hour. So go ahead, make two or three!
© 2005 – 2015 Kathy Lewinski & Susan Cornish


One Comment to Project: Super Quick Scarf