
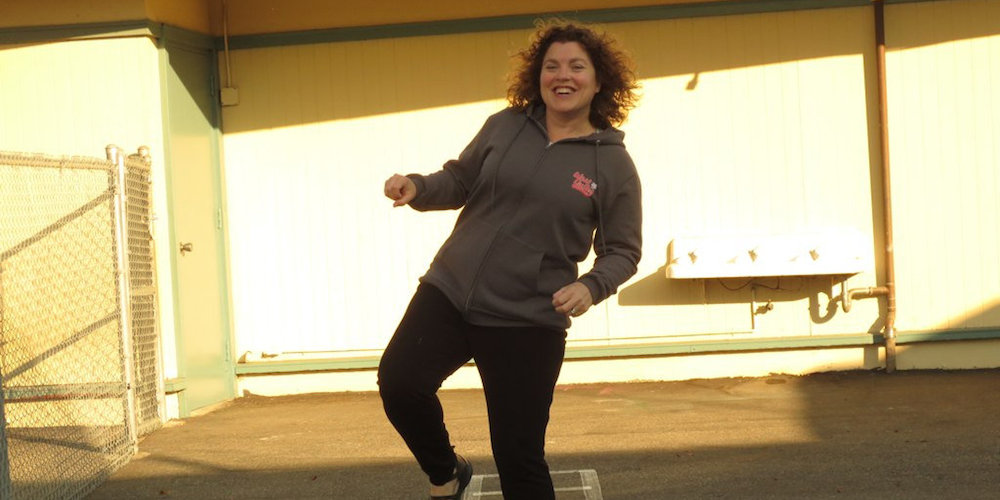

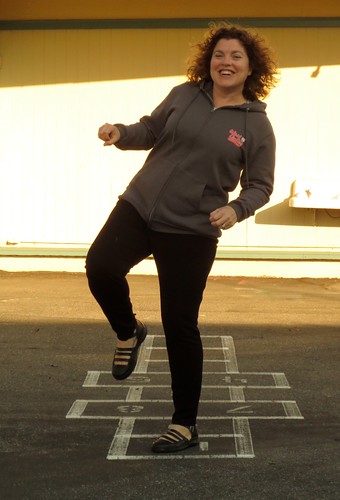
I have a job at a school now and I could not be happier. I was offered a hoodie top and gladly accepted. I have a fondness my new sweatshirt that makes forgive its huge boxy shape. To a point. It is a wonderful “warm gray”. But, being the woman that I am, I ordered a big sweatshirt, because I did not want it snug around my midsection. As you can imagine, size Large is REALLY large. So I set about to tailor the hoodie, and make it “my” size. It was not as frightening as I thought it would be. And now I’m going to share how to do it so you can do the same thing!
Hoodie Makeover
Supplies:
- giant sweatshirt
- example sweatshirt for your reference
- scissors
- thread
- pins
- fabric disappearing marker
- sewing machine
- bravery
First lay out the big sweatshirt and lay the model garment over it. Make sure that the in places you need it to be large, it is large enough. That could be your bust, your stomach, your hips… whatever it is for you, check those area against your model garment and make sure that there is enough fabric at the critical points. 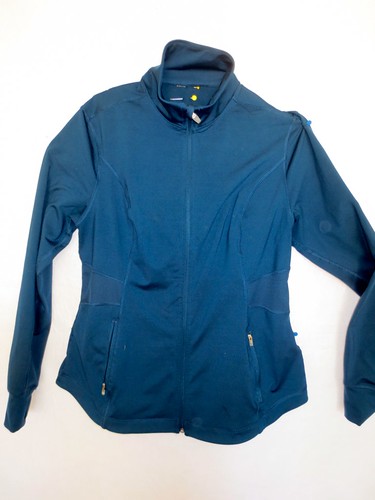 Here is my goal jacket. It’s not a very fair comparison, because the teal jacket is shaped in multiple panels and fitted and made from performance fabric…
 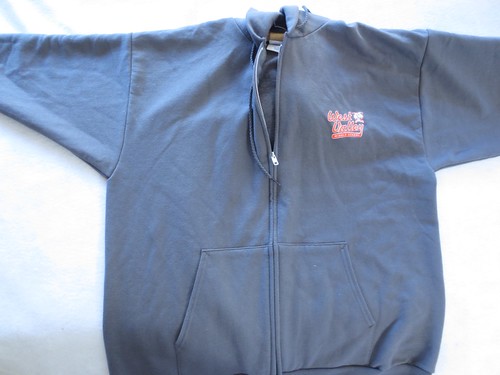 And here is my wonderful new hoodie. It’s a pretty standard shape, with a box body, and tapered sleeves attached straight to the sides. There is no finesse there.
 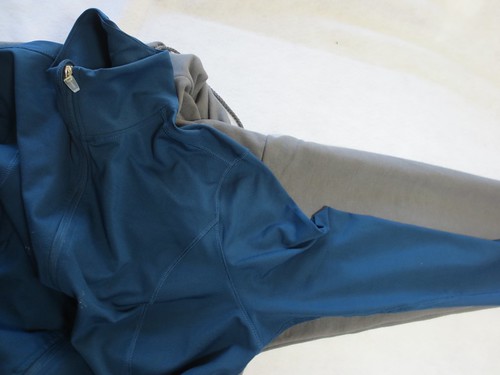 Here is the main source of the problem. When a square has a drop sleeve attached, there is a LOT of extra fabric in the armpit.
 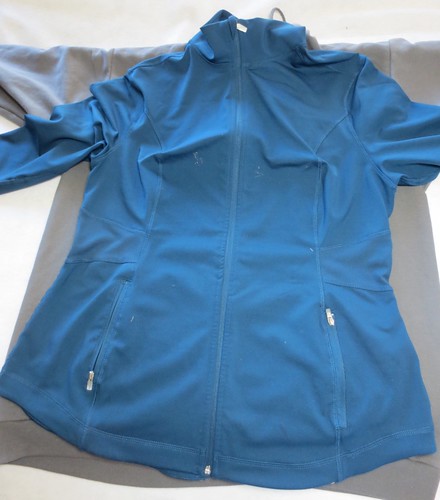 It’s just long enough and it is just big enough around the hips and stomach, so it should be good. Turn the big sweatshirt inside out and lay it out flat. First, carefully cut the sleeves off.
 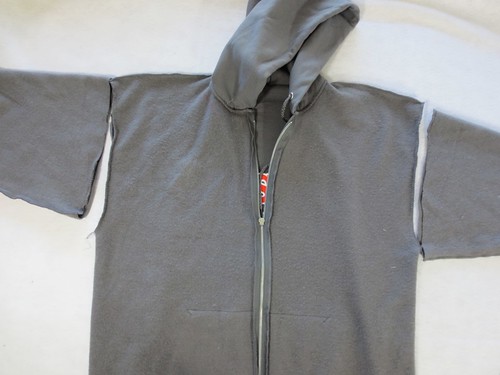 They were straight on my sweatshirt, so one straight cut removed them. Next, we will cut the actual sweatshirt to look more like the goal. Using a fabric marker, start at the shoulders and mark how the shoulders slope and where they end. With a square cut sweatshirt, you will have a box top and one that goes out as far as the hips do. Lay the sweatshirt out and judge the slope. Make marks with your fabric pen, then sew.
 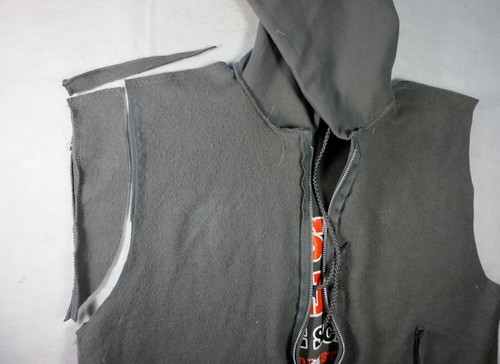 Trace a new arm hole, and cut that. You will likely need to take a LOT of fabric out of the sleeve. It may seem like the sleeve is WAY too long, but remember that you are bringing the shoulder up about 2-3 inches and that will shorten the sleeve.
 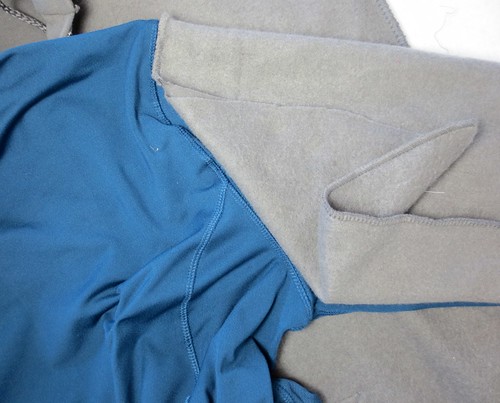 Here, I have the cut off gray sleeve folded over on top of the teal sleeve. You can see there are inches that need to come off along the underarm and in the arm pit. Trace where you think you should cut and then create a new sleeve cap and silhouette.
 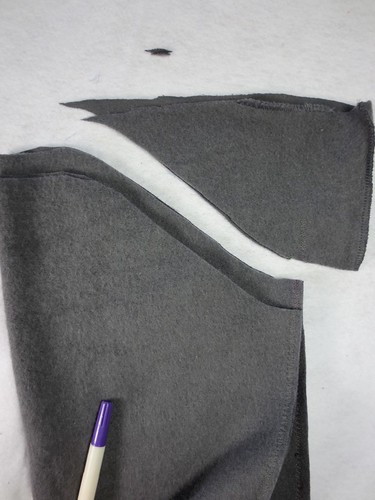 Here is the new sleeve cap cut. Now you are free to set in the new sleeves. With the sweatshirt inside out, try it on. See how much you want to take out of the sides and where. If the new sleeves are not big enough to fill the hole you cut, you will need to just create a seam below to make up the difference. But in the end, on mine, that was what I needed to take in at the waist anyway. (and, the armpit is not something that will be showcased, so it there is going to be a “not perfect” area, then let it be that one.) I tried mine after this and I thought that a lot more could go around the middle. But I will admit, I have not washed it yet. I need to wait to see if it shrinks right up first. I would recommend washing the sweatshirt before you tailor it. The other tricky thing you have to contend with is the placement of the logos. When you cut into the armpits, the logo that rides on the chest will move “out” towards the armpit. If you REALLY had to take a lot in, you might end up cutting it 1/2 way into your arm pit seam. : )
 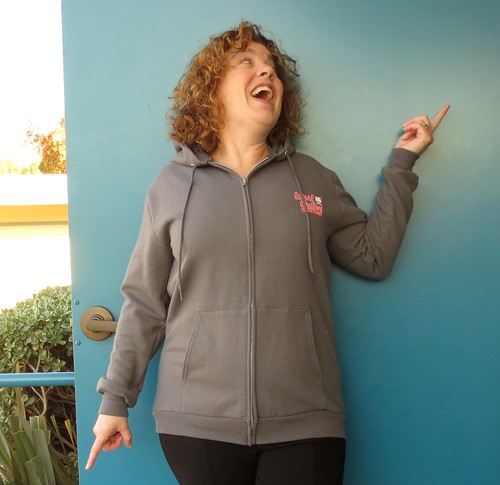 The best part about this project: people thought I lost weight. (ha ha!)

