
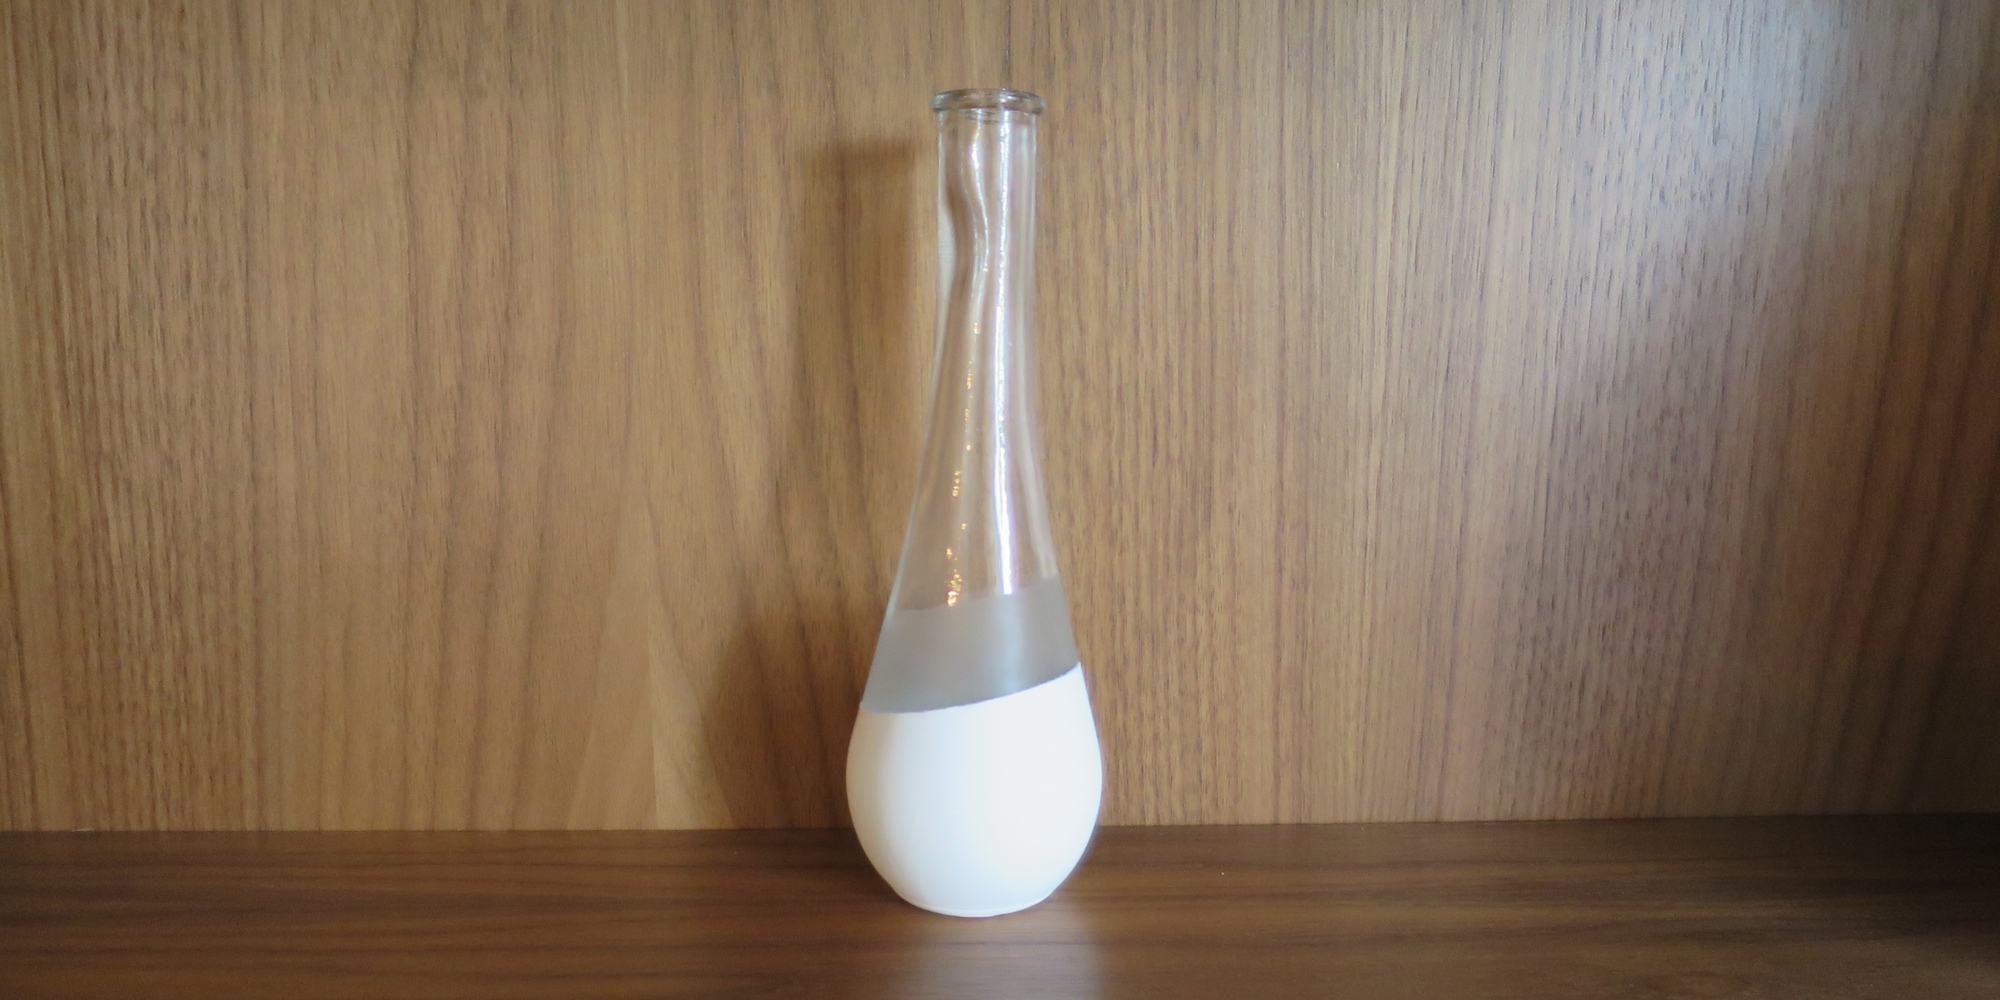

The theme of this Iron Craft challenge was the color white. I could not think of anything I wanted to make that would be white. Then I noticed a walnut bowl dipped in white paint that I have in my living room and decided I wanted to try dip painting something. Since I was just experimenting with the technique, I didn’t want to dip anything very expensive. What I ended up with was a very cheap little vase from Michael’s. I also decided to etch the vase with the hope that etching the glass would help the paint stick to it a little better.
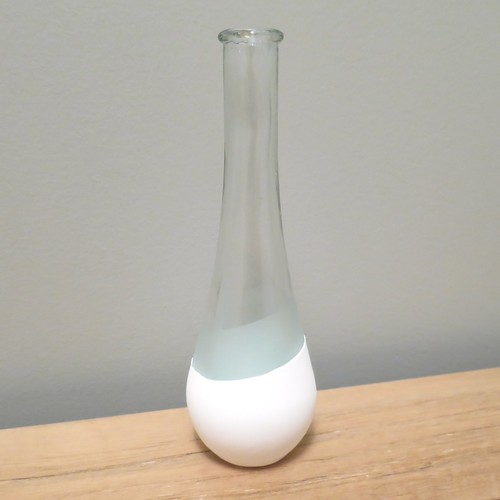
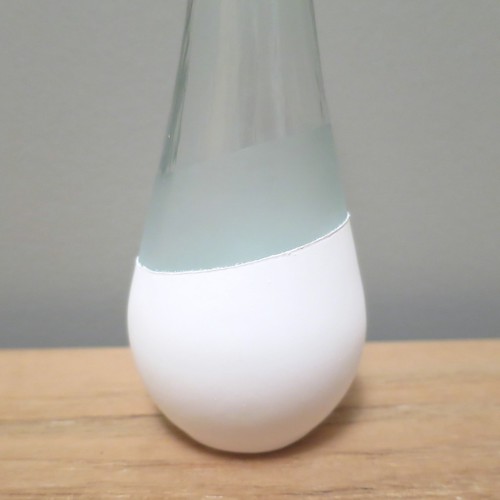
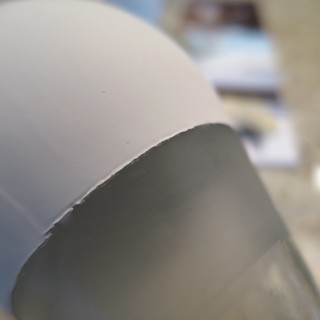
I think it came out rather smart and I like the look of the etched glass between the shiny glass and the paint. This was a pretty simple project, especially the etching part.
I was able to just use one bottle of acrylic craft paint in a disposable cup to dip in (I poured the unused paint back into the bottle.) For a bigger project I think I would need more paint and something bigger to dip in. My cup was just slightly bigger than the bottom of my vase and I kept hitting the side while swirling on the paint. Something bigger would have even made this a little easier.
Etched and Dipped Vase
The etching of the glass is permanent and can stand up to washing, but the paint is not, so this vase is strictly decorative unless you coat it somehow or use a permanent opaque glass paint.
Supplies:
glass vase (or other glass item)
masking tape
rubber gloves
glass etching cream (I used Martha Stewart’s)
soft paintbrush (or brush that comes with etching cream
small cup or bowl big enough to dip your vase in and swirl it around
acrylic paint
cooling rack (optional)
exacto or small knife
small paintbrush
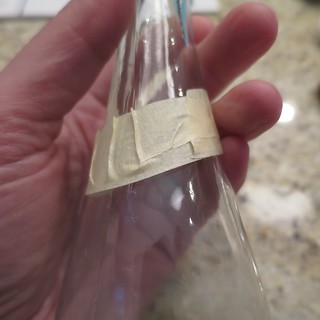
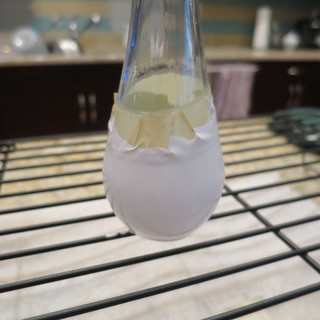
1. Clean and dry your vase. Use the masking tape to mark off the area you want etched. The nice thing with masking tape is you can fold it into curves easily.
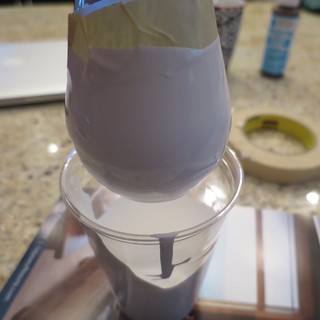
2. Wearing gloves and working over a protected surface, paint a thick coat of etching cream on the area to be etched.
Let sit 15 minutes (or time required on your etching cream). Wash off with cold water. Dry the vase.
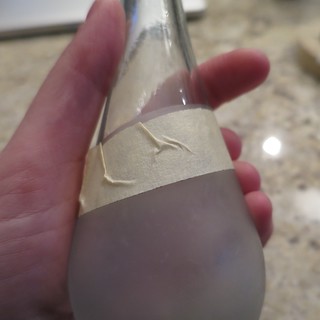
3. Tape off where you want the paint on the etched glass.
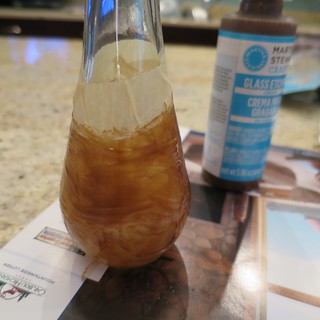
4. Fill the cup or bowl with paint. (I only filled the cup up about 1/2″. Swirling moves the paint up the sides.) Dip and swirl the vase in the paint until the area you want painted it covered. Hold over the paint to let drip. The paint will smooth out as it dries.
After a bit, I let it dry on a cooling rack for baking. From time to time I carefully brushed off any large drips on the bottom. Let completely dry, resist the urge to touch the paint!
5. Carefully, remove the tape with the help of the tip of the exacto knife. You may have a little paint bleed under the edge of the tape, like this.
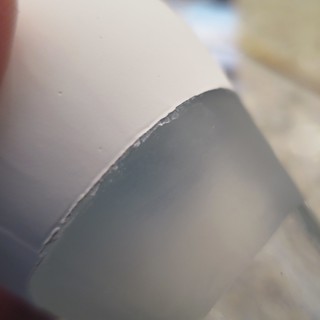
To clean up the edge, get the tip of a small paintbrush damp and use it to carefully clean up the excess paint.
© 2005 – 2014 Kathy Lewinski & Susan Cornish


One Comment to Iron Craft ’14 Challenge #16 – Etched and Dipped Vase