
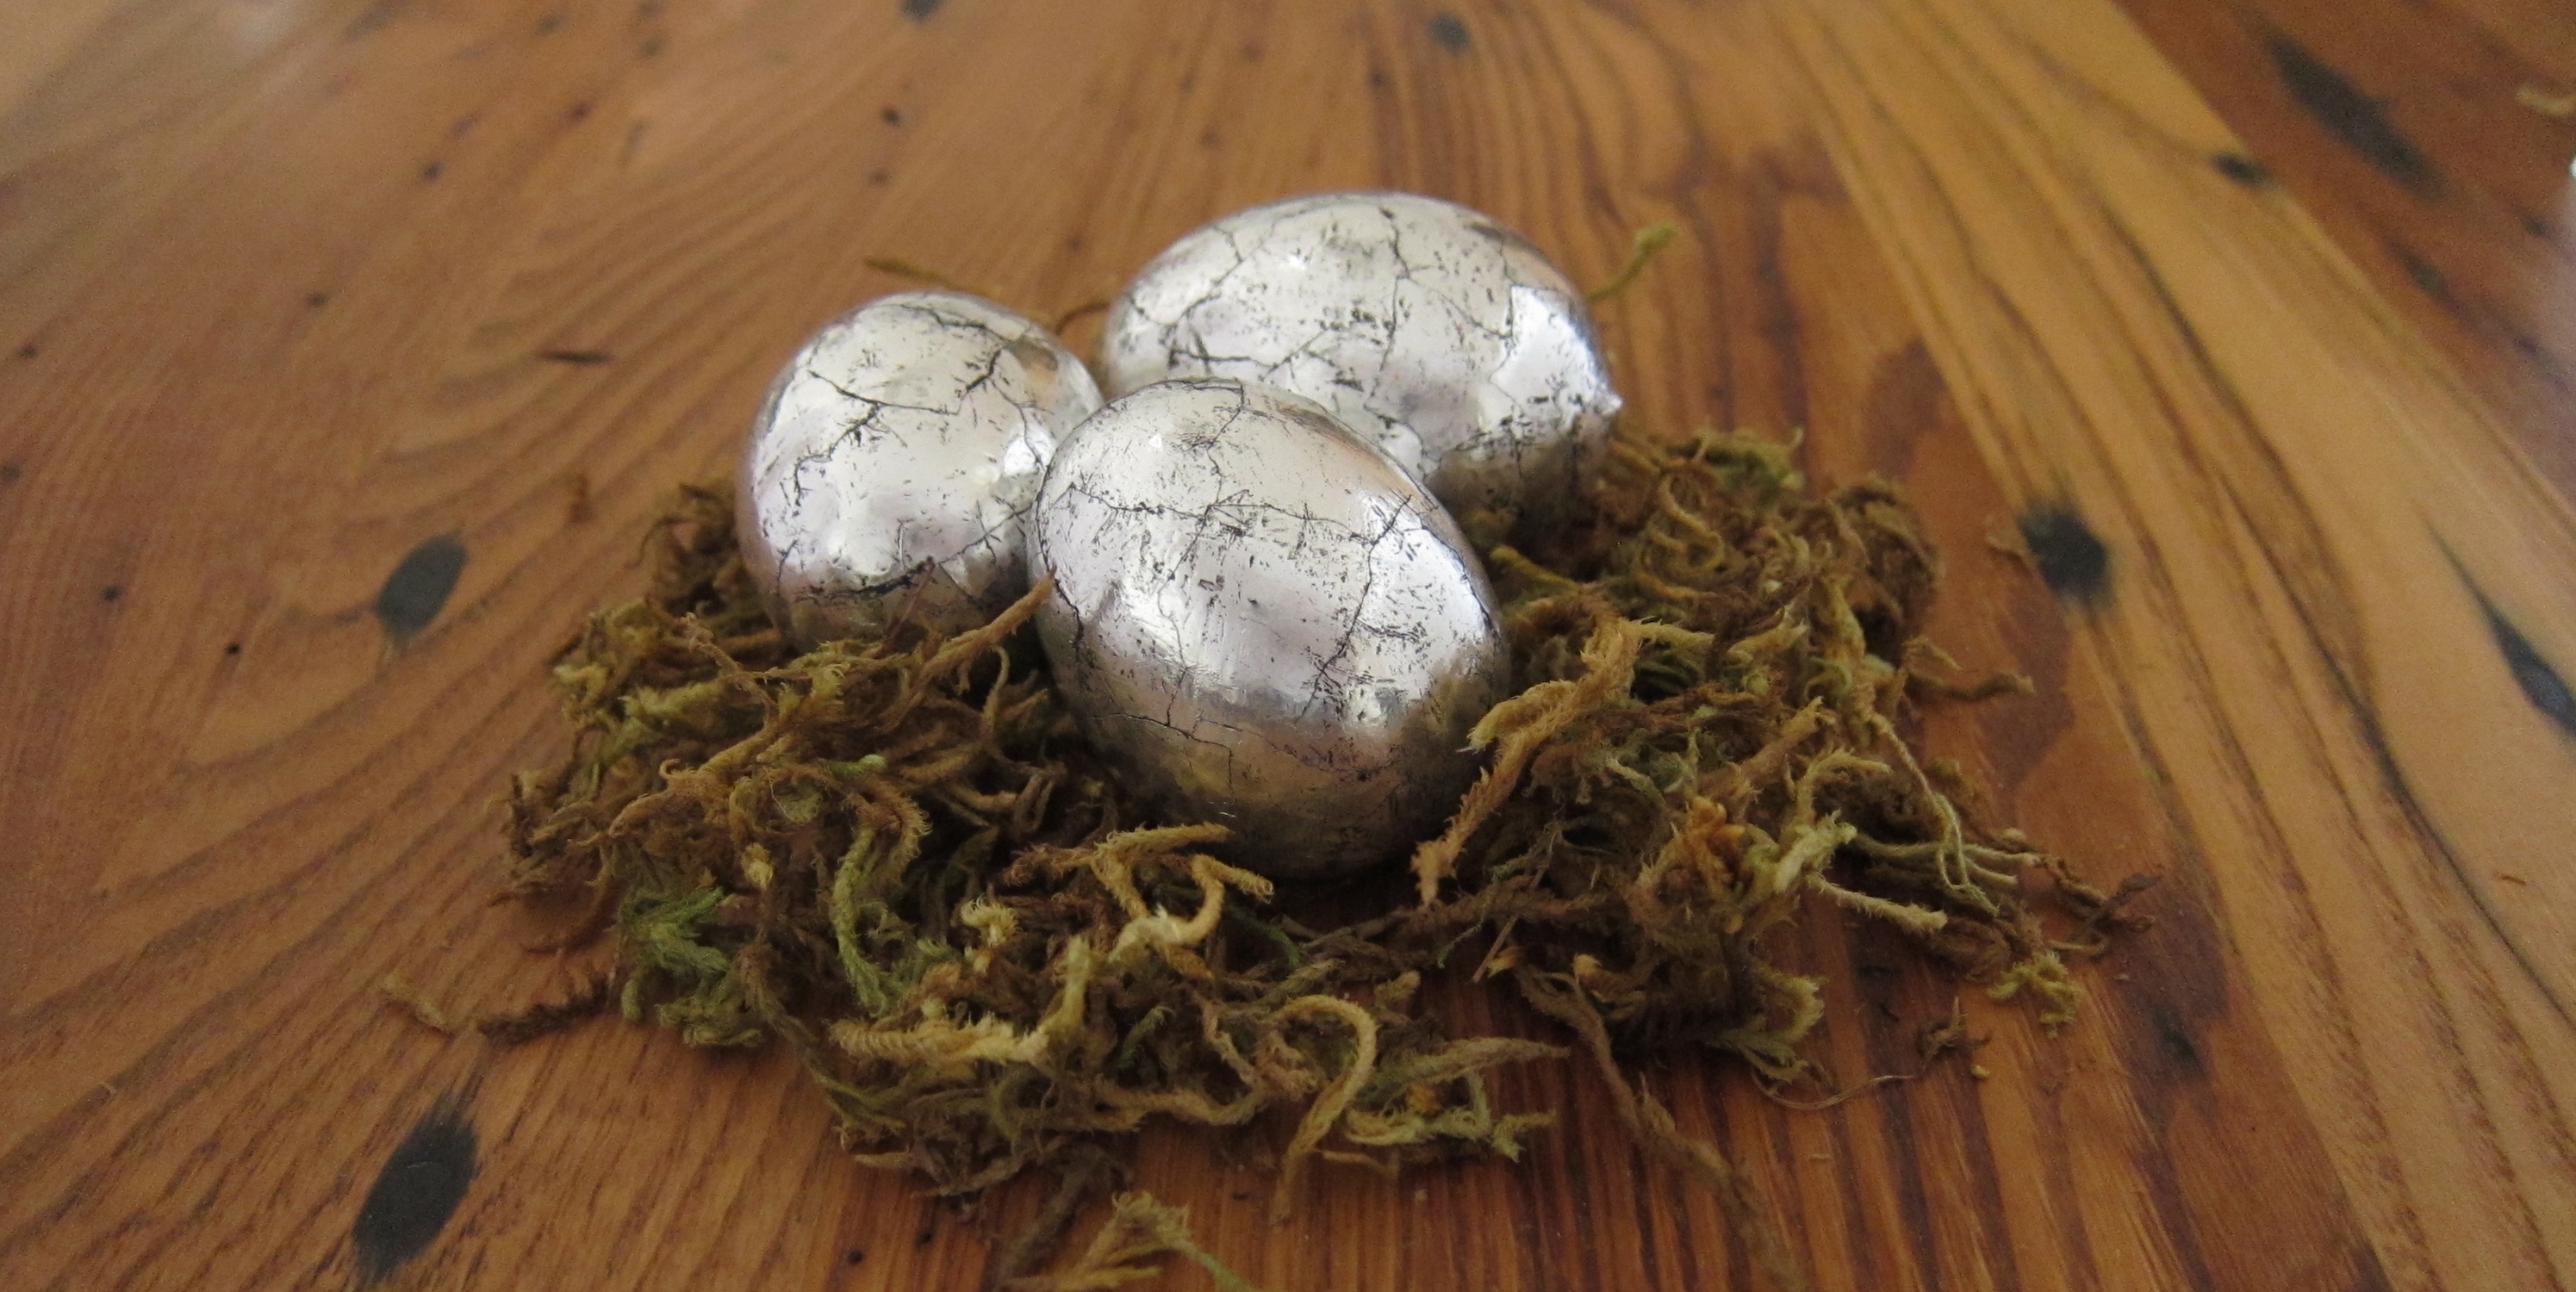

I was playing around in my craft room the other day trying to think of a way to make gilded eggs with what I had on hand. Then I realized I didn’t want golden gilt, I wanted silver eggs. A couple hours later, I had these.

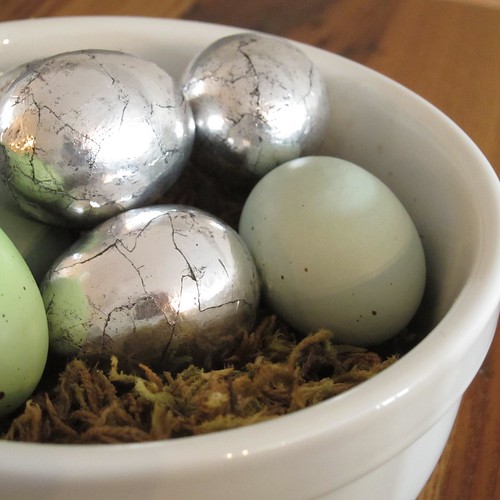
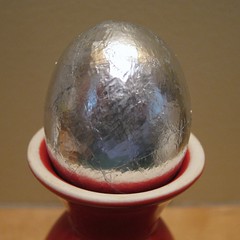
Oh my gosh, I couldn’t be happier with how they turned out. Who would have thought I could get a look of hammered, antique silver with just plastic eggs, tin foil and black paint?! They’ll be a great centerpiece for my Easter table.
Antiqued Silver Eggs
Update 3/2/15: I’ve tried this technique on a couple of different things since this post, a bunny statue and clay icicles. It worked well on both, but it is a little tricker to get something with lots of indents and such in it as smooth and antiqued as easily. I have some tips on the post about the bunny.
Supplies:
- plastic, paper maché or wooden egg (The eggs I used are plastic but have a matte finish making them feel like real eggs. I found the glue stuck to them really well.)
- tin foil
- glue, I used tacky glue
- black acrylic paint
Tools:
- small paint brush
- something smooth and round like a knitting needle or chopstick (you want something really smooth so it doesn’t scratch the foil)
- paper towels
1. Tear the tin foil into small pieces, about 1/2 inch in size. (You can make the pieces smaller or larger if you wish, but keep in mind the black paint will sit in the edges, so bigger pieces will give you less lines and smaller pieces will give you more.) Make sure to rip off the zig-zag edge where the foil is ripped from the roll.
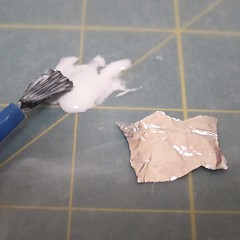
2. Use a small paintbrush and cover the dull side of one tin foil piece at a time with a thin coat of glue. Make sure to get glue on the edges and into the corners. Place the tin foil piece glue side down onto the egg. Press into place. Continue adding pieces overlapping so no egg shows through.
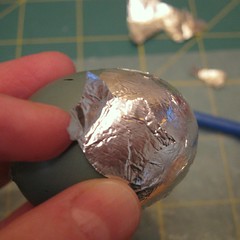
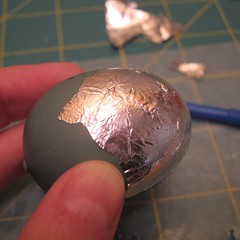
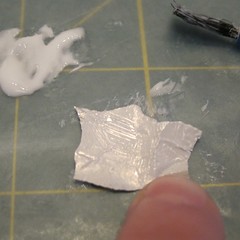
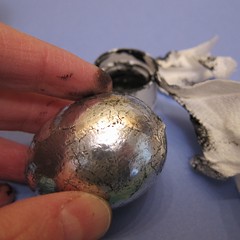
3. After you have a few pieces of tin foil on and they have had a few minutes to set, use the knitting needle or chopstick to smooth down the tin foil. It will not be perfect, but smoother than before. Don’t worry if some glue oozes out, you’ll clean it off later.

You can see the difference before and after smoothing here. It takes a little time to get the hang of it, but the look is worth it.
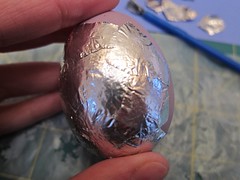
Continue steps 2 and 3 until the egg is covered and as smooth as you like.
4. Dampen a piece of paper towel with water and wash off any excess glue.
5. Dip a small piece of paper towel into the black paint. Rub onto the foil covered egg and then quickly rub off just leaving a little in between the pieces of foil and other scratches.
Play with adding more and wiping more off until you get as much black as you want. I went around the eggs twice with the black paint, wiping it off between laters, to get the antique look I liked.
© 2005 – 2014 Kathy Lewinski & Susan Cornish

Pingback: DIY Easter Eggs
Pingback: 6 Faux Metallic Projects with Tin Foil / Stow&TellU
Pingback: How to make beautiful antique silver eggs (with a kitchen supply!) – Recycled Crafts
Pingback: DIY Easter Eggs That Are Actually Awesome | WORLD Warotter
Pingback: Amazing Easter Eggs - Domestic CharmDomestic Charm
Pingback: 8 Springtime Ideas to Brighten Up Your Home! - Housewives of Frederick County
Pingback: 26 Unexpected Uses for Aluminum Foil | Blended
Pingback: 18 Easy DIY Easter Egg Decorating Ideas | CraftRiver
Pingback: Amazing DIY Easter Egg Decorating Ideas
Pingback: 130 DIY Easter Projects With Tutorials - Aryable
Pingback: 16 Húsvéti tojás és tojásfestés, tojásdekorációk amiket Te is elkészíthetsz - Otthon24.hu
Pingback: どうやって作るの?ちょっと変わったイースターエッグの作り方9つ | コカキコ
Pingback: How to make beautiful antique silver eggs (with a kitchen supply!) | 1000 – Modern
Pingback: Silver Sunday – sovereignspot
Pingback: 100 Easy Easter Egg Decorating and Craft Ideas
Pingback: 101 Greatest Easter Egg Designs for Children & Adults - its all about you today
Pingback: 101 Best Easter Egg Designs For Kids & Adults | Dating & Love
Pingback: 101 Finest Easter Egg Designs for Youngsters & Adults - Path2Positivity
Pingback: 100 DIY Easter Egg Decorating Ideas – Easter Decorations
Pingback: 50+ Creative Easter Egg Decorating Ideas to Impress Your Family
Pingback: 60 Funniest Easter Egg Decorations ideas to hop into the Easter spirit - Hike n Dip