
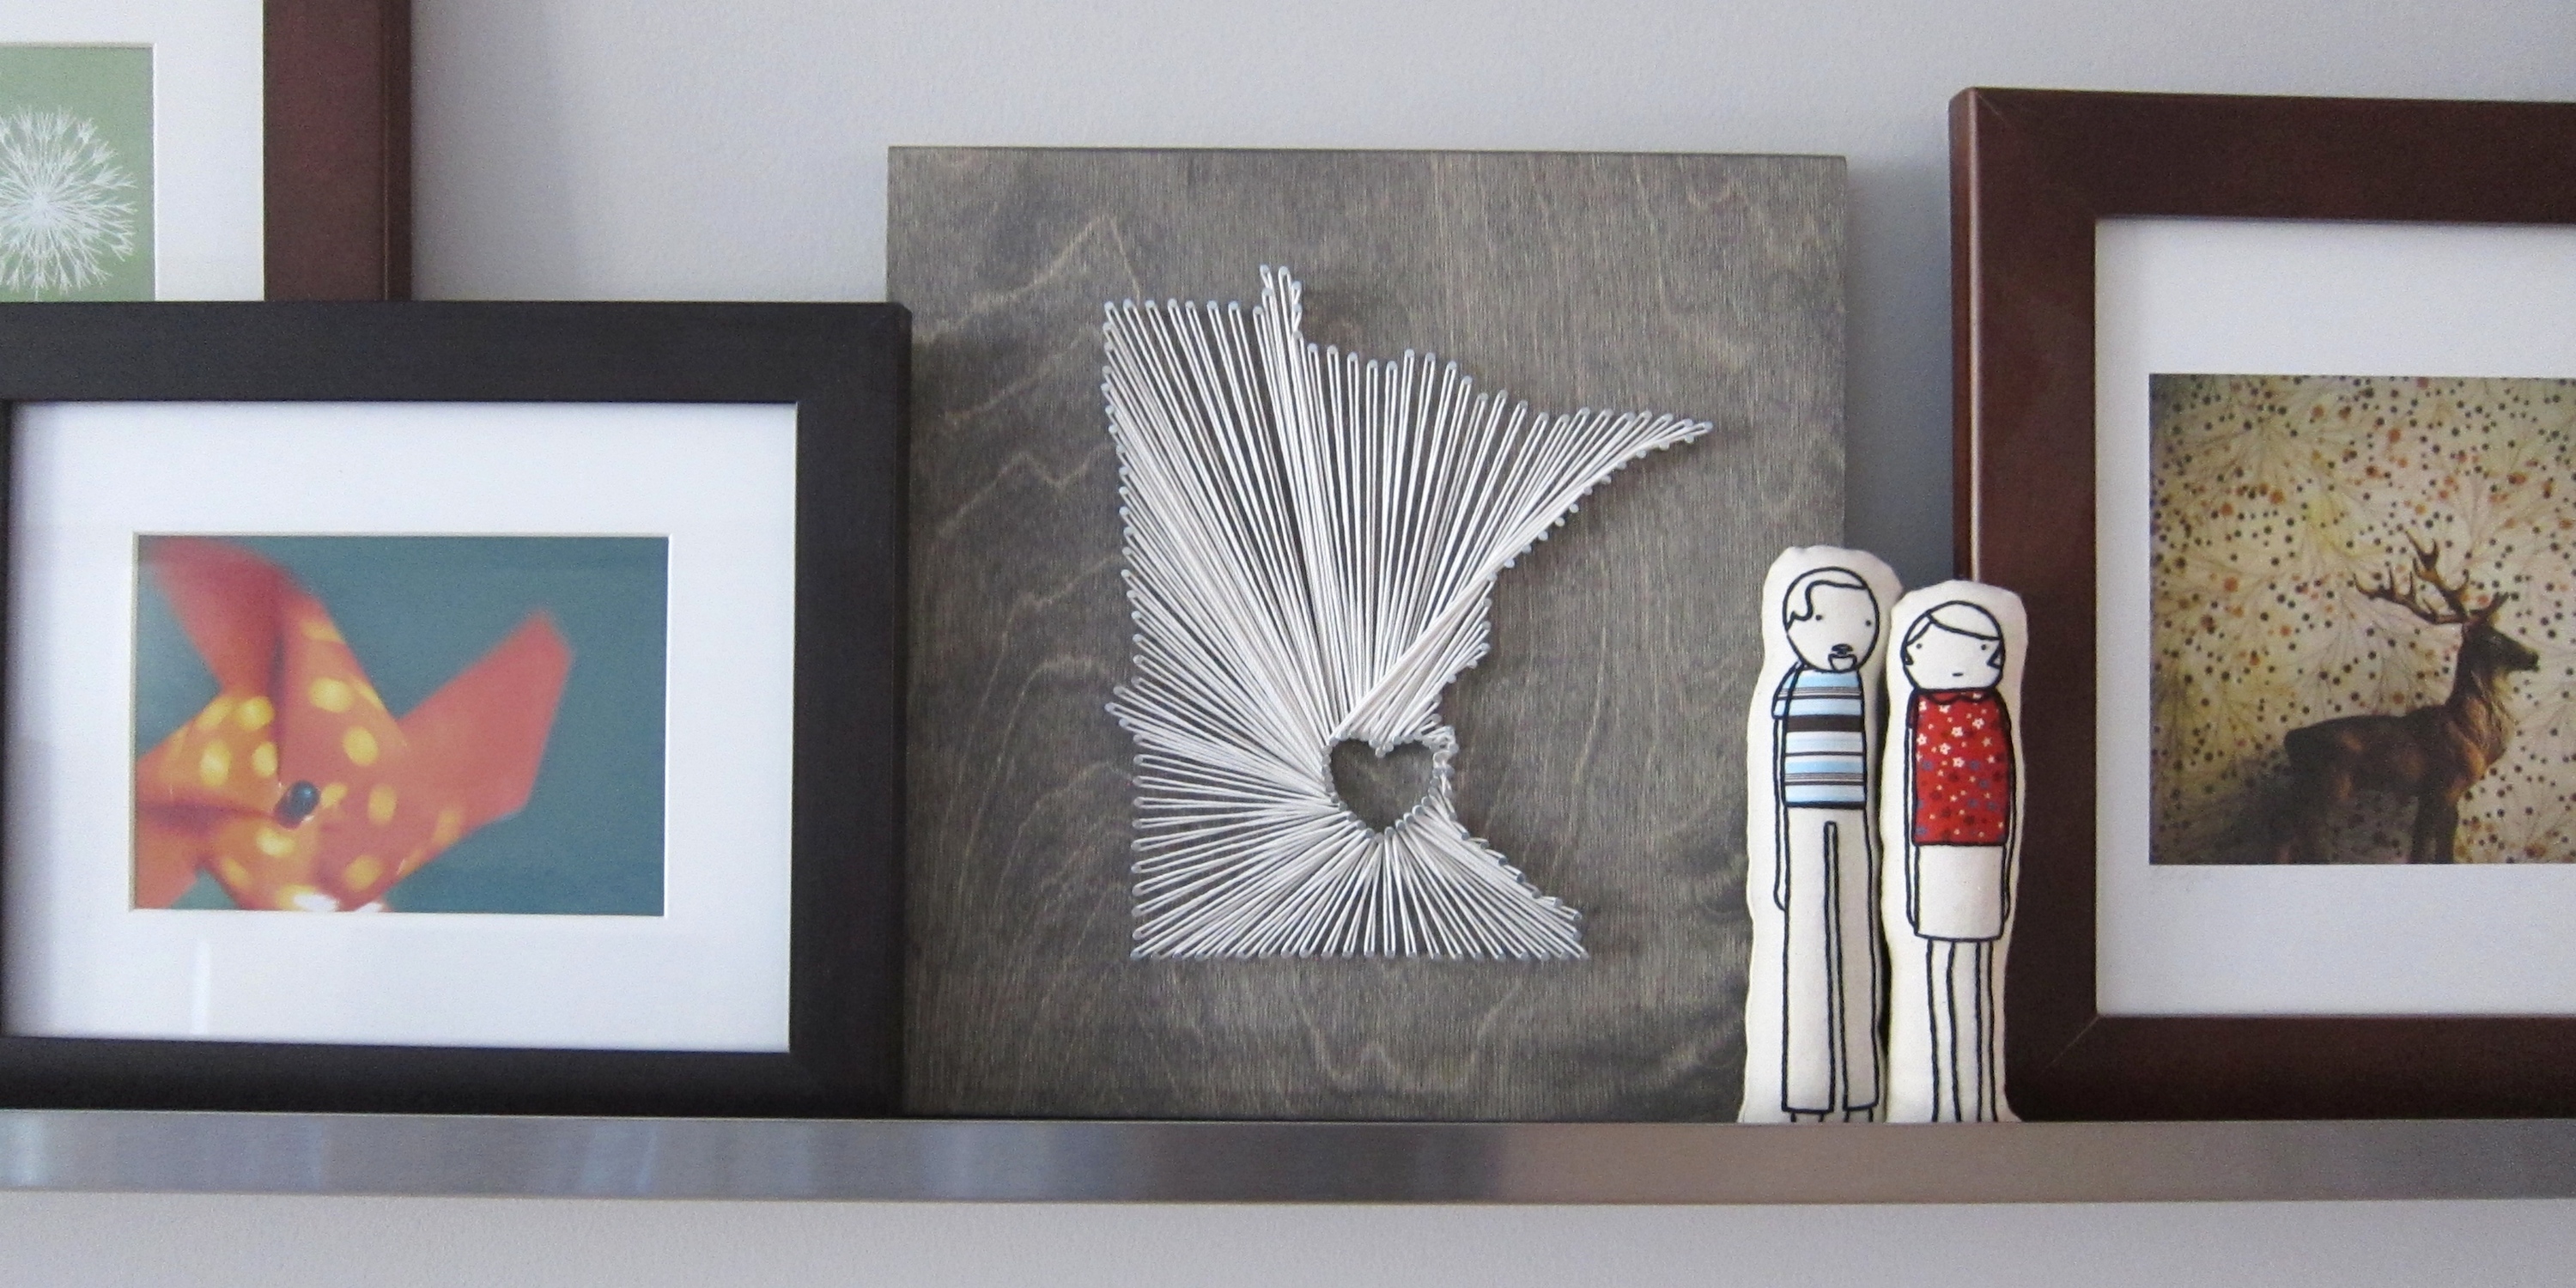

The latest Iron Craft challenge required us to use either flowers and/or hearts in a project. I showed my love for my home of Minneapolis and Minnesota with some string art.
I know this isn’t the most original of projects, you can find versions of this all over the web, but I have been wanting to try it for awhile. There are also a lot of tutorials out there on how to do it, but I just winged it the way I thought it should be done.
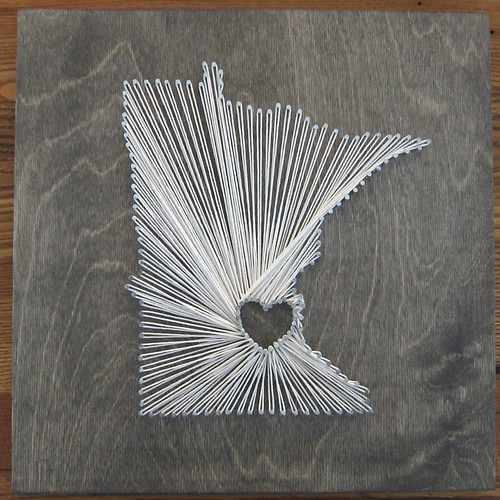
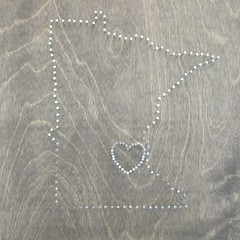
Most of this project is pretty straightforward, hammer nails in following the pattern of a state with a heart in the middle and then wrap string from the outside to the heart. Really the wrapping was the hardest part because of two problems. One, I put the heart where Minneapolis is, which is really close to the border (actually, I cheated it in a bit to have room to wrap). Two, Minnesota isn’t a perfect square, its got some bits that jut out that make wrapping nicely from nail to nail tricky. I made it work by not wrapping on a bunch of nails on the right side and I love the way it turned out. It just took a few tries to get it that way. (It was interesting afterwards to go and look at how other people handled this odd shape. I’m quite happy with mine.)
Minnesota Love String Art
I did Minnesota, but of course you can do any state.
Supplies:
- piece of wood thick enough to hammer nails into, finish or unfinished your choice. I found a 12″ x 12″ x 1/2″ piece of unfinished wood at Michael’s.
- sandpaper (optional)
- wood stain or paint(optional)
- soft rag (optional)
- varnish or polyurethane (optional)
- foam brush (optional)
- tape
- ruler
- pencil
- nails, I used about 200 5/8″ wire nails
- hammer
- pliers
- tweezers
- string or embroidery floss
- scissor
- glue (optional)
1.If you are staining or painting your board do it first. I stained and then varnished mine. First I gave it a light sanding and cleaned off the dust. Then I used a soft rag and classic grey stain. Two coats of stain gave me the color I wanted.
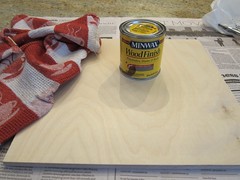

When dry I added a coat of varnish with the foam brush.
2. Create your template. You can find lots of outlines of states online. I picked on I liked and then made it as big enough to fit on my piece of wood. (If you are doing a really large piece you may need to print the template on two pieces of paper.) Then I added a heart approximately where the Twin Cities are in Minnesota.
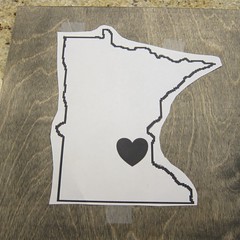
3. Tape your template in place on your board. (If you painted your board you may want to use painters tape.) I found it was easier to center my state when I trimmed it from the paper first.
4. Using a ruler and pencil mark out where your nails will go. I spaced mine out about 1/4.”
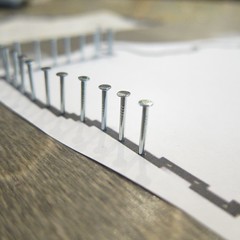
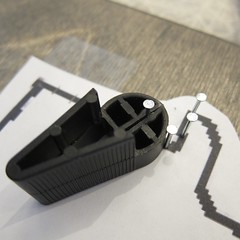
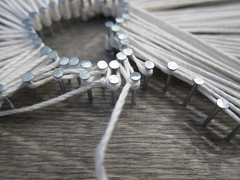
5. Hammer your nails in on your marks. You want to hammer them in enough that they are secure, but leave enough sticking out to wrap around four or five times. I found a nail holder to be useful.
Don’t worry of your nails aren’t completely straight. Use the pliers to fix those that are really bad, but when you look at the project straight on you won’t notice minor differences.
Do the nails for the heart first as it will be easier without the state nails in place.
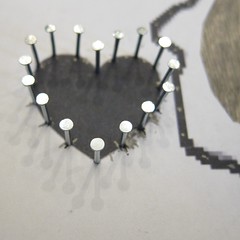
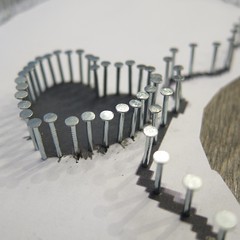
After I was done, I decided I needed more nails in the heart to wrap around, so I put another nail in-between each of them. It was tight but made the wrapping easier since I had about four times the number of nails in the state outline compared to the heart outline.
6. Tear off the paper template. You might need tweezers for some places.
7. Figure out where you want to start and end your wrapping. Tie the string on to the first nail. Start winding back and forth between the nails on the state edge and the nails on the heart, making sure to keep the string taut. I did some math on mine and figured out I had about 4 more state nails than heart nails. This meant I had to string four different state nails to the same heart nail. It did not work out as perfect as this because Minnesota is a strange shape and I ended up not even wrapping a lot of the state nails along the east side. Plus having the heart so far off to one side made it tricky. I had to unwrap a few times to get the look I liked.
When you reach the last nail, tie off the string. I then put a drop of glue on each knot for extra security. Trim the tails on the knots. I tucked the little tails underneath the strings going across and they don’t show at all.

Display your finished piece proudly.
© 2005 – 2014 Kathy Lewinski & Susan Cornish


5 Comments to Iron Craft ’14 Challenge 4 – Minnesota Love String Art