

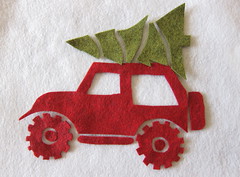
Here is a cute little project from Jenny. She had seen a throw pillow at Target that featured a station wagon with a tree on top silkscreened on it. She wanted to make her own version, but with a Jeep carrying the tree, since she is a Jeep owner. We figured it wouldn’t be too hard to make with felt and doing a appliqué. So, she brought all the supplies on our Thanksgiving trip and we dove in.
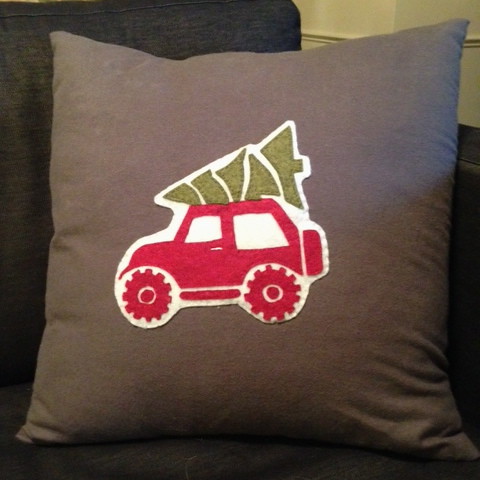
I think the results are charming and changing the car to a jeep makes it a little more personal. Using felt appliqué instead of just a silkscreen gives it some nice texture too. And really, other than getting the pattern this was quite easy.
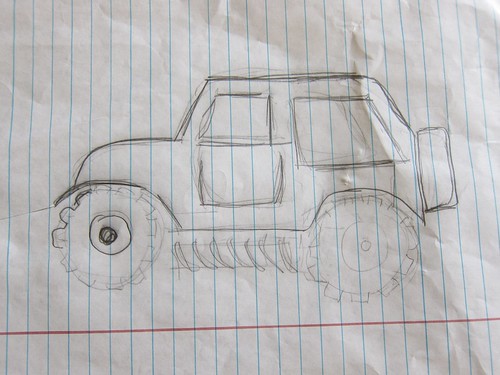
For the pattern, she had Thing 1 (the artist in the family) draw up the silhouette of a Jeep for her. The Christmas tree was just something we found on line, though it is easy enough to draw yourself. You can easily change this to any car you want either by drawing the pattern yourself or finding a one online you can adapted.
Bringing Home the Tree Pillow
Supplies:
- Pattern of car and tree drawn or printed on paper
- Felt in red, green and white, one craft sheet of each is enough
- Glue stick
- Fabric glue
- Thread to match each color of felt
- Fabric to make pillowcase. We used grey flannel. The amount you need will depend on the size pillow you are making.
- Thread to make pillow fabric
- Pillow insert
Tools:
- Paper scissors
- Fabric scissors
- Hand sewing needle
- Ruler
- Straight pins
- Sewing machine (optional)
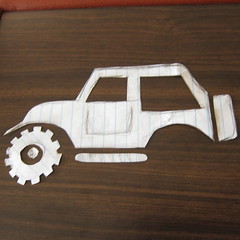
1. Cut the pattern out from the paper. Put glue stick on the pattern pieces and attach to the appropriate color felt. We did the car in red and the tree in green. Cut the pattern pieces out from the felt. Peel off the paper patterns.

We used the same pattern for the wheel twice.
2. Lay the pieces out on the white felt and adjust until you like the layout. Glue the pieces in place with fabric glue.
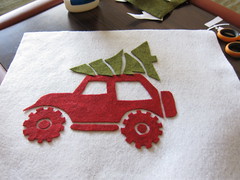
3. With matching thread, straight stitch around the edge of each piece.
4. Trim the white felt leaving about a 1/4″ – 1/2″ border.
5. Cut the pieces for your pillow case. I like to cut mine the exact size of my insert and then sew it together with a 1/2″ seam allowance. This makes for a nice, full pillow.
6. Glue the design to the front piece of the pillow. With white thread, straight stitch around the edge.
7. Sew your pillow together.
© 2005 – 2013 Kathy Lewinski & Susan Cornish


Pingback: "Decora tu residencia con estilo navideño con nuestra almohada 'Llevando a casa el árbol'". -