


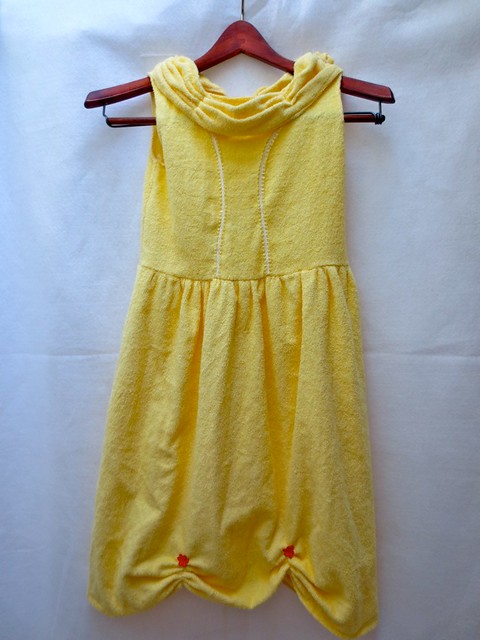
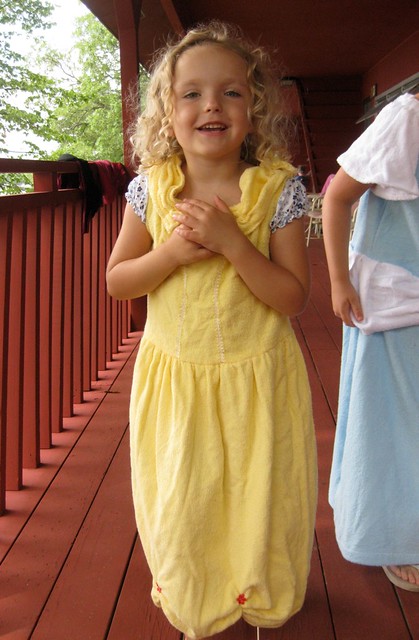
I had fun making a Princess Towel Dress, the original (Cinderella) is here, so I made a companion dress!
The second one is a “Belle” princess.
Supplies:
- a dress or tank to use as a template.
- 2 yards of yellow terry cloth
- yellow thread
- 4 small red flowers. (these came in a strip of trim and I cut them apart)
- 1.5 yards of yellow trim tape
- velcro dot closures (optional, maybe, mandatory for our delicate nature.)
Tools:
- fabric scissors
- sewing machine
Top:
I cut the top out based on a princess dress we have that already fits. First I traced around the top of the dress and then cut out a basic tank. Serge/zig-zag around all the edges so they have more stability and to keep the terry loops under control.
Then, with a fabric marker, sketch out where you want the bodice trim to run (this is the yellow trim tape the looks like princess seaming on the front of the dress). I would suggest hand basting it in first, because you are on a curve and you want the curves to match. (Pinning the curves proved difficult.) Sew the trim before sewing the dress together.
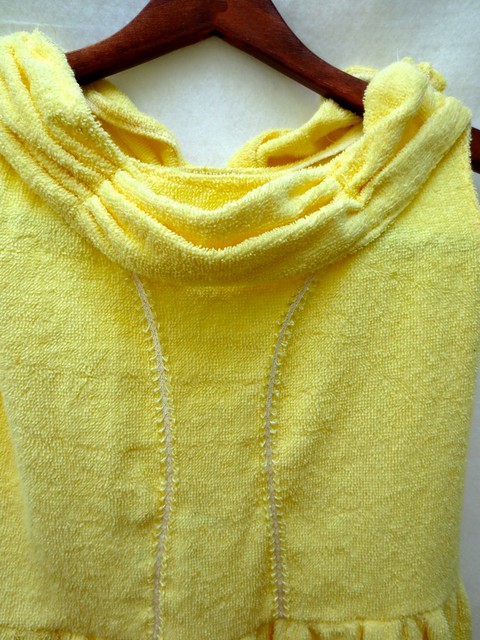
I added the trim up the front to give the illusion that the dress was pieced and to give it a little bit more detail.
The trick is 1. we have a sensitive girl. 2. terry does not stretch even one tiny little bit. When the final dress was pulled over her delicate little head, there were shrieks and wails and teeth nashing.
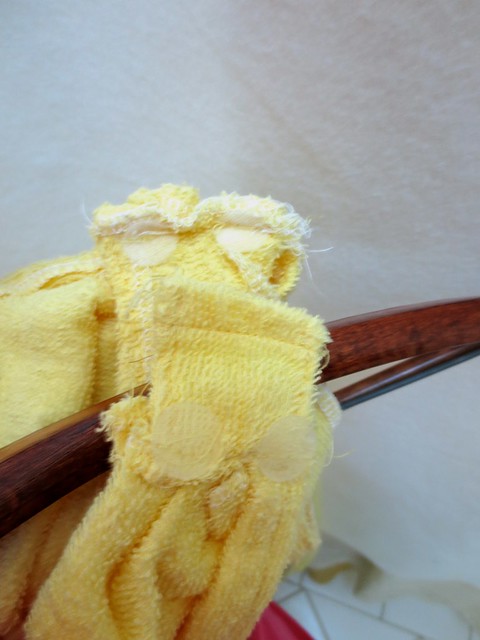
So I took it off, and opened up one shoulder, and added a velcro closure to that side.
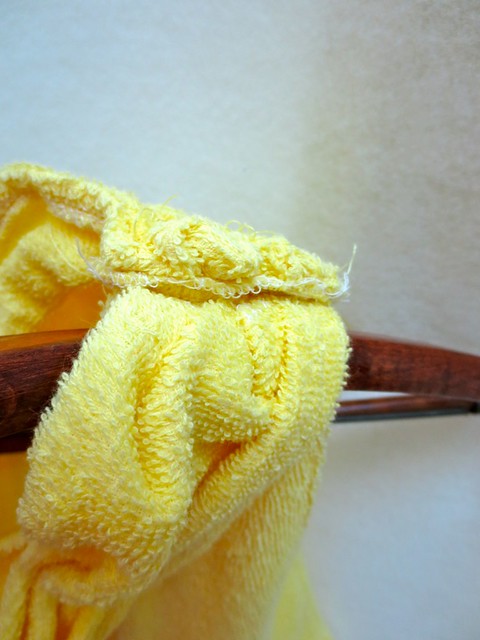
Now it goes over her head, and then gets fastened over one shoulder. Because this was done after the fact, it is not “up to standard”. I would recommend PLANNING for a shoulder opening and making a bigger seam allowance on one side. Leave a base for the velco to sit on and then have the other side fit down onto the base, so that it only looks like the gathers in the sash around the neck.
The last thing I did was make a long piece of the terry, like a sash, then I gathered it in thirds around the front and the back of the neckline and tacked it down.
Skirt:
Cut out a simple skirt. For length, use a dress that fits now and aim for ankle length. (The ruching will bring it up to “tea length”) Finish the top and bottom with zig-zag or serger. Hem the bottom.
At the hem, I ruched up fabric at 2 places in the front and two places in the back along the hem line. Then to highlight these gathers, I sewed a flower to the top of each one.
Simply sew the top and bottom together. And Voila! You are ready for dress up or the pool!
Here is a curtsy to you.

© 2005 – 2013 Kathy Lewinski & Susan Cornish


One Comment to Princess Towel Dress: Part Deux