

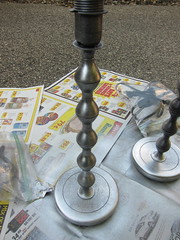
For this Iron Craft challenge we were to make something to use for the bedroom or sleeping. I struggled with an idea. At first, I thought I’m make some sleep shorts from old pillowcases. Problem is I’m still using my old pillowcases and didn’t see any I liked in the store that cost what I wanted to spend. Then I thought about finishing a pair of Ikea nightstands for the new loft. My husband though wasn’t sold on this idea and, after looking at the nightstands in person, either was I. I looked around at what I had and decided to redo the Ikea bedside lamps we are currently using for the new place. Here is the original lamp.
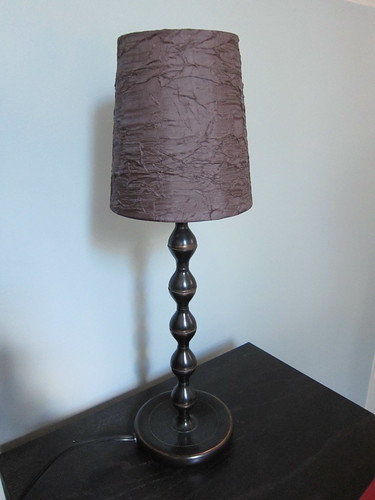
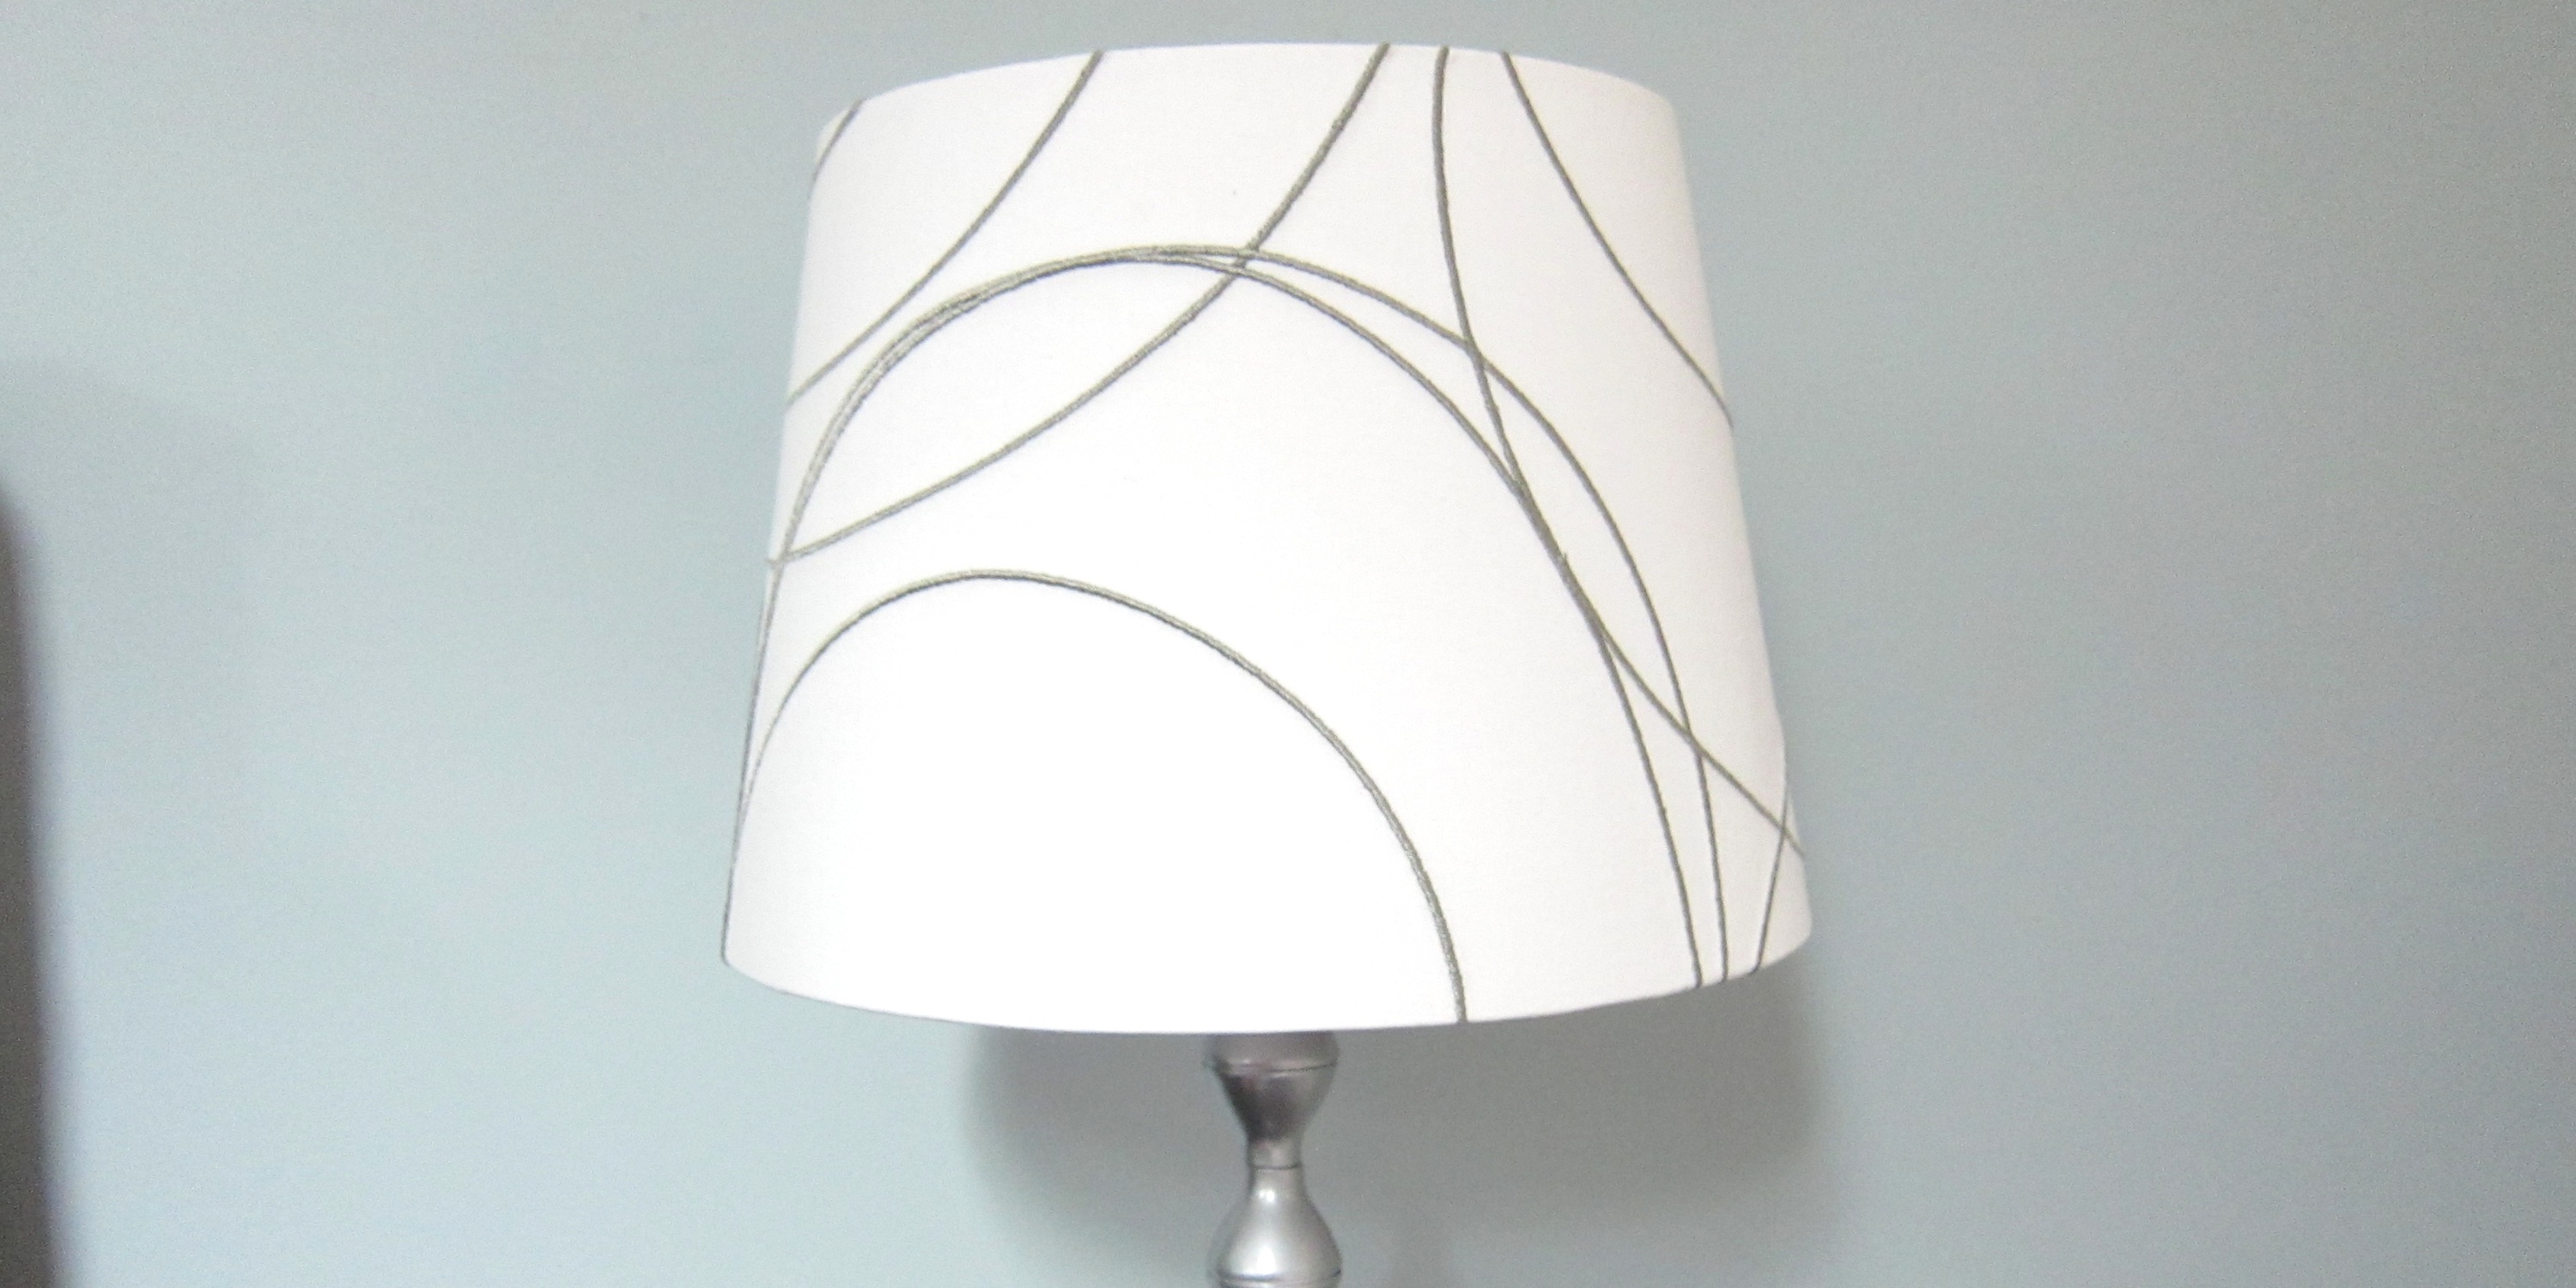
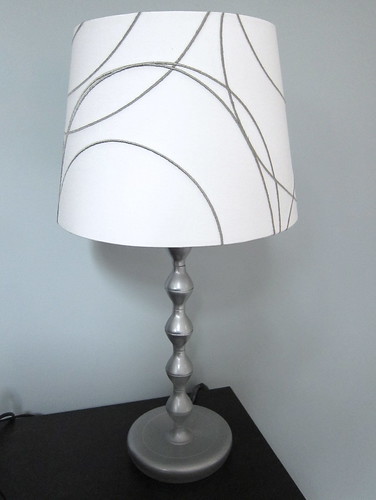
It is a fine lamp, but it is brown and our new bedroom is gray, black and white. They are Ikea so certainly cheap enough to replace, but since they still work perfectly I figured I’d just refinished them instead. I could have just gone black to match the steel bed frame, but I wanted to add a little metallic to the room (and I had a can of chrome spray paint). Here is the redone version.
Bedside Lamp Redo
Supplies:
- metal, wood or plastic bedside lamp base
- 220 grit sand paper
- soft cloth
- tape (I used scotch but painters or would probably be better)
- small ziplock bags
- protective surface to paint on such as newspaper
- 1 can spray paint (I used Krylon Premium Metallic Original Chrome*), make sure it is the correct paint for the material you are painting)
- 1 can spray clear sealer (I used matte for a less shiny look and will show you the difference below) (optional)
- lamp shade to fit base
1. Prepare the lamp base for painting – If your lamp currently has a shade remove it. Lightly sand the lamp to remove the shininess from the existing finish, this also helps the new paint adhere. Use a soft damp cloth to wipe off the dust and clean the lamp.

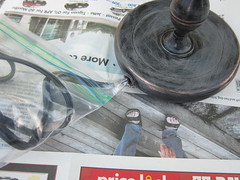
Coil the lamp cord into the ziplock bag and seal it. Tape over any cord that is showing.
Place on a protected surface in a well-ventilated area without too much wind.
2. Paint the lamp – Using smooth even strokes paint the lamp. It is best to do a lot of thin coats instead of one thick one. Follow the directions on your paint for re-coating and drying times.
3. Optional sealant – Once the lamp is dry, you can seal it with a clear coat. This will help keep the paint on and from changing colors. I used a matte sealer on my chrome paint which changed the finish a lot. I actually like it as it looks more like steel than shiny chrome now.
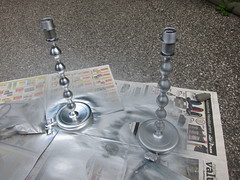
4. Finish – Once dry, add new lampshade.
* I struggled with this paint and it was not the first time. It says it gives a look of plated metal, but for me it always looks gritty instead of shiny and smooth. Then when you touch it you get covered in a silver dust. (This same thing had happened to me on an earlier project.)
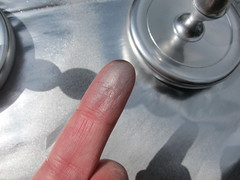
I thought perhaps I hadn’t cleaned up from my sanding well enough so I re-sanded and dusted everything. Same issue unless I sprayed really close to the lamp and put a lot of paint on, then I got the flat shiny look, totally against the rules of spray painting. Even this left some powder on my hands, so it was a good thing I was adding the sealant.
Have any of you ever working with metallic spray paint? Am I doing something wrong? Is it this paint? Is there a trick I am missing?
© 2005 – 2013 Kathy Lewinski & Susan Cornish


4 Comments to Iron Craft ’13 Challenge 15 – Bedside Lamp Redo