


(For the 24 weeks leading up to December 1st, we’ll be making a Christmas ornament. Each one will be traditional to or inspired by a different country.)
This week we are visiting England, to be more specific Victorian England.
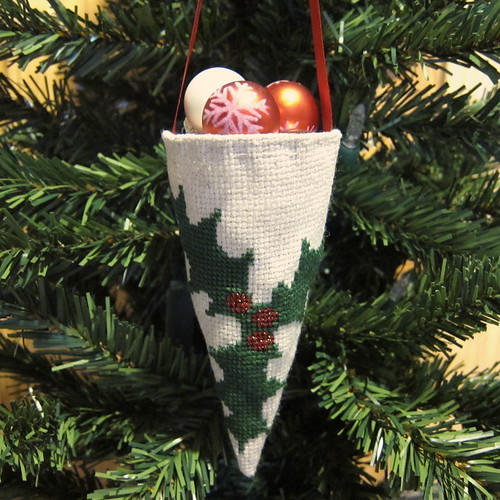
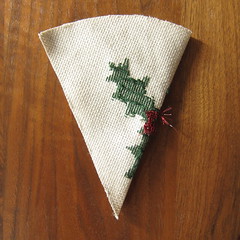
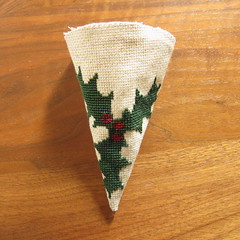
The Victorian English tended to decorate their Christmas trees with homemade ornaments. They would use scraps of ribbon, paper, pictures from magazines and so on. Victorian cones, a small hanging cone to be filled with treats or decorative items, were a popular decoration for many occasions including Christmas. Typically, they would be made from paper and then decorated. I wanted to make ours to last more than one season, so I’ve made it from fabric and decorated it with some easy cross stitch.
Cross Stitched Victorian Cone
Supplies:
- cross stitch fabric, I used 14 count
- green embroidery floss
- metallic red embroidery floss
- piece of paper
- thread to match fabric
- ribbon, about 9″
- items to stuff the cone such as candies, holly, pine sprigs, or small christmas balls.
Tools:
- tapestry needle
- scissors
- hand sewing needle
- sewing machine (optional)
1. Cross stitch your design on the fabric using 3 strands of floss at a time. (Download the Holly Cross Stitch Pattern) Make sure to leave enough room on the fabric to cut the cone shape out around the embroidery.
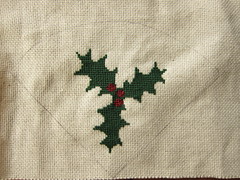
Metallic thread is a little tricky to work with, so use a short strand and make sure to pull it all the way through with each stitch.
(Note: I chose to cross stitch my design on first and then cut the cone shape out around it. You can also do Steps 2 and 3 first and then embroider on your cut out cone shape.)
2. Make a pattern for your cone from paper – I traced a half circle on a piece of letter sized paper using a bowl as a template (because my compass is packed away).
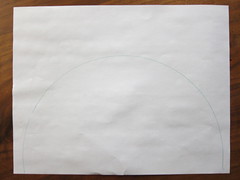
I cut that half circle out. Then I folded it in half. Open it up and fold the sides in toward that half line. This triangle with the rounded top is your cone pattern. My triangle is about 5 3/4″ tall and 8″ wide at the longest bit.

3. Cut the cone from the fabric – Use that paper triangle as a pattern to cut your fabric. Make sure to center your design if you have done the cross stitch first.
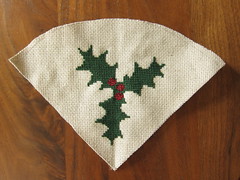
4. Sew the cone together – Fold the fabric cone in half with right-sides facing each other. Machine or hand sew the side seam with about a 1/4″ seam allowance. Turn right-side out, carefully pushing out the point at the bottom.
5. Finish the top and add the handle – Sew the ends of the ribbon on either side of the inside of the cone about 1/4″ in. Think of it as a handle on a purse for placement.
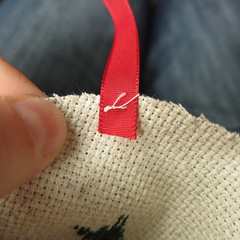
Turn the top of the cone in about 1/4″ encasing the raw edge of the ribbon. Pin in place. You may need to play with the length of the hem a bit to get it even all the way around. Hand or machine sew down. Bring the ribbon back up over the seam allowance and tack into place.

6. Fill the cone and hang.
I kept my cone pretty simple, but you can add as much glitz as you want. Add beads, rhinestones, ribbons buttons, whatever you have around. Kids would really enjoy decorating these too, just use fabric glue instead of sewing on the decorations.
© 2005 – 2013 Kathy Lewinski & Susan Cornish


Pingback: Victorian Cone Ornament | Cross-Stitch | CraftGossip.com