

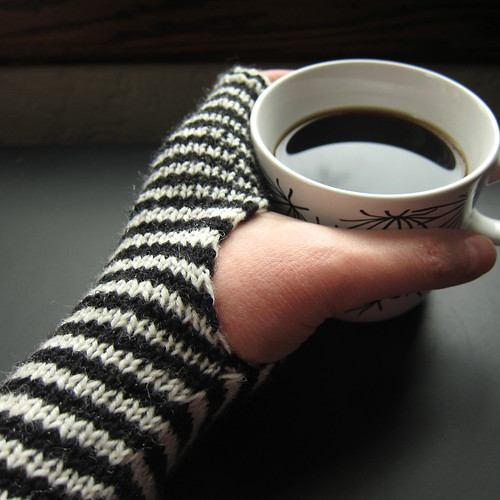
I’m one of those people who are always cold, especially my hand and feet. Slipper and wool socks take care of my feet, but I can’t spend the whole day in mittens. That is where handwarmers come in, they still allow me to do things like knit and type while keeping my hands and wrists warm.
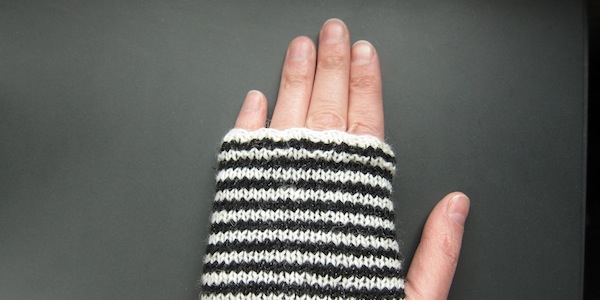
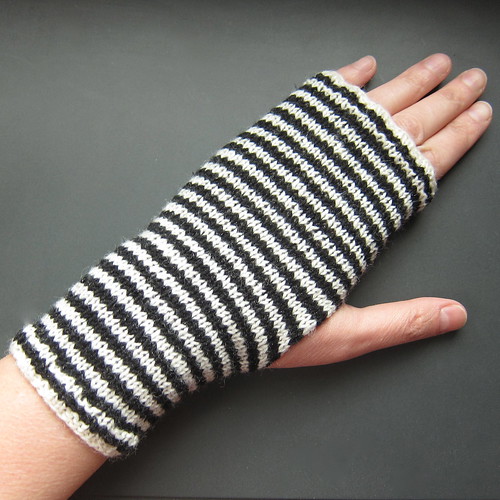
This pair was made to match the Breton Stripe Cap I made for the last Iron Craft challenge. I love the look of the stripes with that little bit of shine in the black. Other than the stripes, these are pretty darn easy to whip up and can be done in no time. I kept them pretty short since I wear them with long sleeves, but you can make them as long as you want.
Breton Stripe Handwarmers
Download the Breton Stripe Handwarmers Pattern
For this pattern you will be working stripes in the round which can cause a step or jog when you switch colors. See my directions on how to do a stepless stripe here.
Supplies:
- white or ecru fingering or sock weight yarn, about 100 yards (I used Red Heart Heart and Sole)
- black or navy blue fingering or sock weight yarn, about 100 yards (I used King Merinos Lamé which is technically a sport weight)
Tools:
- 4 size 2 (2.75mm) double-pointed needles (or size needed to get gauge)
- stitch marker
- tapestry needle
Gauge: 7 stitches and 9 rows in 1 inch
Required Skills:
- knitting and purling in the round on four needles
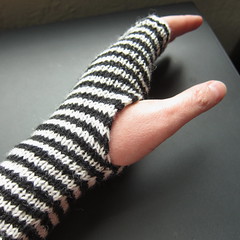
Size: Women’s medium (6.25″ around, but mine stretch to about 7.25″)
You will be starting at the top of the warmers and working down.
Cast on 44 stitches with ecru or white yarn. Divide between 3 needles. Join to knit in the round being careful not to twist the stitches. Place a stitch marker between the first and last stitch to mark rounds.
Row 1 – 2: k2, p2 to end of row
Row 3: switch color, knit
Row 4: k2, p2 to end of row
Row 5: switch color, knit
Row 6: k2, p2 to end of row
Row 7 – 32 (or desired length): knit switch color every two rows.
Thumbhole:
To make the thumbhole you will knit flat instead of in the round, which will leave an opening where the thumb goes. You can leave the stitches on the double-pointed needles while doing this.
(Here is a video I made showing how you do this.)
Keep your stripe pattern going throughout.
Row 33: k43, slip the last stitch as if to knit
Row 34: Turn your work and go back the way you came, so you will be looking at the inside of the handwarmers (the purl side). p43, slip the last stitch as if to purl
Row 35 – 50: repeat rows 33 and 34
Now you will go back to knitting in the round.
Row 51 – 81 (or desired length): k
Row 82: k2, p2 until end of row
Row 83: knit
Row 84: k2, p2 until end of row
Row 85: knit
Row 86: k2, p2 until end of row
Bind off in ribbing pattern. Weave in ends.
Copyright 2013 Kathy Lewinski JustCraftyEnough.com
Do not duplicate for distribution, repost, sell or teach without permission.
© 2005 – 2013 Kathy Lewinski & Susan Cornish

5 Comments to Project: Breton Stripe Handwarmers