
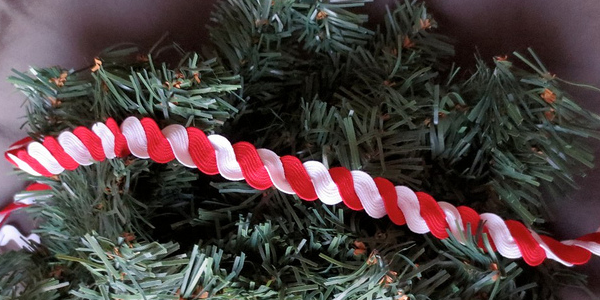

I saw this somewhere in my pre-christmas surfing, and I knew I had to make some. It could not be simpler.
Here it is!
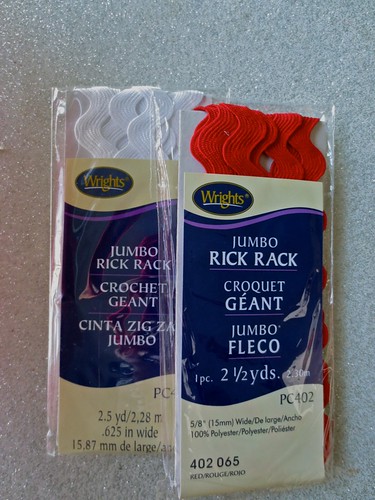
Supplies
- red rick-rack
- white rick-rack
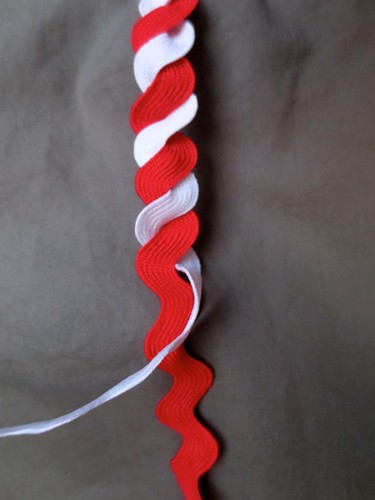
- clear thread
- needle
This is just a matter of twisting the two strands of rick-rack together.
But I did learn some tricks along the way.
I did not want a machine stitch in the middle of my garland, so I opted for hand stitching. The stitches are almost invisible, so that is good.

There is a lot of twisting in the process. The strands of rick-rack get very twisted. In order to get them to look like a candy cane, you need to essentially braid them, flat.
And in the process of doing this, the actual strands get twisted around. If I did it again, I would uncoil a short section of rick-rack from the cards, and then pin the remaining trim down to the card itself, then it would be more manageable, working in smaller sections.
You could treat this as a no-sew project and use fabric glue, placed in dots along the twirling strands would possibly work as well. But these strips are long, so that could prove to be a big “adventure”
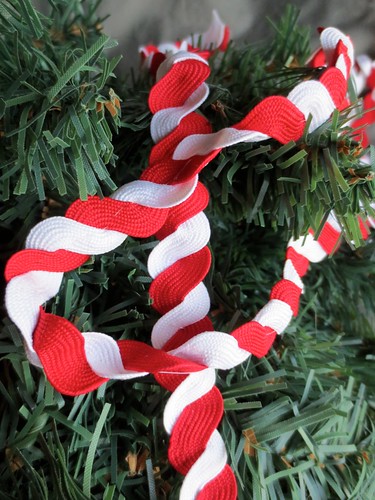
I would love to use this as a garland on the tree. But it could be a chord base for hanging art or holiday cards from too.
© 2005 – 2012 Kathy Lewinski & Susan Cornish


