

One of the things I knew I wanted to try making for Halloween decorations this year was a zombie baby head. My first stumbling block was actually finding the head. My plan was to get one at the local surplus store, Axman, since they’ve had them there in the past. Unfortunately, they didn’t anymore. I check the dollar store, but nothing was bigger than a barbie. I hit the jackpot at a local thrift shop, they had one baby doll, she was perfect and half price.
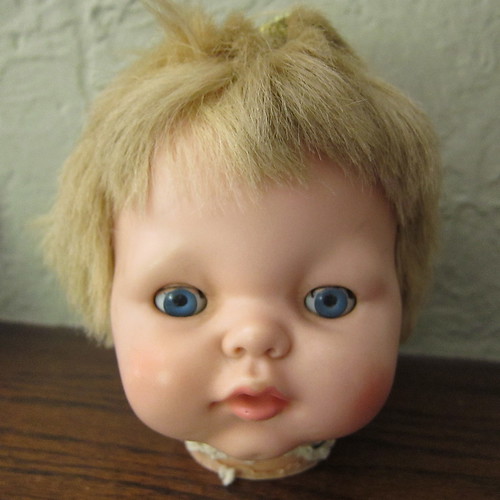
I liked the fact she was already a little beaten up and her hair had obviously been cut by a previous owner. All she needed was a little change in skin tone to be the creepy decoration I’d imagined.

I had originally planned to mount the head like a hunting trophy, but then I realized I had no where good to hang it, so I just set it in the mantle instead.
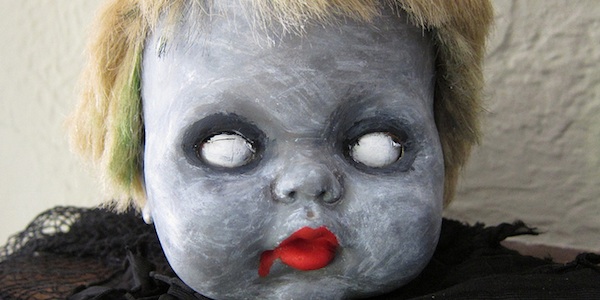
Zombie Baby Head
Supplies:
- Doll Head
- Acrylic Paint in White, Black, Green and Red
- Small Paintbrushes
- Scrap Black Fabric
I don’t really have step by step instructions for this project, because really it is just a lot of hit or miss to get the look you want.
I removed my head from the doll body, though you could keep it intact and have a full zombie baby. I saved the arms and legs to put in jars as part of the rest of the mantle display. My doll has eyes that open and close with eyelashes. Most of the lashes had already been pulled out, so I removed the remaining ones. I think you would want to remove any eyelashes as well since they will just get covered in paint.
I mixed together the white, black and a touch of green paint with some water to get the skin color I wanted. Then I used paintbrushes and paper towels to cover the whole face. It is a little tricky to get an even color, but I found letting a coat dry and then adding another helped. I tried to rub a little darker color into creases like around the nose. Use a small paint brush to create a dark circle around the eyes with the black paint. My skin was a little dark when I finished, so when it was all dry I wiped a thin coat of white all over. I really loved that effect.
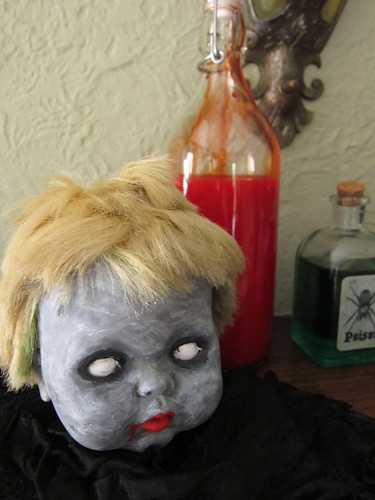
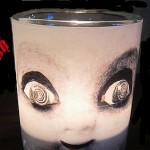
Then I added the details. I went for blank white eyes, which I think is really creepy. Of course, it needed blood red lips with a little extra drip of those brains. I wrapped some scrap black fabric around the neck so the head appears to be sitting in it.
This has been my profile picture on Facebook for the last week and my friends have been pretty creeped out by it. Thing 1 also gave it his approval, I figure a 13 year olds opinion is the best on creepy Halloween things.
© 2005 – 2012 Kathy Lewinski & Susan Cornish


Pingback: 25 Halloween Decor Ideas - Frugal Fanatic
Pingback: 32 Cool DIY Halloween Home Décor Ideas
Pingback: 15 Creepy DIYs That'll Haunt Your Dreams - Just Girly Things
Pingback: 12 Creepy DIYs That'll Haunt Your Dreams - Just Girly Things