


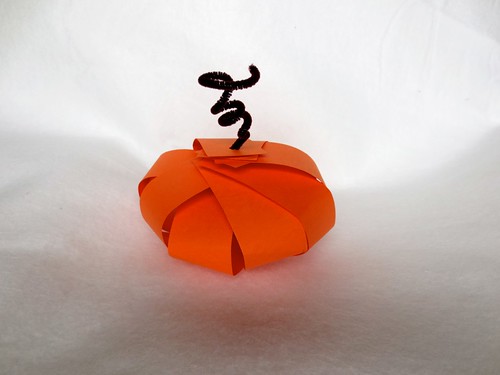
I have seen these pumpkins on the internet, and I decided to try them with the kiddos.
Supplies:
- Orange construction paper
- green or brown pipe cleaners
- scissors
- hole punch
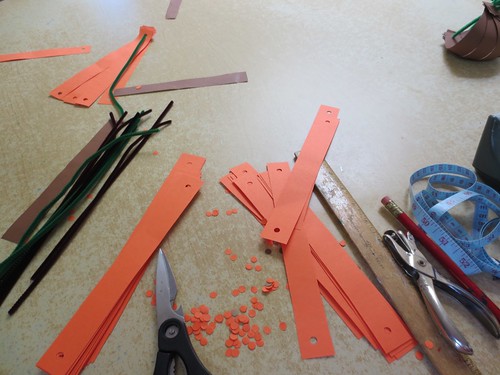
I cut the construction paper into strips for the kids. When I made them 8 inches, that seemed to be too long. So I cut them down to more like 6 inches.
Punch a hole in the strips at the top and the bottom.
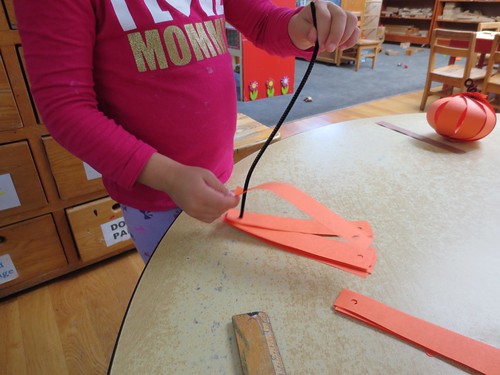
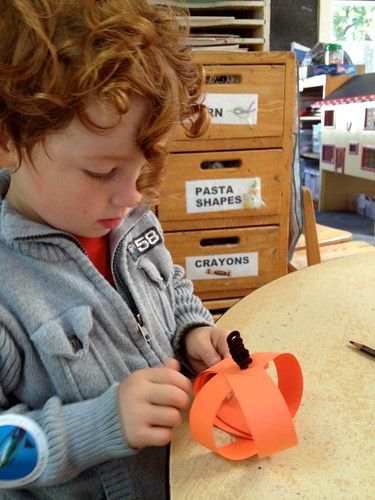
I helped the kids push the pipe cleaner in the bottom. And then curled the stem in a little “pig tail” curl. Like a flat Q.
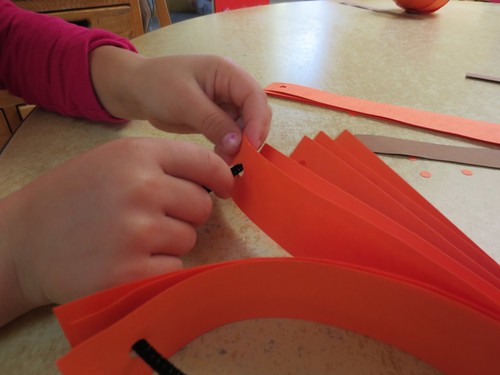
Then the kids push the pipe cleaner through the top hole.
(Our hole punch was standard size. That makes the hole much bigger than it needs to be. If you have access to a smaller punch, it will hold the pumpkin’s shape much more easily.)
When the strips are all through, push them down on the pipe cleaner so they are curved the way a pumpkin would be.
Next, I held a big fat pencil, and helped the kids twirl the “stem” around to make a cork screw.
The last step is to unfurl the pumpkin. Some of the kiddies did this on their own. Methodically. And others were frustrated by this step, and needed more help.
We had a lot of fun with these. It is a good “not painting” project.
Happy Halloween (season!)
© 2005 – 2012 Kathy Lewinski & Susan Cornish


One Comment to Preschool Project: Paper Strip Pumpkins