

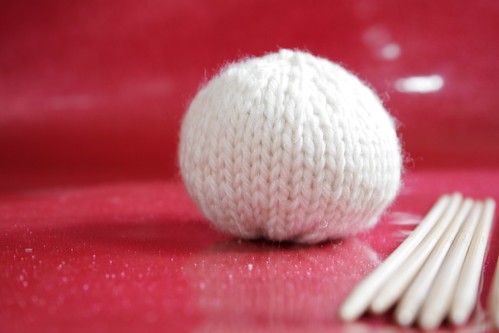
Christmas balls are vintage and shiny and hard and fragile. So I broke with all of those qualities and made one that is new and soft and matte and durable.
Disclaimer: I am certainly not the first person to knit a ball. (news flash, right?) But this one is different.
The patterns that I saw looked hard. They looked like you needed to be precise, and really watch your gauge and manage your decreases. So I dove in, and made up my own pattern. I wrote one where the increases and decreases are not meant to be a design feature, so they are almost invisible.
Here is the best part though – this pattern does not really require that precision. Really. You need to know how to knit on double pointed needles, but that is about it.
Ready to try one of your own?
Knit Christmas Ball
Supplies:
- Yarn (ends of balls are enough.)
- Yarn or embroidery floss to decorate with
- Fiberfil or stuffing
Tools:
- Needles (appropriate gauge for the yarn)
- Tapestry needle (for finishing the ball, and for decorating)
- Optional: Crochet hook, for decorating as well
Directions:
Cast on 8 stitches
Join in the round.
Knit one, increase one (do not knit into the front and back of each stitch. It will make a purl-like bump. Try to pick up stitches from the row below. It will be hard, because this is the cast on row.) (16 stitches)
Knit one round
Knit one, increase all the way around (24 stitches)
Knit one round
Knit one, increase one, all the way around (32 stitches)
Knit up 9 rows
Decrease row: knit one, knit two together (24 stitches)
Knit one round
Knit one, knit two together (16 stitches)
Knit one round,
Knit two together all the way around (8 stitches remain)
(This is a good time to stuff the ball, while the opening is still quite big, and you can cram enough in there without too much struggle. )
Cut a tail about 15 inches long. Thread the yarn through the needle, and carefully pull it through the remaining 8 stitches as you take them off the needle.
(if you are a little off here or there, it will not make a difference. ! I did more than one ball, in more than one gauge of yarn, and it worked for me. And I was not exactly right on, I will tell you. )
Now comes the fun part: Decorate.
You can do a duplicate stitch on top of the existing stitches. Or you can just free form embroider on top of the balls, making up your own design.
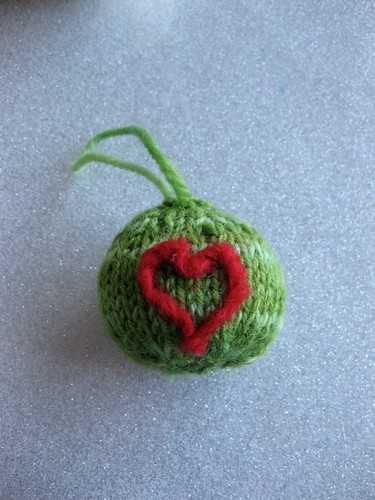
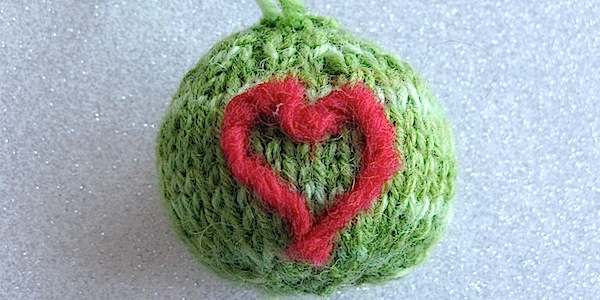
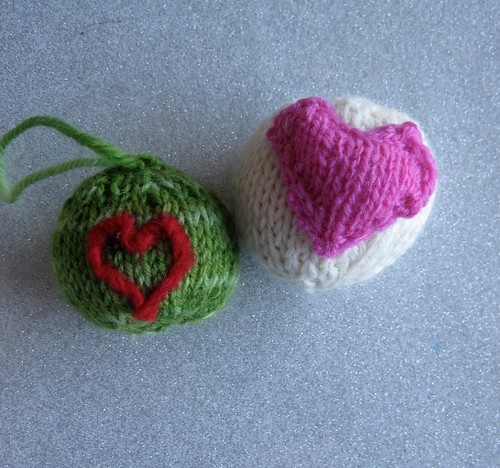
On this one I took some red yarn and needle felted a heart onto it. I wanted to show off the hand dyed quality of the yarn.
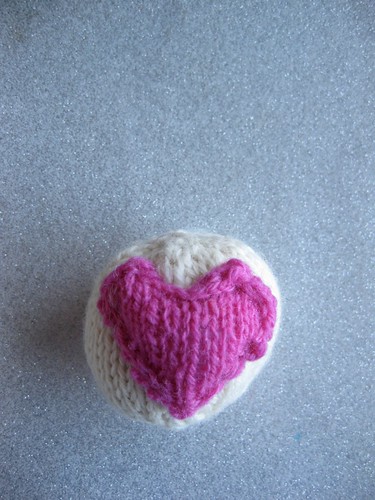
On this one I embroidered a hand knit heart onto the front.
© 2005 – 2011 Kathy Lewinski & Susan Cornish

One Comment to Project: Knit Christmas Ball