

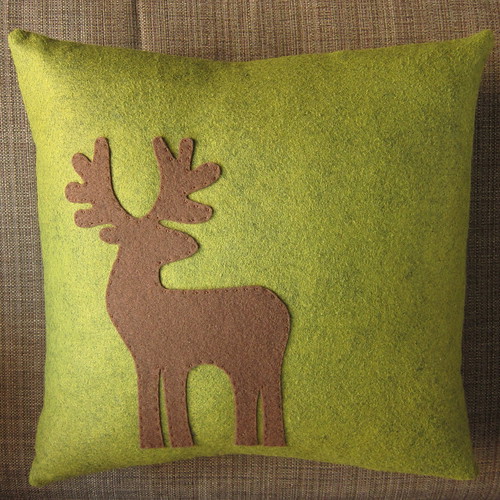
As I promised yesterday here is the tutorial for my reindeer pillow. It’s a clean, modern looking pillow that comes together quickly and easily. Nothing more than a steady hand for cutting and some basic sewing skills are needed.
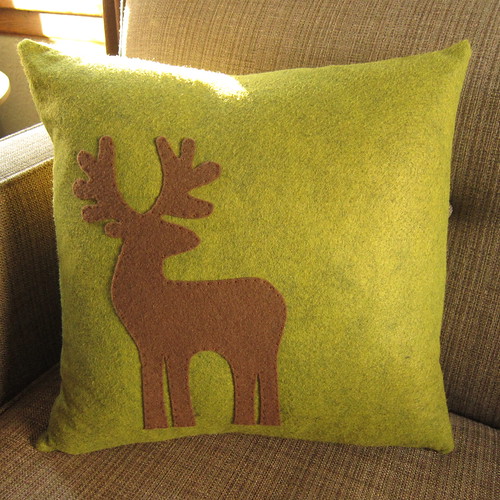
Reindeer Appliquéd Pillow
This pattern makes a 16 x 16″ pillow. Of course you can make it any size you want, you’ll just need a little more or less fabric.
Supplies:
- 8 1/2 x 11 piece of brown felt (or color of choice)
- Scissors – I used paper, fabric and embroidery scissors
- Glue Stick (optional)
- Ruler or yard stick
- 1/2 yard green felt (or color of choice)
- Fabric Glue
- Paintbrush (optional)
- Brown Embroidery Floss (or color to match reindeer)
- Sewing Needle
- Green Thread (or color to match pillowcase)
- Red Bead or Small Red Button(optional)
- 16″ x 16″ pillow insert
Open the reindeer pattern and save it to your computer. Print it out so it fills a whole sheet of paper or size you want for your pillow.
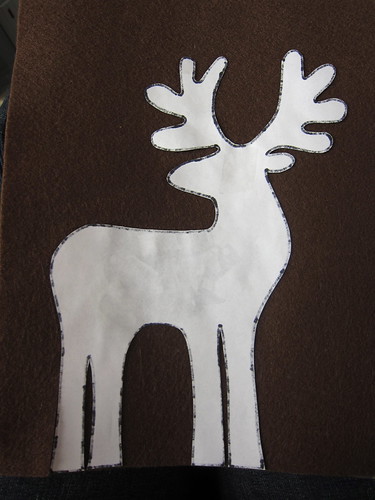
Cut the pattern out. Use the pattern to cut the reindeer out of brown felt. I like to put glue stick on the pattern and stick it to the felt rather than pin it on. It doesn’t leave a residue on the felt and keeps the pattern much neater on the felt than pinning. You can re-glue and use the pattern usually one or two times more if you are careful removing it.
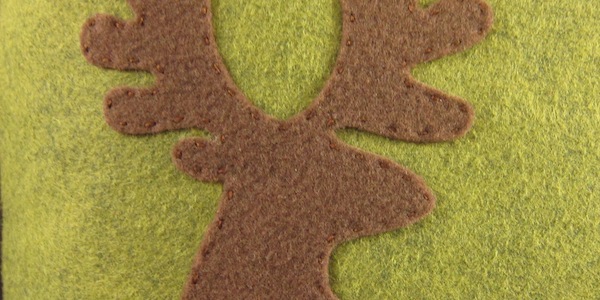
Cut the reindeer out of the felt. I like to use sharp embroidery scissors to get in all the small places like the antlers.
Cut your green fabric into two 16″ x 16″ squares. I like a really full, stuffed pillow, so my trick is to cut the fabric to the exact size of the insert. After sewing it with the 1/2″ seam allowance it’s an inch smaller than the insert. It’s a tight fit but I like the look so much better. If you don’t want your’s so tightly stuffed cut your squares 17″ x 17″
Using fabric glue, glue the reindeer to the front of the pillow. You don’t need to worry about getting to the edges since you’ll be sewing it on as well. Try not to go too heavy on the glue, I find a paintbrush helps to spread it out. Let dry.
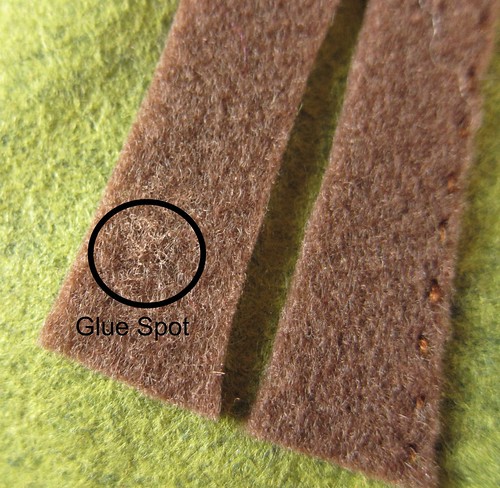
If your glue is on too thickly and seeps though you might end up with a crusty lighter spot like the one in the picture above. (Ok, I know it’s a little hard to see, but it bugged me.) After it dried I find you can scrape it out a bit.
Split the brown embroidery floss so you are working with three strands instead of the full six. With the floss and sewing needle, stitch around the edge of the reindeer. You can do a simple straight stitch, blanket stitch or any other stitch or your choice. If you are really good with your sewing machine you could even top stitch around the edge. Another thing you could do for different look here is use a contrasting color to sew the reindeer on.
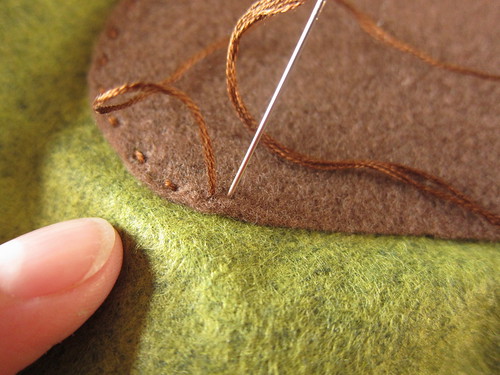
I went for the basic straight stitch in brown for my pillow. If you want to turn your reindeer into Rudolph, sew a red bead or button to the tip of his nose.
Put the back and front of the pillow together with right sides facing. Sew around three side using a 1/2″ seam allowance. You can sew a little of the fourth side if you like too, but don’t sew more than half. I like to reinforce my corners with a little extra stitching across the top of where the two sides meet.

Trim your seam allowances to 1/4″ and clip the corners. Turn the case right side out and put the pillow insert inside. Whipstich the rest of the fourth side closed.
Now, this tutorial is for a case that you can’t take the insert in and out of without cutting it open. If you do decide to add a zipper you can do so without making any changes to the size of the pillow pieces. If you decide you want to create an envelope closure for the back you will need to make two pieces for the back that overlap by a couple of inches.
If you make a reindeer pillow or any other Just Crafty Enough project, we’d love to see your results on our Flickr group.
© 2005 – 2011 Kathy Lewinski & Susan Cornish


Pingback: Tutorial: Reindeer appliqued throw pillow · Sewing | CraftGossip.com
Pingback: Reindeer Pillow | Marla's Art Page Blog
Pingback: fox and deer » want to make this? yup me too: Just Crafty Enough – Project – Reindeer Appliquéd Pillow
Pingback: Almohadón navideño con diseño de reno - La Isla Buscada
Pingback: Celebrations Circle: Holiday Myths | Life of the Party
Pingback: 30 Modern Christmas Pillows to Quilt & Sew - wow i like that
Pingback: Celebrating with Santa | Laura Dickey
Pingback: Top 10 Free Christmas Sewing Patterns | Sew and So