

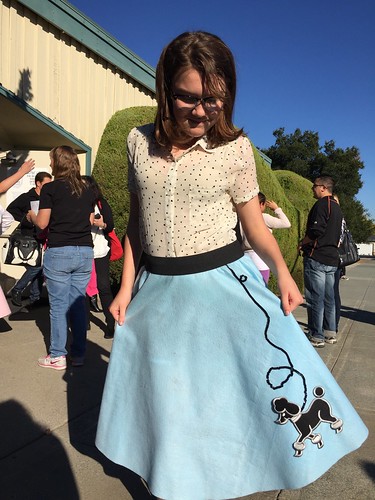
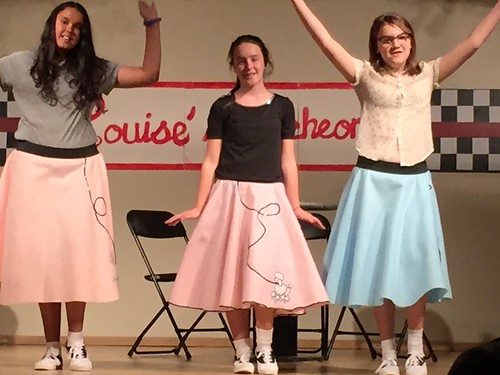
The girls of the Stitch Lab were asked to help make some poodle skirts for a 50’s musical performance at school. Of course we jumped on the chance. We had one as a “master” and we just used that one to create the general idea. This turned into a fun project for the girls, and after we made one, we made some more.
Here is how we did it.
Poodle Skirt
Supplies
- felt (2.25 yards of 72″ wide) Pink or light blue are traditional. Felt is sold (at least at JoAnns) on a bolt and it’s 72 inches wide.
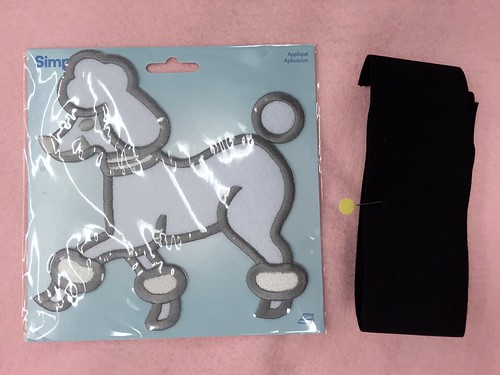
- poodle applique
- sequin trim (or nice cord or braid for the leash detail)
- wide black elastic for the waist.
Directions:
You will need two measurements:
1. The waist measurement (measure where the skirt will sit. Here is the trick: “the kids these days” like to wear their skirts and their pants low around their hips. But the poodle skirt was never worn that way. It loses a little bit of the 50’s aesthetic if it rides low like that. If you can help to get that point across, and help them to wear the skirt at the smallest part of their waist, it will have a more authentic effect.) Measure the waist (or where they want to wear the skirt)
2. Measure the widest point on their body that the skirt will have to ride over. Be that the bum area or the hips, measure that. That will (probably) be a bigger number than the waist.
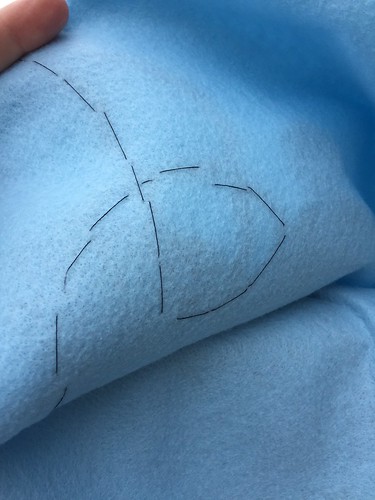
Fold the fabric in 1/2 (the way it came off the bolt), and then in 1/2 again. Draw a gentle curve at the top corner.
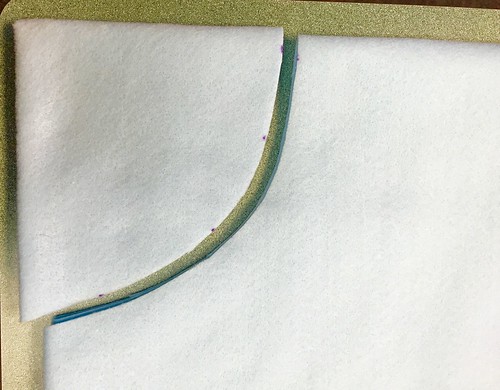
From this gentle curve, take a fabric tape measure, and measure down the shortest side.

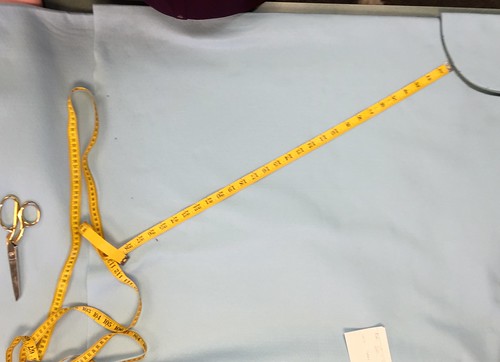
Using the tape measure and acting like it is a compass, hold one end on the opening, and move slowly around the bottom, creating an even arc using the tape measure and a fabric marking pen.
This curve you are drawing will be the bottom edge of the skirt. Felt does not need to be hemmed, so make sure that your cut is smooth.
Cut the black elastic about 1 inch larger than the waist measurement. Sew the elastic closed (right sides together) at a place that is about 1 inch smaller than the waist measurement.
To fit the waist band into the felt skirt you will need to make some graceful gathers. You can do that by carefully stretching the elastic while you sew. (If this is very uncomfortable for you, just go old school and use a needle and thread and run a baste line around the top of the waist and make the gathers before you start.)
Using a chalk or disappearing ink, mark the skirt waist front, back, and two sides. This is easy to do by folding the felt, and just making small dots. Now, make the same markings on the black elastic.(or use one color pin at a marker if you do not have chalk that will show up on black elastic) Using the seam in the elastic as the center back, fold the waist band in half and mark the front. Then fold the elastic in half so that the front middle pin marker is on the back seam, and mark the two sides. Now you have a pin at the middle of the front of the elastic, at the “belly button” and one pin on each “hip” and then the back seam. So you have marked equal quarters around the circle.

Match the pins to the markings on the felt. There will be 4-6 inches of ease that needs to be gently gathered when the elastic is being sewn. (Because it is felt, I did not turn it under.) I recommend just laying the black on top of the felt and pinning it in place. I used wide elastic and pinned about 1.5 inches up.
The poodle is an iron on patch, but we did not want to risk burning the felt, so we stitched it on. First, we hand basted the patch in place, and then ran the machine very close to the satin stitch trim all around the edge. (the girls did this themselves and were very successful with it.) Lower (or disengage) the feed dogs on your machine and then pull/feed the fabric around the outline of the patch carefully by hand.
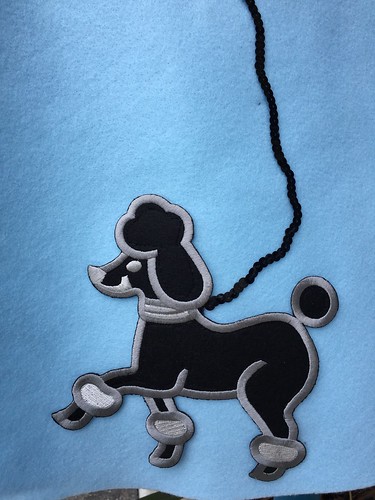
The last step is the fun sequin leash. At first glance it looks like you could just thread up a needle and run it right through the hole in the sequin that is there already. But this proved to be very tricky. We found that if we used black thread that we could take very small stitches at the base of a sequin, loop the thread around and go out the back almost where you went in, then tighten that stitch carefully, catching the base threads that are holding the sequin chain in place.
In this way, you are tacking down the “spine” that holds the sequin string, and the thread does not show at all. Move up about 3 sequins and repeat the process.
This project is a good one for kids. They end up with something to wear without a lot of “fine finishing” to do. “Happy Days” to you!
© 2005 – 2016 Kathy Lewinski & Susan Cornish


