

For this Iron Craft challenge we were asked to make something from paper. I’ve been itching to do another papercut project lately since it had been quite awhile. I had planned on doing something a little elaborate and Scandinavian in flavor, but as time ticked by I ended up doing something a bit simpler.
I had originally thought this would go in the new gallery wall we are hanging in our house, but we ended up going with all black and white photographs there. So, I haven’t framed this (or mounted it on the white paper, yet. I think it may go on some new shelving we are having installed which means I’ll need to get a different frame than what I have.
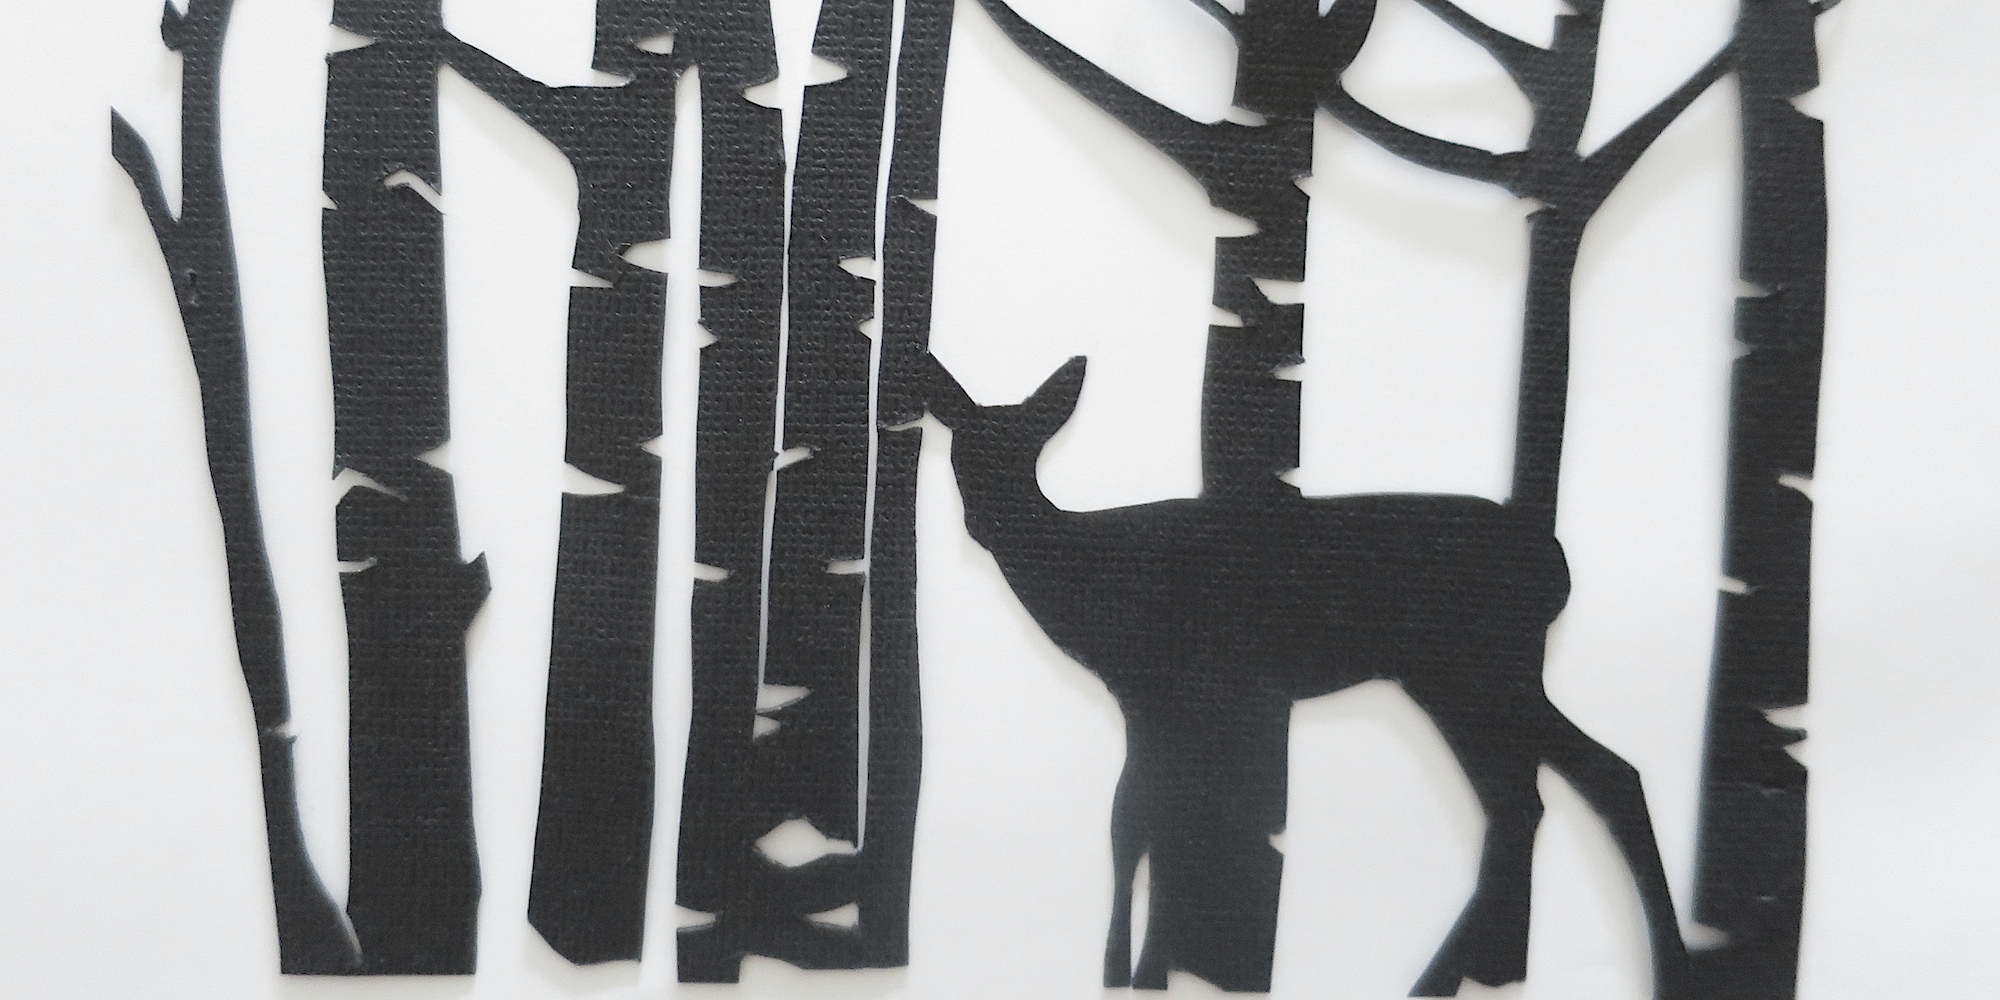
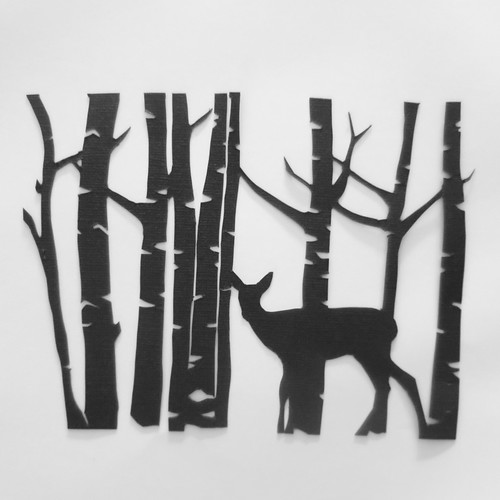
Deer and Birch Papercut
Supplies:
- restickable glue stick
- cutting pad, magazine or piece of cardboard
- exacto knife (with a fresh sharp blade)
- small scissors, like embroidery scissors (optional)
- paper scissors
- white paper
- spray mount
1. I made this image by putting together a few different one online.
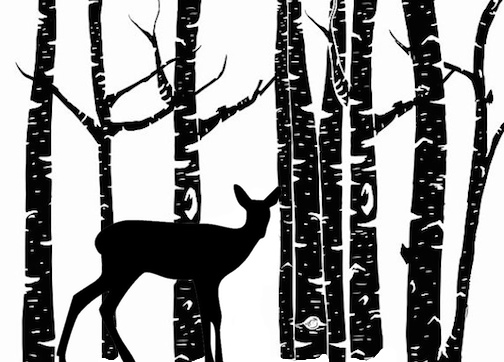
If you click on the picture you can get it in a 5″ x 7″ size or resize it to the size you need.
I wanted something that when cut would be one piece.
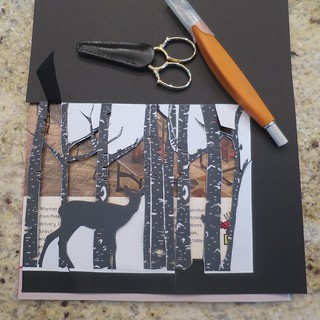
2. The next challenge was how to get the image to use as the guideline on the black paper. I used restickable glue stick to glue the image to the back of the paper.
Keep in mind your finished papercut with be the mirror image.
3. On a hard protected surface start carefully cutting out the image. I just used a magazine on the kitchen counter. I used both the small scissors and exacto knife for cutting. You can get as detailed with the trees as you wish.
I cut the big sections out first and then did the details. In retrospect, it might have been better to do the details and then cut out the trees. It gets pretty delicate and I ended up tearing one tree apart.
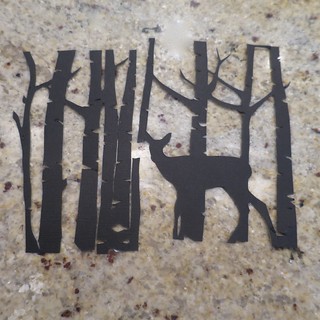
It is not a big deal and won’t show once it is mounted.
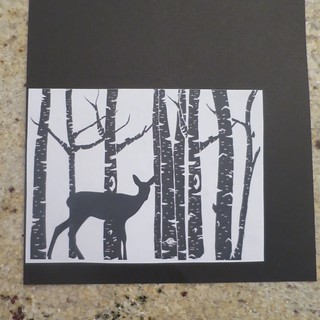
4. When you have everything cut out, carefully pull the printed image off the back. You technically don’t have to do this, but I felt it showed a little and looked cleaner once it was gone.
5. Mount the cutout on the white paper with spray mount. Let dry and frame.
© 2005 – 2015 Kathy Lewinski & Susan Cornish


So glad that you chose to do a papercut. You did a beautiful job. I like the modifications you made and the result is really stunning. Well done.
I love it!