

Everyone is on board the Elsa bandwagon, but it has taken a little time for the boy’s characters to have their day “in the sun”. We are headed to an ice skating- Halloween-Frozen Party soon and I am making sure that our little bestie Max will be able to arrive in style. This is a quick and easy project that does not involve very sophisticated sewing skills.
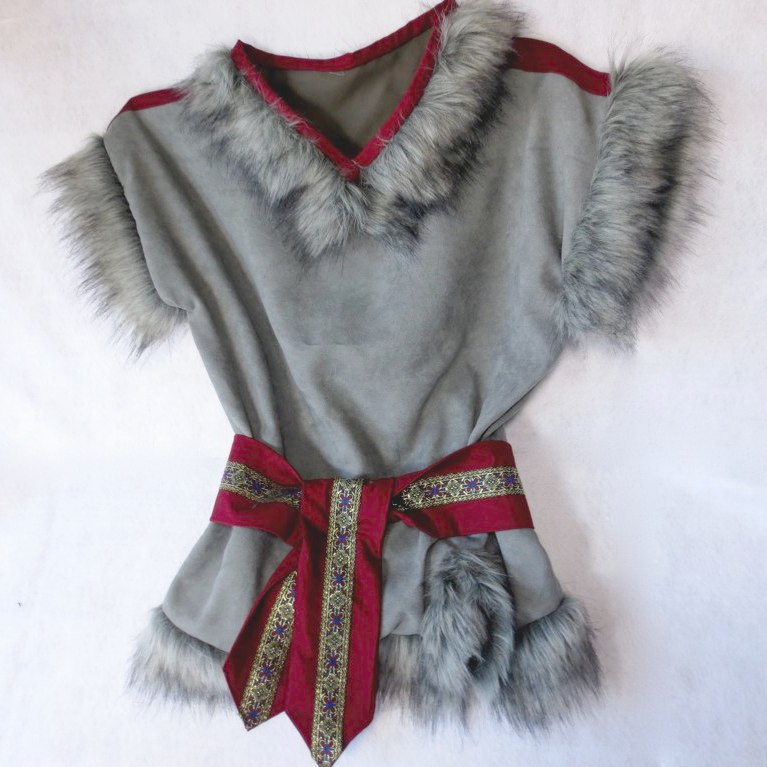
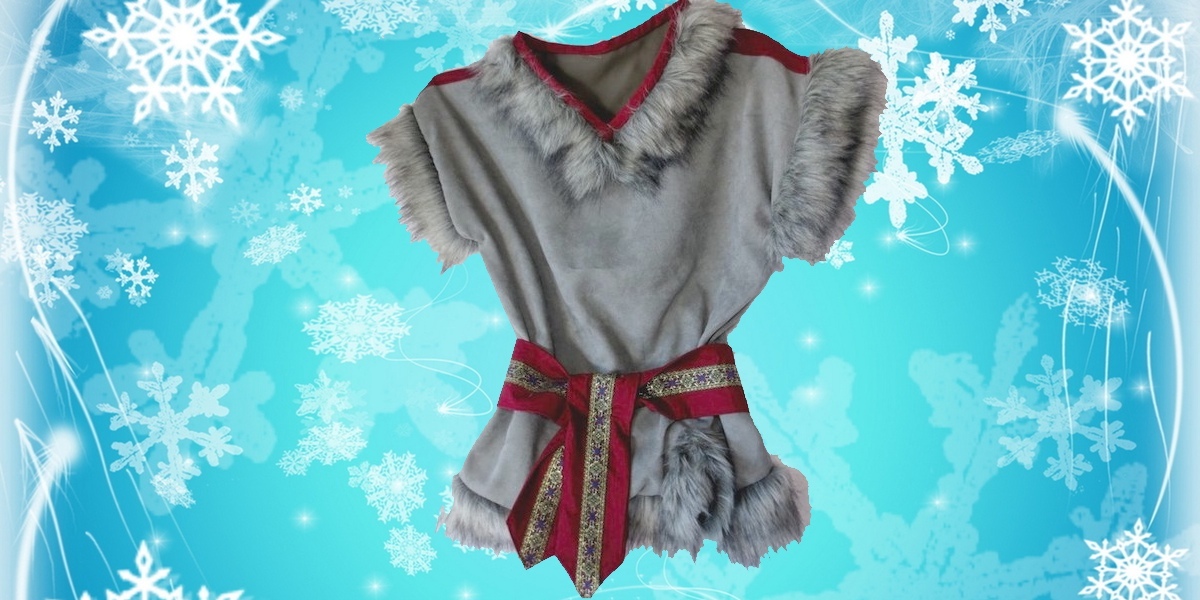
Kristoff Costume
Supplies and Tools:
- grey (faux) ultra suede (3/4 yard for child size)
- fur (trim would be easier 80″ or almost 7′ for the child size, yardage if you have to. I got 1/3 yd, or 12 inches)
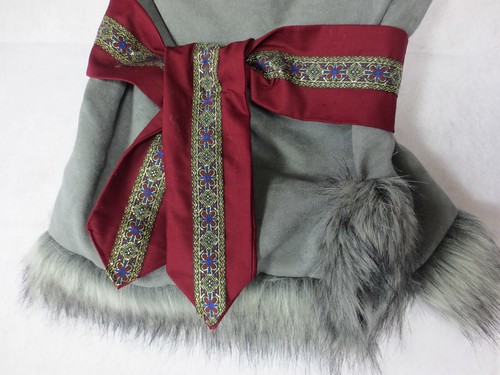
- decorative ribbon (51″ pictured here. More if you want the ribbon around the collar too)
- burgundy wide ribbon (or flat yardage if you have to)
- coordinating thread
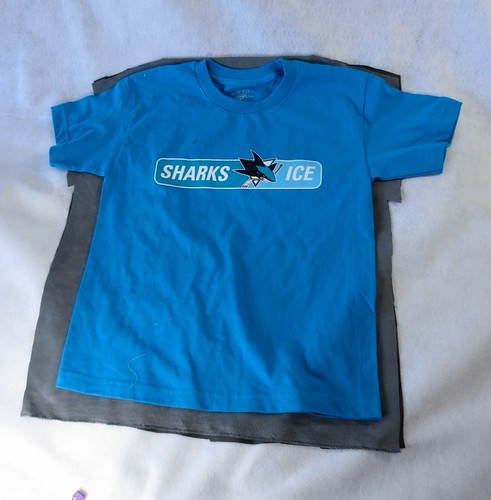
- t-shirt just for size reference
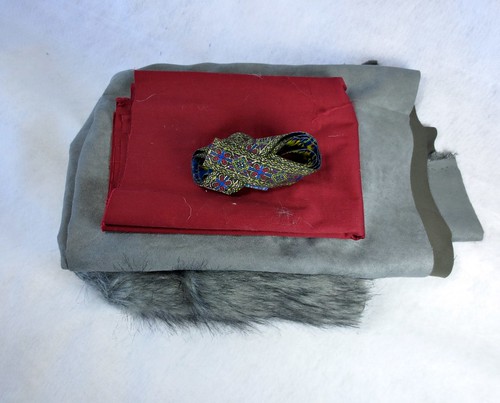
A note on the supplies: if you found fur trim, you could knock this out in no time (and with very little mess). There were only 3 choices of precut fur strips for me, white, black and camel. I was being super picky, and I wanted the grey heathered “fox” fur, so I caved and bought yardage. I could not find 3″ wide oxblood gross grain ribbon, so I went and found oxblood color cloth instead.
Begin by cutting a basic shape from the ultra suede. I cut straight up the sides and then cut out about 1″ on each side for “sleeves”. I tapered the shoulders just slightly. Cut a slit in the bottom left front and add a neck hole with a straight cut opening in the front.
Sew straight up the sides and the shoulders. Add fur trim around each opening.
If you have purchased fur trim, you are good to go. If you have fur yardage, things are going to get messy. We don’t have a pet, but when this was over, it looked like we have 5 grey cats and at least one dog. Beware. The best way to cut the fur is to turn it over and stick your scissors in and try to cut just the knit fabric that holds the fur. That way you are not giving the fur itself a trim.
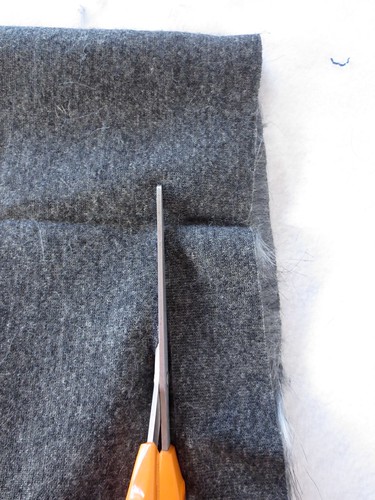
You want the shaggy part of the fur to hang over, it is important to keep the length of the hairs in tact.
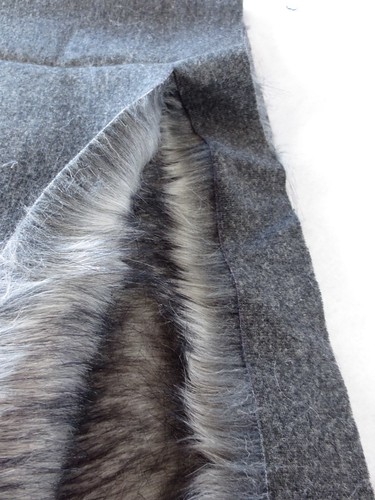
The beauty of sewing on fur is that no one is going to see the transitions. You can whip these strips on in a most haphazard fasion. For the bottom edge, I did sew right sides together. Around the collar, I sewed right on the fur, and then added the oxblood trim to hide the seam.
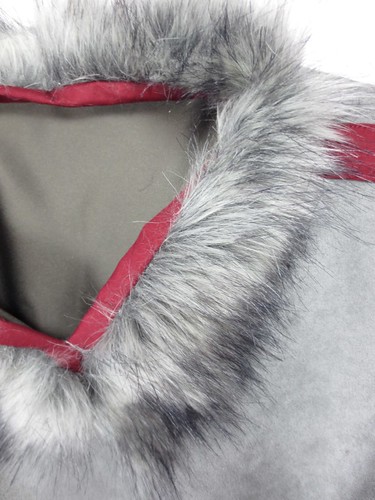
I sewed a strip of the fabric onto the shoulder as trim.
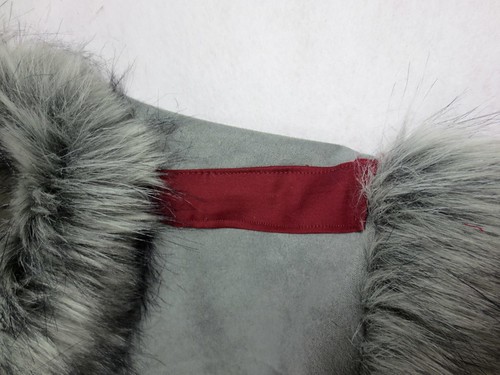
Make a 4″ finished tube of the burgundy for a sash and add the fancy ribbon down the middle. I made points on the ends to be a little bit fancy.
If I did not have to cut and sew the sash, if it was just out of a wide grosgrain ribbon, and if I did not have to cut the fur strips I would say this was a 2-3 hour costume. You could have this over the cheapest grey sweats and it would look great. For those of you who live in the “North” and have to contend with real actual weather, this costume is perfect for trick or treating! You could layer up as much as you needed to and then slap this on the top! A gray ski cap would make the whole thing perfect.
The other beauty of this costume is that it easily scales to adult sizes. It is a dignified costume, one that would not horrify Dads if Frozen Family costume is nominated this year.
Enjoy. Happy Halloween!!
© 2005 – 2014 Kathy Lewinski & Susan Cornish


