

For this Iron Craft challenge we had to do something beginning with the letter “A”. Since I still hadn’t gotten around to recovering our throw pillows to match our new loft, (Six months is still new right?!) I decided to whip up an appliquéd one.
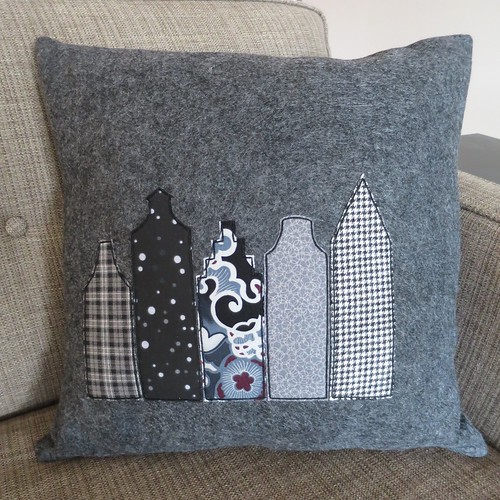
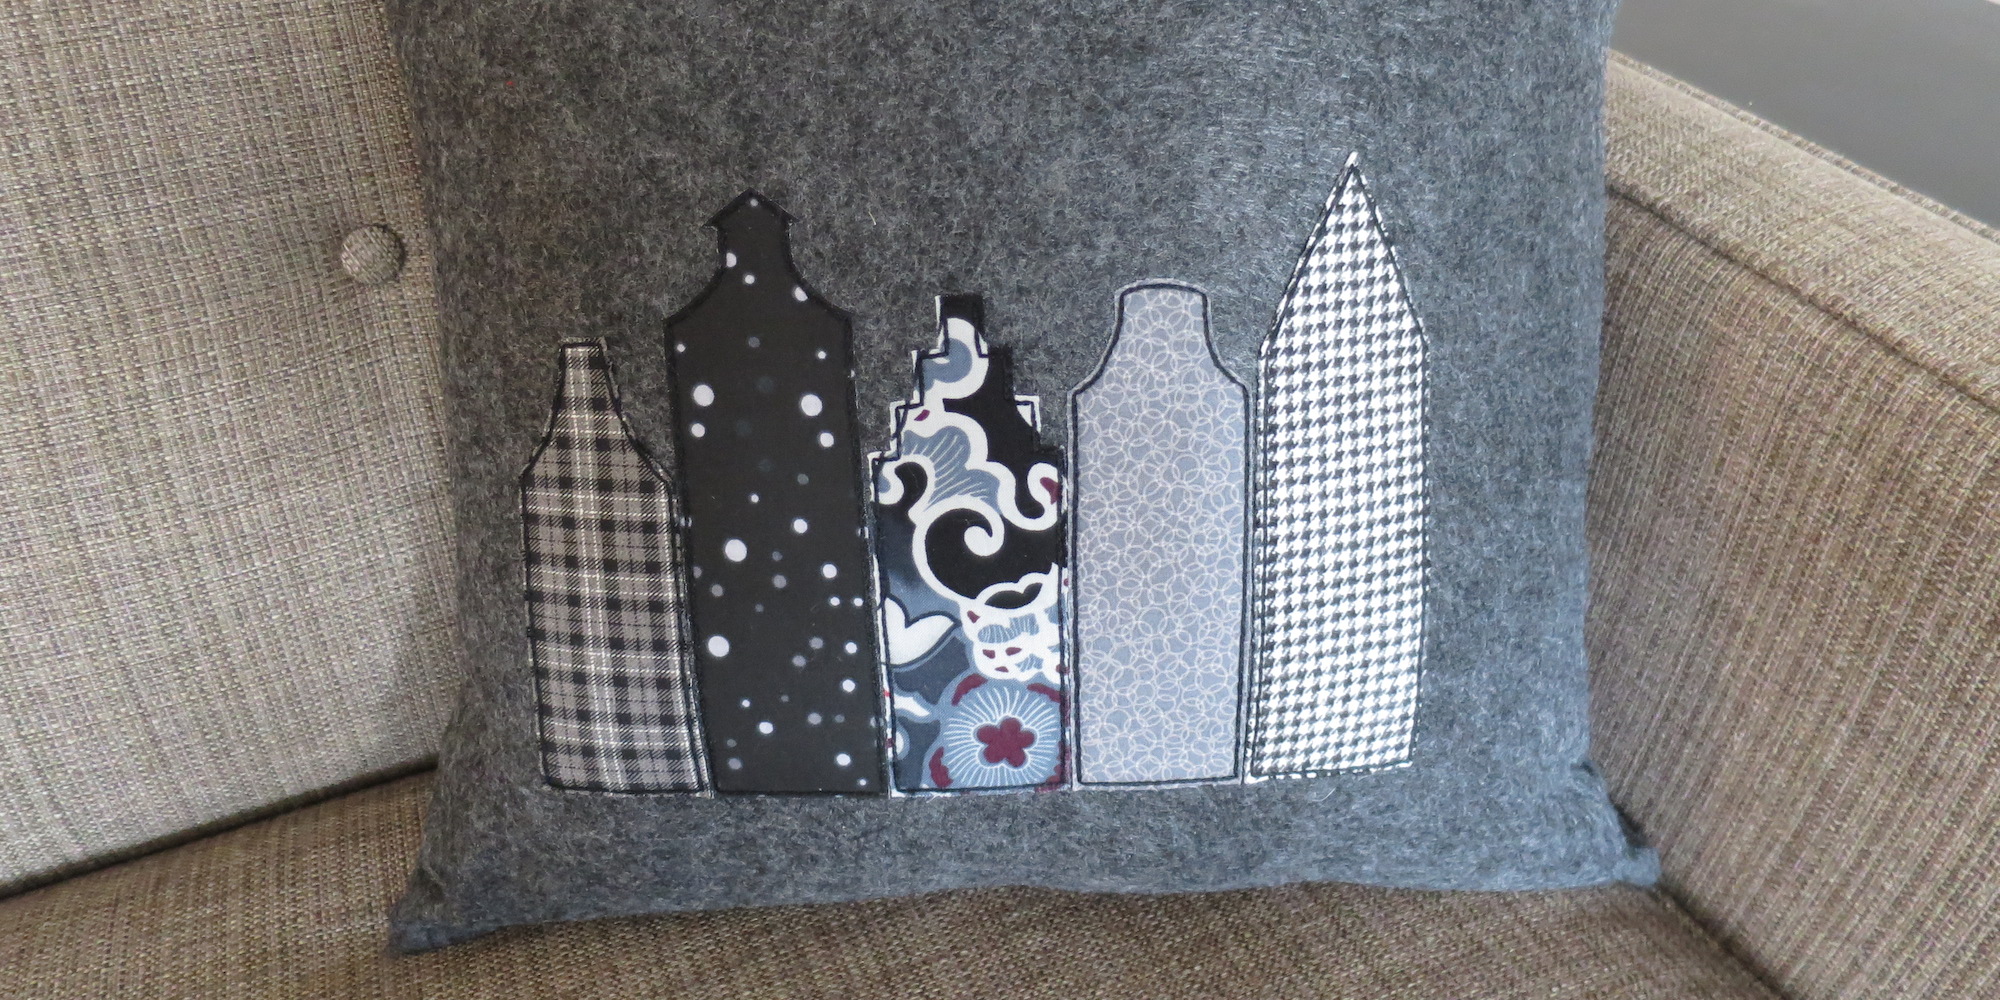
My appliqué was inspired by the canal houses of Amsterdam, so I’ve got a double “a” project!
You may have seen me do this appliqué technique before, it is such an easy way to embellish clothing, pillows, whatever. I also find it a great way to use up scraps of fabric. This pillow has a couple quilting scraps, one from a lining of a purse and two from clothing.
Appliquéd Houses Pillow
Supplies:
- enough fabric for a pillow case (or a pre-made plain one), I used two 18″ x 18″ squares of wool felt for an 18″ pillow insert (I like to make my cover slightly smaller so I get a nice stuffed throw pillow)
- matching thread
- sewing machine (optional)
- paper
- pencil
- ruler
- scissors, fabric and paper
- straight pins
- fabric for appliqués (I find it best not to use something that frays super easily)
- two-sided fusible webbing
- embroidery floss
- hand sewing needle
1. Cut out the fabric squares to make your pillow case. I was making a very simple case that is sewn shut on all four sides, but you can add a zipper or envelope closure. You just need a plain front.
2. Draw out the pattern you want to appliqué onto a piece of paper.
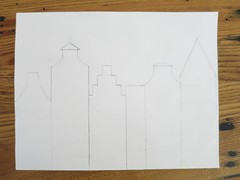
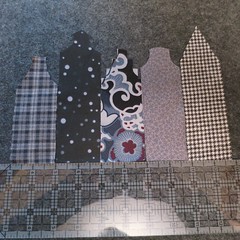
I used a ruler to get nice straight and even points lines. Cut out the houses (or whatever shape you are doing), these will be your pattern pieces.
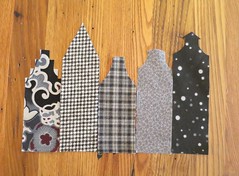
3. Pin the pattern pieces to the fabrics you are using for the appliqué and cut them out.
4. Adhere the two-sided fusible webbing to the back of the appliqué pieces following the directions on the webbing. (I have used some that are sticky without ironing and some that require you to iron it on.) Cut the webbing so it is just covering the whole back of the appliqué piece.
5. Lay the piece out on the fabric that will be the front of your pillow. I used a ruler to keep everything straight.
Iron in place following the directions on your webbing.
6. Using the embroidery floss and hand sewing needle, stitch along the edge of each of your appliqué pieces. I used three strands of floss and did a very basic split stitch about 1/8″ in from the edge. I find this gives the appliqués good definition (and helps the appliqués stay put if the webbing isn’t great).
7. Finish sewing your pillow together. I just pinned the front and back squares together with the right sides facing in and then sewed three sides together with my sewing machine. I turned the pillowcase right side out, added the insert and hand sewed the last side using a whip stitch.
A one-of-a-kind appliquéd pillow in no time!
© 2005 – 2014 Kathy Lewinski & Susan Cornish


Pingback: Add A Letter to a Dollar Store Bag {Iron Craft Challenge} | Our Daily Craft