


(For the 24 weeks leading up to December 1st, we’ll be making a Christmas ornament. Each one will be traditional to or inspired by a different country.)
This week we are headed to Hungary for our Christmas ornament. Christmas in Hungary tends to be all about family. Traditionally, the Christmas tree isn’t decorated until Christmas Eve. Often the parents decorate it as a surprise for the children who believe angels brought it. For generations, Hungarian women embellished traditional clothing with reverse-cut felt appliqué. They have since adapted this technique to holiday decorations. Here is my version.
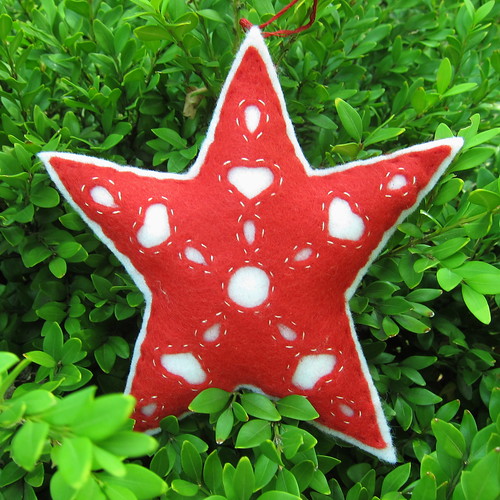
Some of the Hungarian ones I have seen are very, very ornate. I kept my cut outs rather basic, but I think the end result looks like a lot more work than it actually was. The trickiest part of this whole project is cutting the shapes out of the star.
Reverse-Appliqué Felt Ornament
These directions are for the star, but you can easily do any design in any colors you want. I give hints in step one for creating your own design.
Supplies:
- two colors of felt, I used red and white
- embroidery floss to match each felt
- stuffing
Tools:
- fabric scissors
- exacto knife
- small sharp scissors like embroidery scissors
- ballpoint pen
- glue, I used tacky glue
- hand sewing needle
- stuffing tool such as a knitting needle, chop stick, pencil or pen
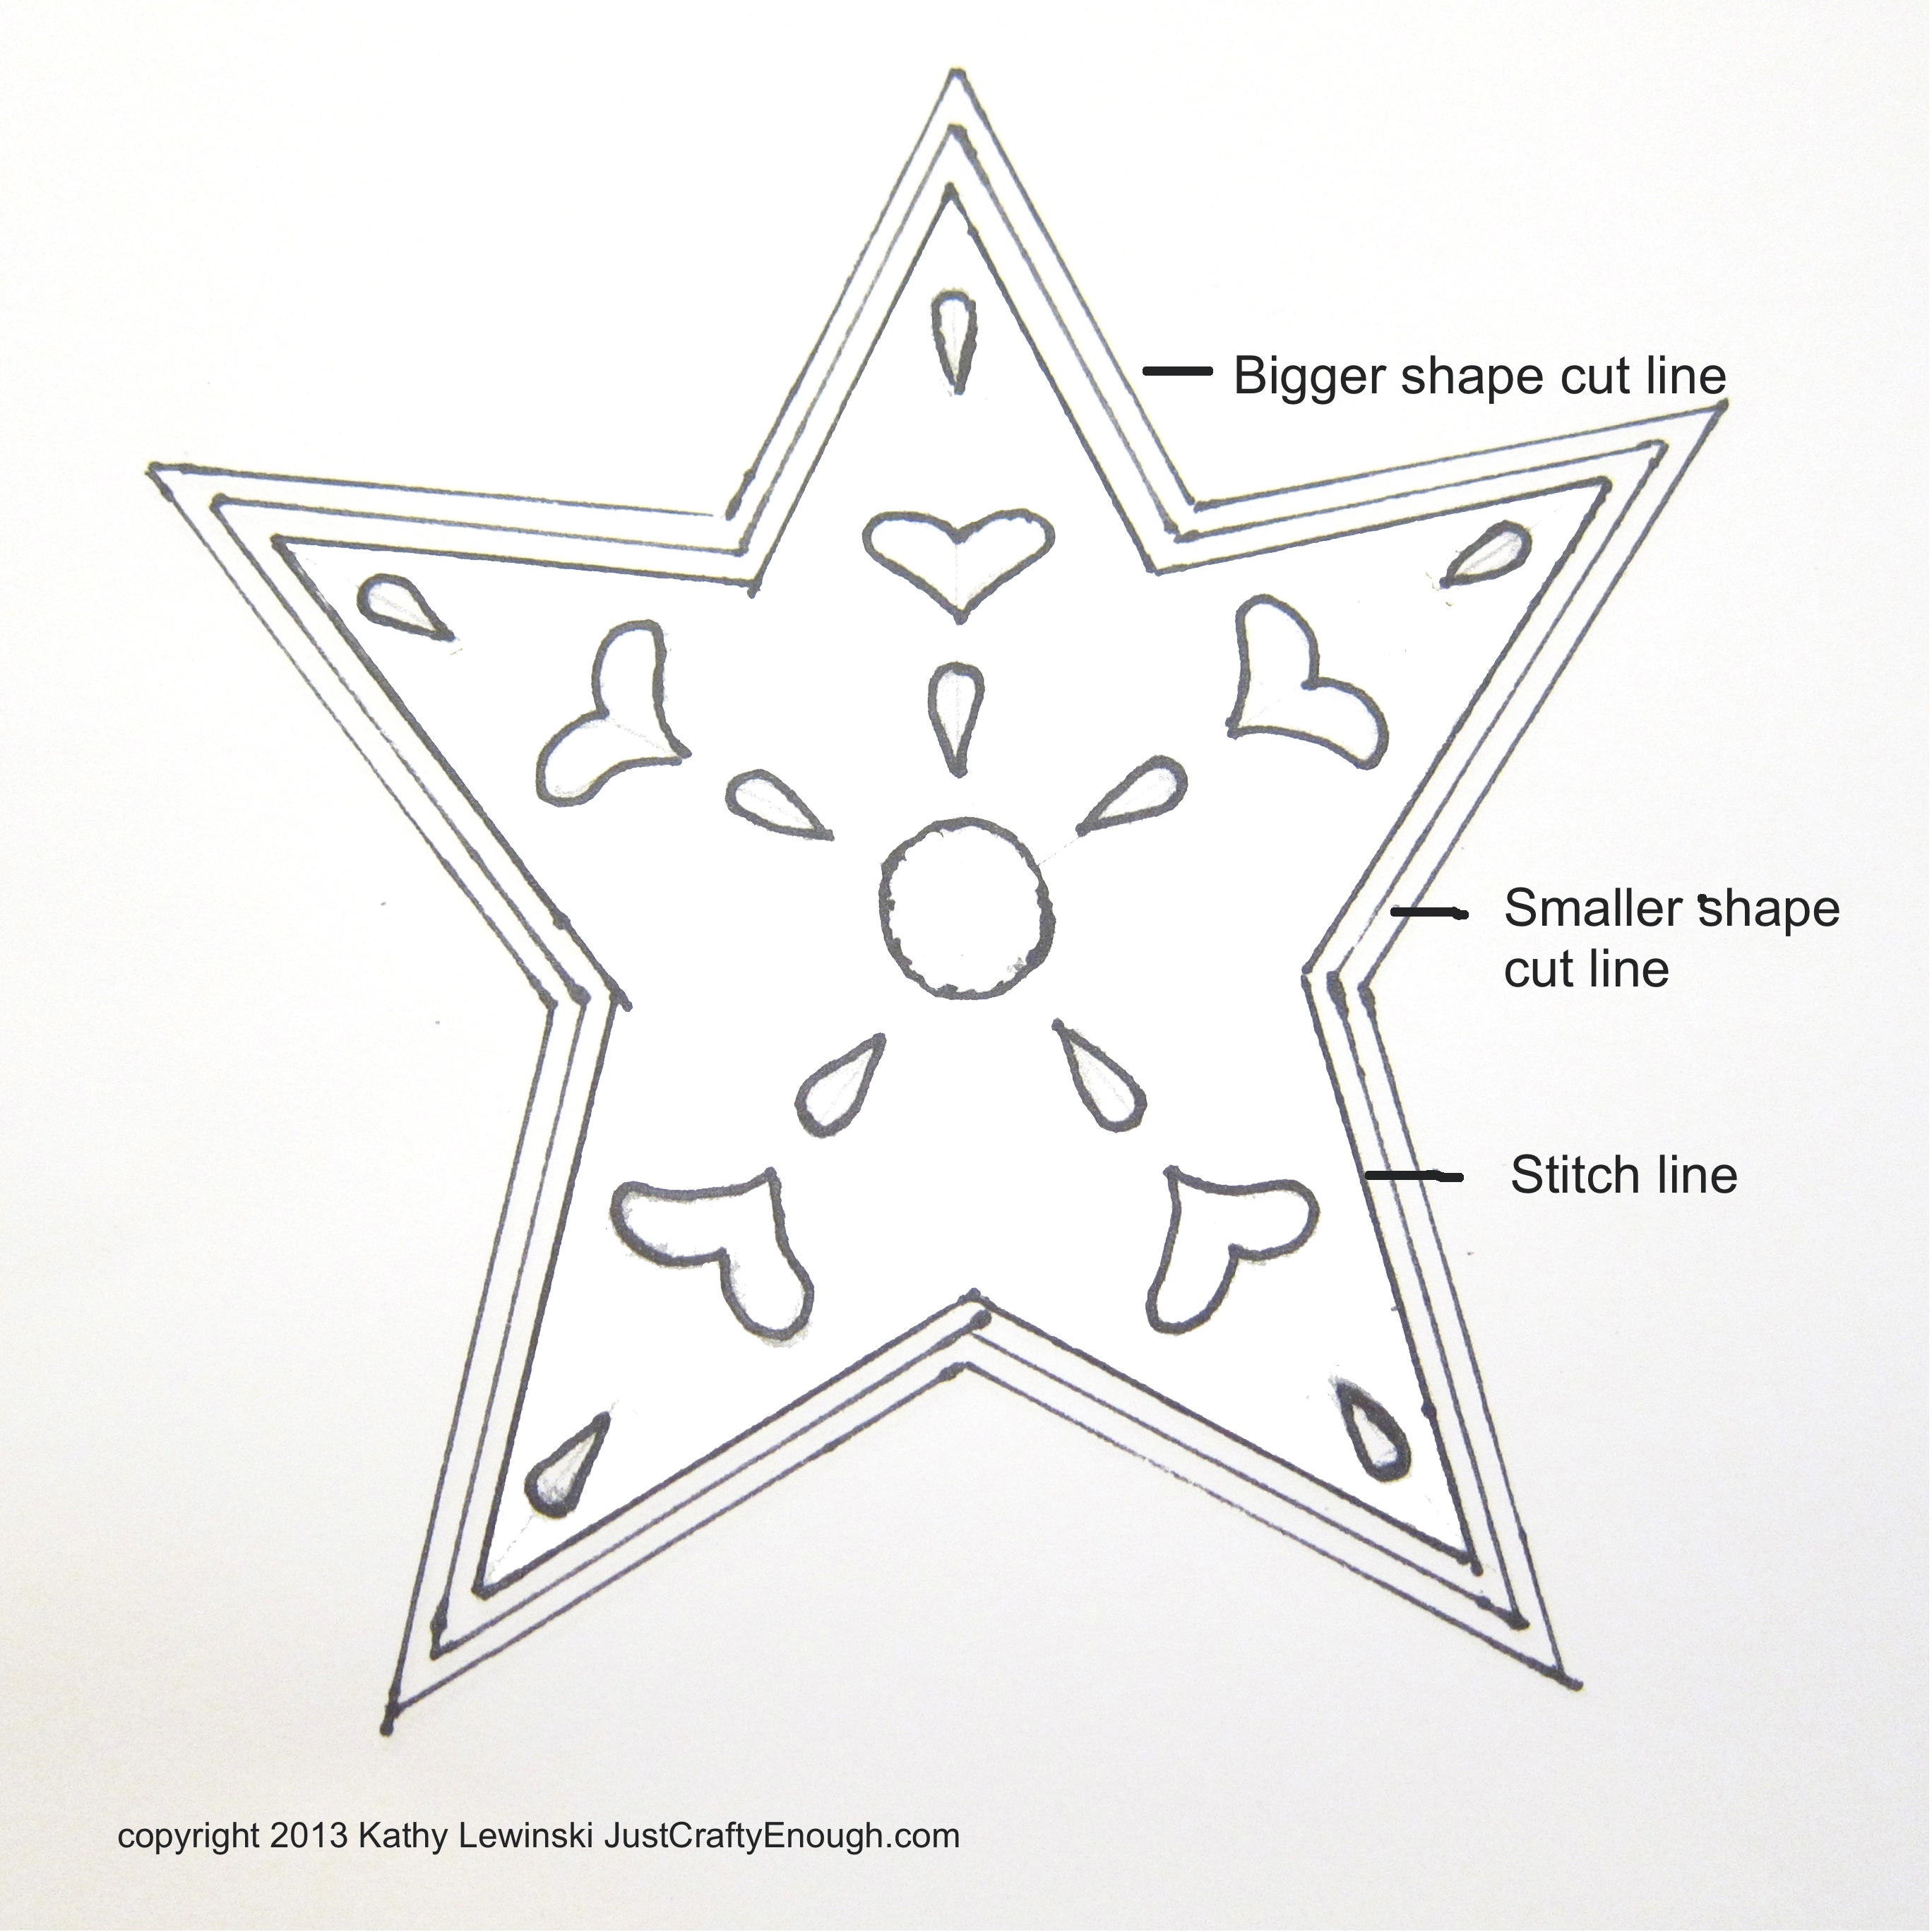
1. Draw out a pattern or use mine. The pattern need to have the same shape in two different sizes, one about 1/8 – 1/4″ bigger all the way around. Then draw in the shapes you want to cut out making sure to leave about a 1/8″ space for a stitch line, I found it helped to draw this line in.
2. Cut the pattern out on the large shape line. Use the pattern to cut out one star in red and one in white (or colors of your choice).
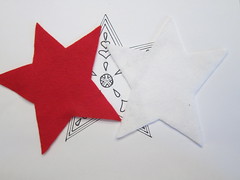
Trim the pattern down to the small shape cut line and cut one red star from the small pattern.
3. Use the exacto knife to cut the shapes out of the pattern. Trace the shapes onto the back of the smaller felt star with the ballpoint pen (don’t use a marker because it might bleed through).
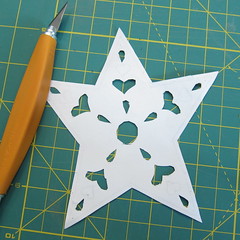
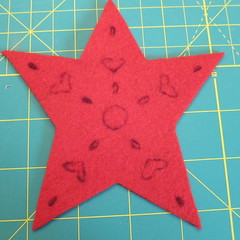
Carefully, but the shapes out using the small, sharp scissors. I found making a cut on the edge of a shape with the exacto knife helped give a good starting point, but that I couldn’t cut the shapes with the knife neatly.
Don’t worry if they aren’t perfect.
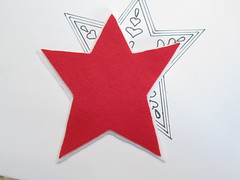
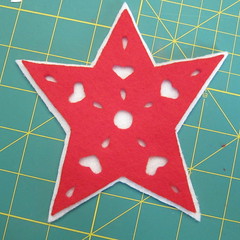
4. Center the smaller felt star with the cutouts on top of the larger white star. Glue in place. Don’t go too heavy with the glue as it can bleed through, just add a thin coat to hold it in place.
Let dry.
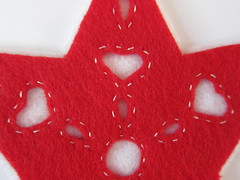
5. Using one strand of the white embroidery floss, stitch around the cut out shapes in small even stitches about 1/8″ from the shapes.
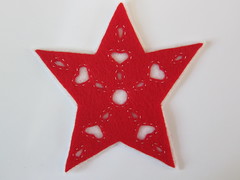
6. Match the large red star up with the large white star. You will have a sandwich with red on either side and white in the middle. Using one strand of red embroidery floss stitch all three layers together around the edge of the smaller red star.
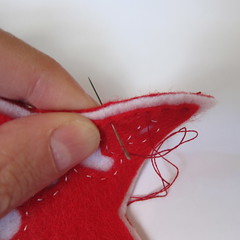
Leave a side of one of the legs open for stuffing. Stuff the star using a thin tool of some sort to work the stuffing into the points to the star. You don’t need to stuff it super tightly. Sew up the last side, stuffing that leg as you go.
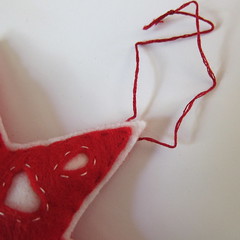
7. Thread a piece of embroidery floss through the top point of the star and tie it into a loop for hanging.
Boldog Karácsonyt!
© 2005 – 2013 Kathy Lewinski & Susan Cornish


Pingback: 26 Felt Christmas Ornaments For You to Make | Guide Patterns
Pingback: 26 Felt Christmas Ornaments For You to Make - Wow Home