

St. Patrick’s Day is right around the corner, so it’s time to add a little green to the decor. I have some Murphy in my background which might make it required.
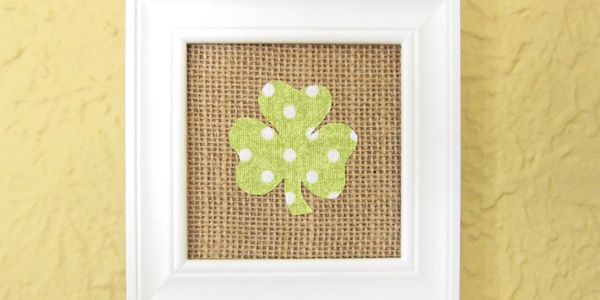
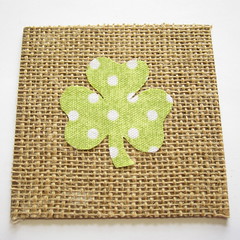
This project adds just a touch of St. Pat’s whimsey without being over the top with leprechauns and pots of gold. You can really have fun with the shamrocks using different green and patterned fabrics. I love these scrappy projects that let you use up those odds and ends cluttering up the craft room. I used fabric because I have quite a stash of it, but you could also use pretty scrapbook papers if you have them on hand.
The background also doesn’t have to be burlap, I just happened to have a lot of it lying around. I do think a colored background looks nicer than white though. It warms up the project more than a white background would.
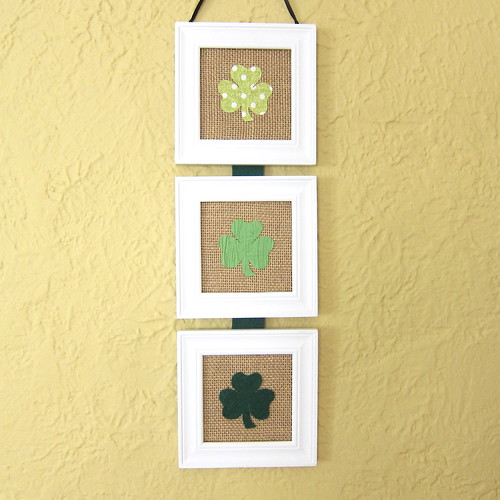
Shamrock Wall Hanging
Supplies:
- fabric scraps in shades of green
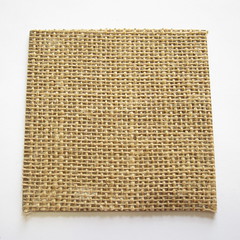
- burlap, enough to fill your three frames
- three small frames (Mine held a 4″ x 4″ picture and I got them at Target 3 for $2.50, such a steal.)
- 1 – 1 1/2″ green felt or ribbon
Tools:
- scissors
- glue such as Elmer’s or school glue
- small paintbrush (optional)
- super glue
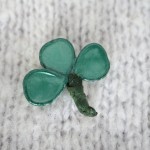
1. Draw or find a shamrock shape on the internet that is an appropriate size to fit in your frames. I used this shamrock from About. Mine were a little over 2″ tall and wide and I printed out three of them. Use the pattern to cut shamrocks from three different fabrics.
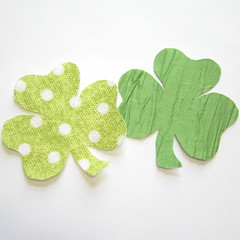
I used a polka dot canvas, a textured green silk and some felt. On the canvas I used a little fray stop to keep the edges from fraying.
2. Remove the back from one of your frames. Cut a piece of burlap out that is slightly bigger than that back piece. Glue the burlap onto the frame back making sure the weave is straight. I used Elmer’s for this. Cut the excess burlap.
Repeat for all three frames.
3. Glue a shamrock in the center on top of the burlap for each frame. Once again I just used Elmer’s. A small paintbrush is helpful getting the glue evenly on the back of the shamrocks and to the edges.
With the silk I was afraid the glue would stain it or change the color, so I used some glue stick to adhere it to the paper pattern and glued the pattern to the burlap.
4. I used 1″ strips of the dark green felt to attach the frames together so they would hang as one piece. You can also use ribbon or fabric for this step.
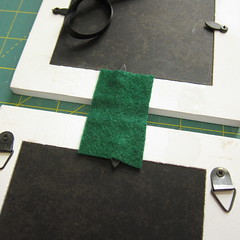
I centered a piece of the felt on the bottom of on frame and super glued it in place. I then super glued the same piece of felt to the center of the top of the next frame, leaving about a 1/2″ gap. Repeat to join the third frame.
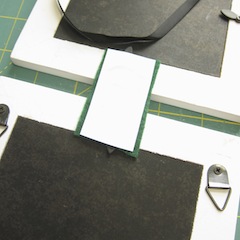
I was a little afraid the felt would stretch with the weight of the frames so I glued paper to the back of the strips too. I would skip that step if I had used ribbon.
5. Put the shamrock inserts and glass back in the frames. Hang and enjoy.
How all I need is some corned beef and mashed potatoes!
© 2005 – 2013 Kathy Lewinski & Susan Cornish

Pingback: Luck of the Irish Clay Space
Pingback: 16 Awesome DIY St. Patrick's Day Decor Projects to Make This Year - Style Motivation
Pingback: 16 Awesome DIY St. Patrick’s Day Decor Projects to Make This Year – chuckiesblog
Pingback: 15 Easy DIY St. Patrick’s Day Decorations – chuckiesblog
Pingback: St. Patrick’s Day Decor Which You Must Do this season > Detectview
Pingback: 15 fantastische DIY-Ideen zum St. Patrick's Day, mit denen Sie dekorieren können - De.Chromeonlinegames.com - Super DePins
Pingback: DIY St. Patrick’s Day Decor that you’ll LOVE get done with - Saudos
Pingback: 20+ DIY St. Patrick's Day decorations to add green to your home - DIY Crafts
Pingback: 25 DIY St. Patrick's Day Decoration Ideas – Easy & Simple
Pingback: 25 25 DIY St. Patrick's Day Decoration Ideas – Easy & Simple – Easy & Simple
Pingback: 60 Gorgeous DIY St Patrick's Day Decor Ideas - GHideas.com