


Two weeks ago my sister, the mother of two twin boys, called me. She was sick of picking up Legos! She wanted me to sew a playmat for the boys that when they were done playing could just be drawn up into a bag for storage. She must have been reading my mind, because that was just the bag of the month Jenny and I had been planning for November.
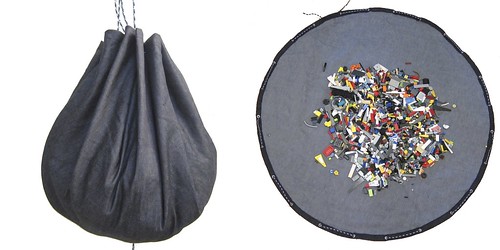
Jenny and her brother had bags like this when they were kids that were actually available from Lego. When her boys were young she went to buy them one and Lego didn’t make them anymore, so she made one herself. The denim held up to years of play and is still in use today.
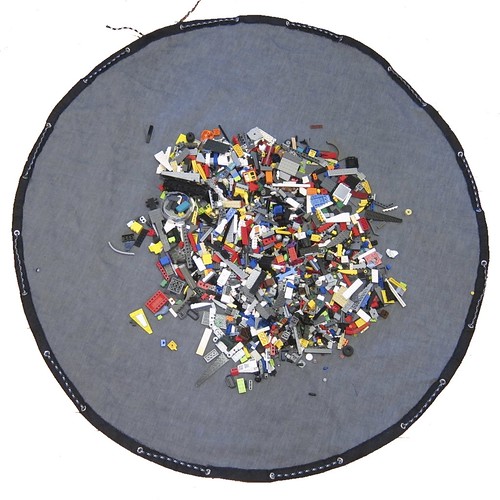
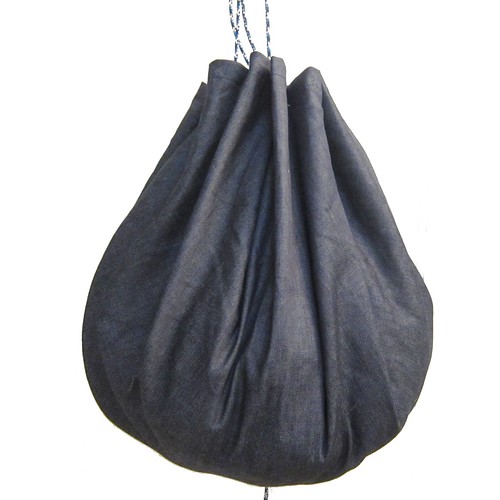
My sister wanted us to make one that was big enough for both boys to sit and play on at once. That wasn’t going to work for two reasons; finding denim large enough and the finished bag filled with toys would just be too heavy. Instead I made two bags, one for each boy. Each finished bag is 46″ in diameter, enough room for plenty of play space and yet still small enough when pulled together to hang from a hook in their playroom.
Playmat Bag
Supplies:
- enough denim or other heavy fabric to cut a 48 inch circle. Wash, dry and iron it fabric
- matching tread
- twenty-four – 1/4″ eyelets
- 150″ of 3/8″ rope We found the rope at a hardware store and it came in all sorts fo great colors, reds, greens, yellows. I went with one that was a blue, white and black pattern.
Tools:
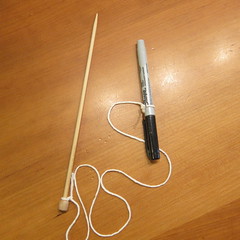
- string or yarn
- fabric marking pencil or pen
- chopstick, knitting needle or pencil
- fabric scissors
- straight pins
- sewing machine (serger optional)
- eyelet tool
1. Draw and cut out your circle of fabric – This step is easier to do with two people. Lay it out. Tie a piece of string to your fabric marking pen and a chopstick or knitting needle. You want the string to be 24″ long between the two. Put the chopstick in the middle of the fabric and draw a circle with the pen.
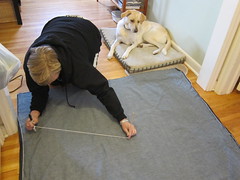
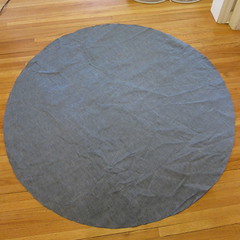
Cut out the circle.
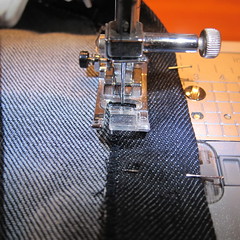
2. Edge the circle – Sew a zig-zag stitch around the edge of the circle. We went around twice to make extra sure it wouldn’t fray.

If you have a serger that would be a much better way to edge this. Just keep in mind the serger cuts off some of the fabric, so you will have a slightly smaller bag (or you can start with a slightly bigger circle).
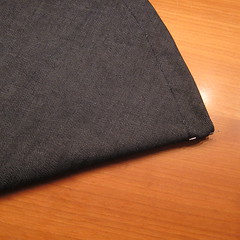
3. Hem the circle – Turn the edge of the circle in 1″ all the way around and pin it in place. You will get some puckers.
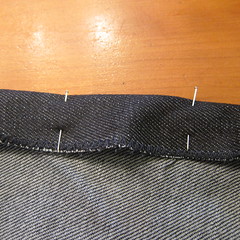
Sew into place about 1/4″ in from the zig-zagged edge.
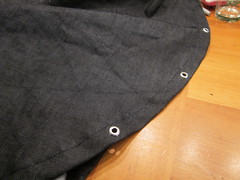
4. Add eyelets – Now, you can do the math and figure out the exact spacing of the eyelets or just use a simple folding method like we did. Fold the circle in half. Place a straight pin to mark each fold.
Fold in half again and place a pin at each new fold. Make sure where there are two layers of fabric to mark the fold on each layer.

Fold in half one more time and mark the new folds. Open the circle up. You should have 8 pins. Now place two more evenly spaced pins between each two on the circle, for a total of twenty-four pins. Using the eyelet tool install an eyelet at each pin. Make sure the eyelets are in the middle of the hem and not over your stitching line.
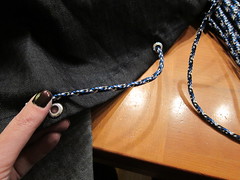
4. Weave in rope – Cut a piece of rope that is about 10 or so inches bigger than the circumference of your circle. Weave the rope up through one eyelet and down through the next all the way around.
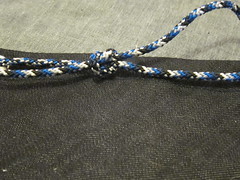
Securely knot the ends together. Depending on what the rope is made of, you can melt the end of it to keep it from fraying or use some glue.
You could dress your bag up with appliqués or embroider on an initial. They make a great Christmas gift. I know my nephews are both getting them along with some new Legos.
© 2005 – 2012 Kathy Lewinski & Susan Cornish


Pingback: Tissus, fils, cuire | Pearltrees