
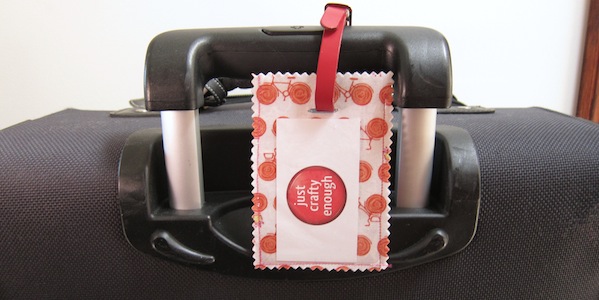

In honor of summer travel, in all of it’s glorious forms, I have made some whimsical luggage tags. These tags are made with naugahyde and vinyl which makes them strong. The bright glitter would certainly make your suitcase stand out on any baggage carousel.

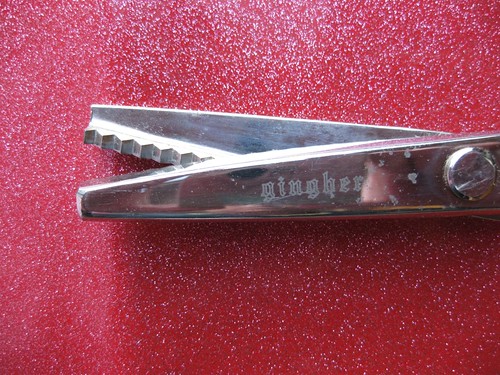
Pinking Sheers…do you have a pair? I don’t get a lot of chances to use them, but I sure do love them!
Luggage Tags
Supplies:
- (Note: the pattern is done in a set of three. The measurements and the sewing and cutting are done to make three at a time. The starting block it 5 x 10. If you would like to make one at a time, start with 5 x 3.5 You could make them a little narrower, but, to fit a standard business card you would not want it to be shorter.)
- naugahyde (10 x 5)
- fabric (10 x 5)
- heat bond (10 x 5)
- clear plastic vinyl (10 x 5)
- thread
- pinking sheers
- light tissue paper (two sheets of at least 10 x 5)
- iron
- kitchen weight towel
- sewing machine
- ruler
- marker
- exacto knife
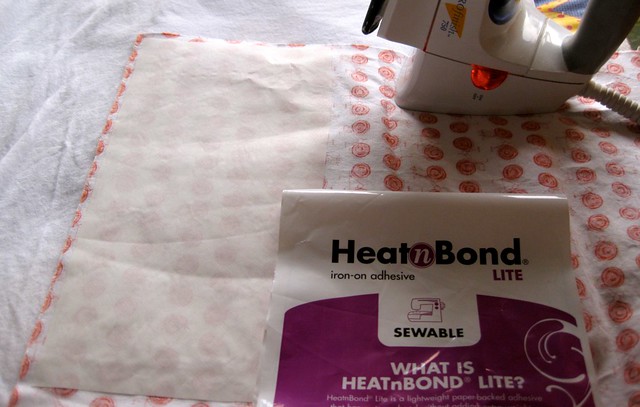
1. The first step is to make a fabric, heat bond, naugahyde sandwich –
For this tutorial, the measurements will make 3 tags.
Cut the fabric into a strip (5 x 10). Cut the heat bond(5 x 10). Cut a strip of naugahyde. (5 x 10)
Iron the heat bond onto the wrong side of the fabric. Peel off the paper backing then iron the fabric onto the back side of the naugahyde
2. Next, we will add three more layers to the sandwich. Cut a strip of plastic vinyl (5 x 10). The vinyl will cover the fun fabric side. Then add a tissue to the top and a tissue to the bottom. The tissue will help feed the whole thing slide through your sewing machine. Otherwise, it is like sewing fly paper.
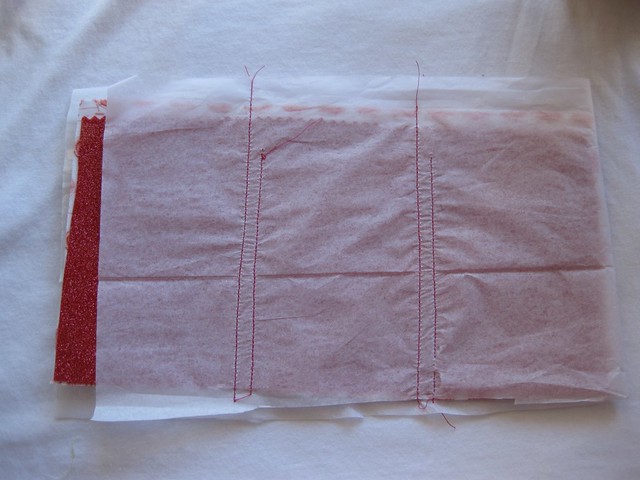
3. Measure the piece, and divide it into thirds. Sew two seams just over 1/4 apart. You will cut between the lines, but one cut will do it, so you don’t “chew” the fabric with the pinking sheers. (When I sewed it, I left a little corner open so that it would be easier to put a card in the slot. See the picture)
4. Cut the sides with pinking sheers. (this is a little tough. the clear vinyl is a little bit gummy, and catches the scissors). Cut in between the stitch lines to divide the tags. The final tag is 5 x 3.25. (You could make them narrower. But to fit a standard business card, it should not be shorter. ) Sew around the outside edge, about 1/3 of an inch from the sides. You are sewing THREE sides and leaving the “top” (one of the short sides) open. Then cut the all around the outside with the pinking sheers. This is just decorative at this point. You will be cutting a straight edge, that is in fact already cut, and making it “pinked”.
Peel all the tissue off. (This step is a little fussy.)

5. The last step is making cuts in the top to loop a ribbon through. – Measure to find the middle and center the hole. Use a marker to make dots to help guide your cuts. Make holes 3/4 inch long, and 1/4 inch wide. I tried to round the corners to give it an oval shape.
Thread in a ribbon, or a seam tape, or even some fun rick rack.
Happy crafting, and safe travels!
© 2005 – 2012 Kathy Lewinski & Susan Cornish

