

Here is an old tried and true recipe that I want to share with you. You know those sweet towels with hoods that you see around for $$$? We can make them!
These are the sleeper winner gift of all time. I made a whole set four years ago when my last nephew was born. Each of the boys got one. On a recent visit to their home (in ENGLAND) I saw all the towels hanging in the bathroom. I looked at them carefully, as my test subjects, to see what I could do better. They were well loved and I just need to really really reinforce the stitching. My sister-in-law offered that they were favorite things in the house and had been well loved over the years. (who knew?) So here, I offer you the details.
Hoodie Bath Towel
Supplies:
- Two towels – one bath towel and one hand towel (These towels need to be the fluffiest, softest, dreamiest things you have ever laid eyes on. The discount chains offer a delicious assortment for very little money. I got mine at Marshalls for $15.00 total)
- Thread
Tools:
- Sewing Machine
- Good sharp fabric scissors
- Pins
The hand towel becomes the hood. Fold the towel in half carefully, with right sides facing IN, and pin the finished edge. (There is a tiny hem on the finished edge of the towel, and you want this to be on the inside of the hood.) Mark 10″ from the front edge and 10″ from the top edge with a marker. In the picture below, the end of the ruler is on the line that will become the seam at the back of the head. Zig Zag stitch twice along this line.

Then, “open” the hood, and lay it flat. zig zag stitch across the bottom to create the shoulder edge of the hood. You are not sewing through the two layers of the towel here, but through one layer on both sides of the back of the hood.

(Hint: best to do this zig-zag before you cut. After you cut into your luxurious towel, there will be enough fuzz and lint and loops flying around to make a tumble weed. And you don’t want that kind of trouble in the gears of your sewing machine.)
Now, cut.
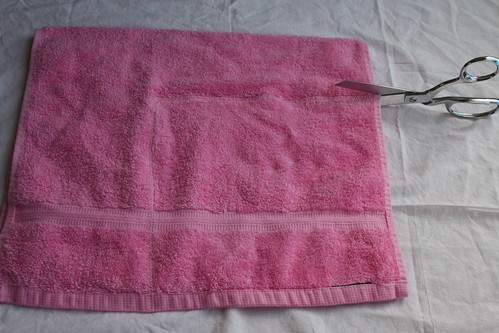
Once you have cut, there is one more seam, along the top to “close” the hood. Use the finished edge of the towel as the seam allowance. At the forehead part of the seam, this will be too much to even feed through your machine. I could not even lift the presser-foot and drag it all through. Be extra careful not to pull too hard on the fabric. That is super bad for your machine, and it breaks the needle. (how do I know these things? hmmmm?)
Here is how the seams will look when the hood is sewn in place.
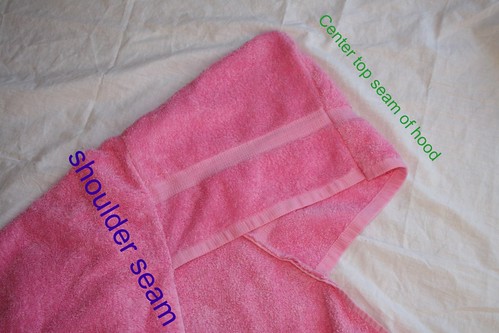
Fold the big towel in half, and make a small mark to indicate the center. Place the hood, open, at the top of the bath towel, so that the middle seam of the hood lines up with the middle mark of the towel. Pin the right side (outside) of the hood to the right side of the bath towel. Sew together. (tip: here you will be sewing “in the ditch”. There is a little space where the binding is on the edge of the towel, and the terry loops have not yet started. It’s a little trough. Not big, but it’s a great place to bury the stitch. This is why you want to zig zag the bottom of the hood, for extra strength. You are going to have a small seam allowance, and you want that to be reinforced on the hood piece.)
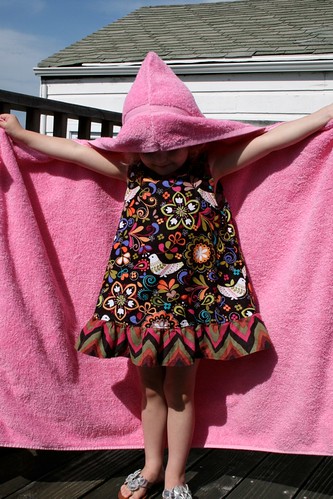
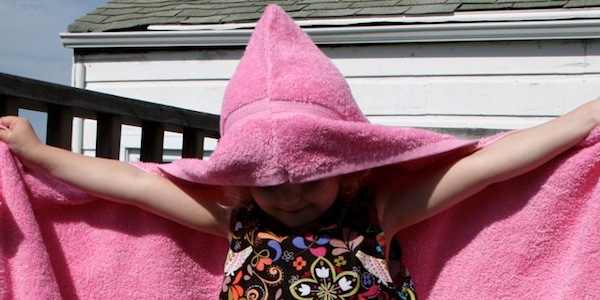
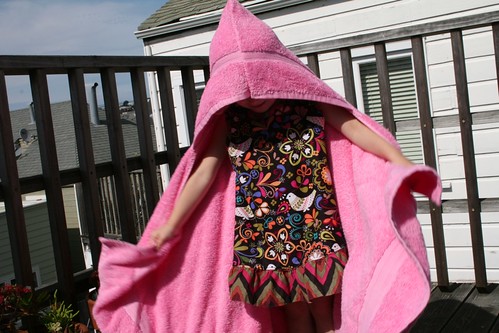
My lovely model, demonstrating how a butterfly looks in a hoodie towel.
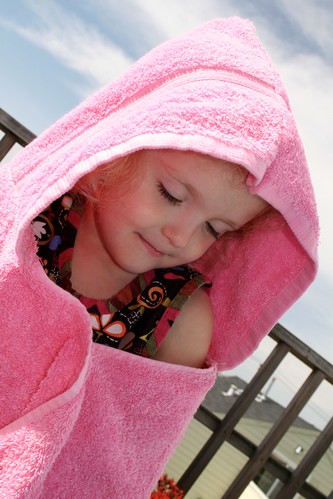
She gets all wrapped up warm in her’s after bath time.
I can’t wait to see pictures of all YOUR hoodie towel creations in our Flickr group!
© 2005 – 2012 Kathy Lewinski & Susan Cornish


Pingback: Tutorial: Kid’s Hooded Bath Towel · Sewing | CraftGossip.com
Pingback: Homemade Presents! | Mama's Place