
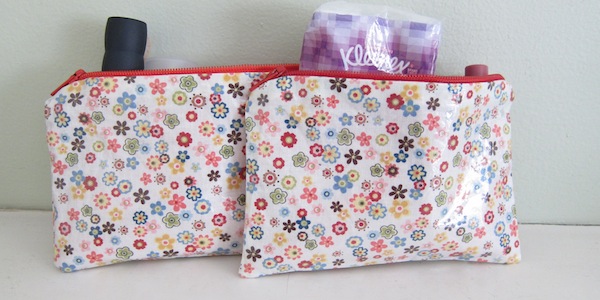

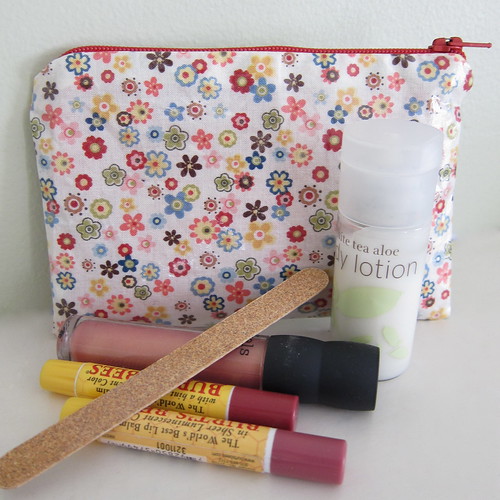
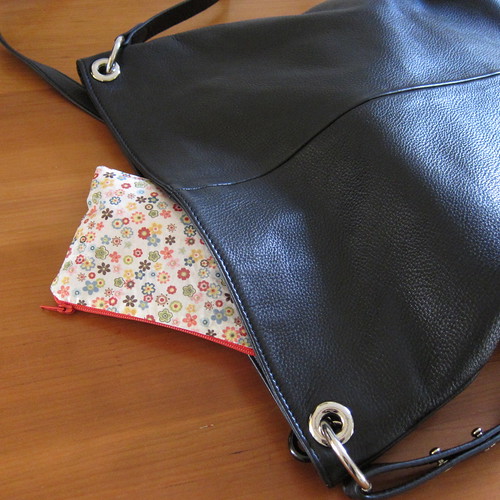
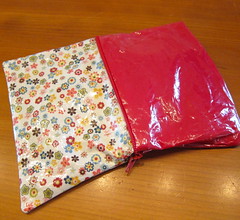
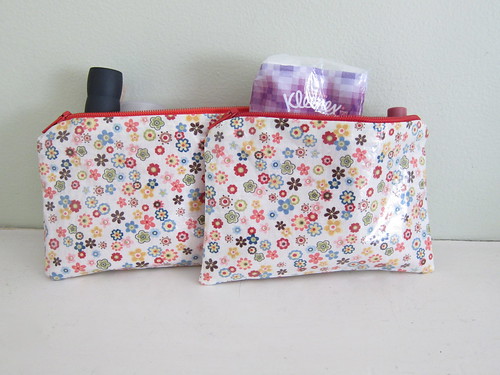
This month’s bag is a little one, just 6″ x 4″, but it’s useful for carrying all those things in your purse that end up lost at the bottom. Because it’s vinyl-coated on the inside and out, it’s also great for those things you worry about spilling like hand lotion.
For us it was also and experiment in using iron-on vinyl. Jenny has been interested in making a make-up bag, but wanted it to be made from a vinyl . But then, there were not a lot of cute vinyls out there. Oilcloth would work, but the options of designs were few and it’s pretty thick. Iron-on vinyl seemed like a good alternative as it allowed us to use any fabric we like.
We were really happy with how the vinyl worked. It was easy to iron on the fabric, stuck well and still gave us a flexible fabric to sew with. The vinyl was a little tricky to find. Locally (Minneapolis, MN), we got it at Hancock Fabrics but it is also available online. Shop around if you buy it online, prices and sizes vary a lot. The brand we used was Therm-O-Web.
Vinyl-Coated Zipper Pouch
This little necessities bag is coated in vinyl on the inside and out. It keeps the items in the bag clean and stops things from leaking out. I also liked the fact we could use a white base fabric and wipe it clean if it gets dirt.
Click on any picture in this tutorial to see it larger.
Supplies:
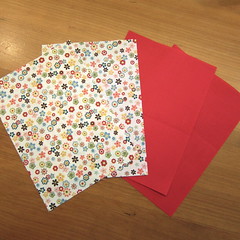
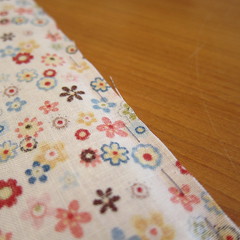
- fabric – You need enough fabric to cut four 7″ x 5″ rectangles. One fat quarter is more than enough. We used different fabric for the outside and the lining.
- ruler
- scissors
- iron-on vinyl
- iron and ironing board
- 7″ zipper
- pins
- thread
1. Cut four 7″ x 5″ rectangles from your fabric.
2. Cut four 6.5″ x 4.5 inch pieces of iron-on vinyl. (For extra protection, and easy clean-up, we put vinyl on the inside and the outside of the bag.)
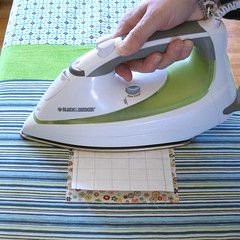
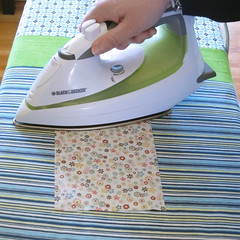
3. Ironing the vinyl on the right sides of the fabric – This is how the vinyl we bought worked, check the instructions on the brand you buy. Take the protective paper off the vinyl and place it sticky side down on the fabric. Put the protective paper over the vinyl, shiny side down. With a dry, medium temp iron press the vinyl to the paper for 8 seconds. Repeat until you have pressed the whole area. Peel the paper off. Turn the vinyl cover fabric over and press on the fabric side for 4 seconds. Let cool before lifting as it will cool and stick to itself. Always have the protective paper or fabric between your iron and the vinyl. Save the protective paper to use again later.
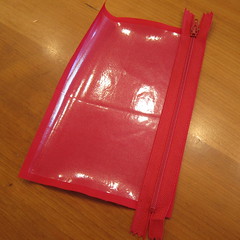
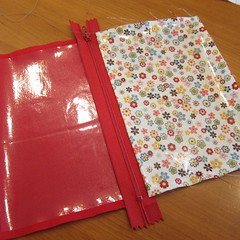
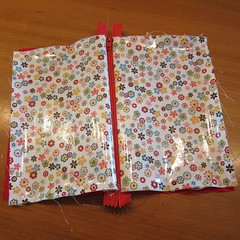
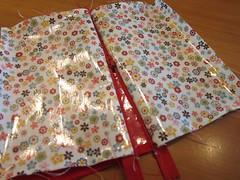
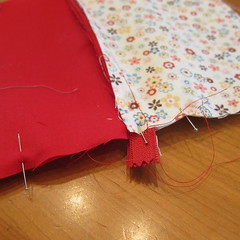
4. Basting in the zipper – Lay a piece of the lining right side up. Place the edge of the zipper along on long edge of the lining. Put a piece of the outside fabric on top wrong side up. So, you have a lining and outside piece laid right side together with the zipper in between. Baste the zipper in place.
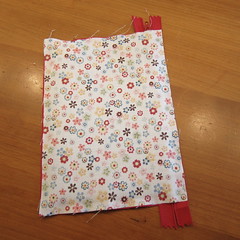
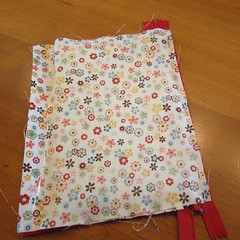
Fold the basted pieces of fabric back so they are wrong side to wrong side and the zipper is no longer between them.
Now baste the other side of the zipper to the two remaining pieces of fabric exactly like you did the first two.
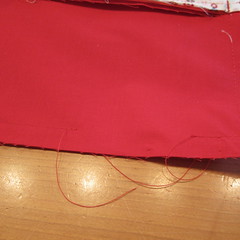
5. Using the zipper foot on your machine, sew the zipper into place on the two sides where you’ve basted. Remove the basting.
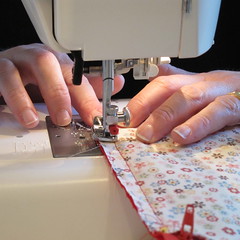
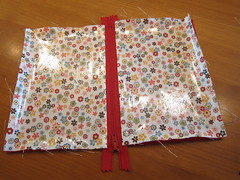
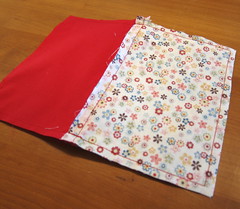
6. Sewing the bag together – Start by unzipping the zipper halfway.
Lay the bag out right sides together. You want the outside pieces facing each other and the lining pieces facing each other. Fold the edge of the zipper towards the lining.
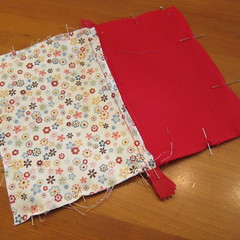
Sew around all four sides with a 1/2″ seam allowance. Leave about a 2 – 2 1/2 inch opening at the bottom of the lining to turn the bag. We reinforced the stitching at the zipper by back stitching over it. Trim the seam allowance, including the zipper ends.
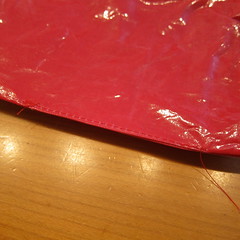
7. Turning and finishing the bag – Turn the bag right side out through the hole in the bottom of the lining. Carefully work the corners out the best you can, a chopstick helped here.
The bag will be wrinkly, but you can flatten it out with a warm iron. Make sure to put the protective paper you saved between the bag and the iron!
Sew the hole at the bottom of the lining shut. Push the lining into the bag.
© 2005 – 2012 Kathy Lewinski & Susan Cornish


One Comment to Bag of the Month – Vinyl-Coated Zipper Pouch