

No sooner did I finish the Grease Skating costume, then we started back with the embellishments. This whole time I was concerned that the outfit was good, but it was not a “traditional” ice skating costume. That is not bad or good just different. I am new to this game and I want to make sure that my daughter does not suffer just because mommy wants to sew the costume. Our lovely, graceful coach said that she thought the outfit itself was great, but suggested adding sparkle to it and I jumped on that chance. I do live in a world where “more is more” where sparkle is concerned. But in this case, adding sparkles is really a little bit more elaborate than just “slap them on there”. So, lets talk about the process of BEDAZZLING. Shall we?
First, the tools:
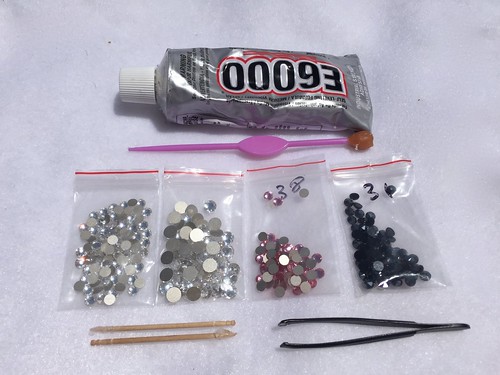
I use E6000 for glue. This one is about the consistency of hot glue, but it comes out of the tube. (Oh there are so many opinions about glue and glue distribution systems, but here is what I did.)
E6000 glue**
flat top tweezers
tooth picks
jewelry setting tool*
crystals
tupperware lid or small tray
scrap paper
Prepare your work space. Clear off everything. You will need to work with a little bit of speed, so set out what you need and get your coffee out of the way. Here is where you might want to organize the crystals the way you want them to see if you like what you were imagining. If you are pleased with your layout, then you are ready to glue. Pour some stones into the tupperware lid. Give them a little shake. The goal is to get many of them to sit with their sparkle surface up. Open the tube of glue, and squeeze very gently so that a tiny blob of glue comes to the top of the tube. (By “tiny” I mean something the size of 1/2 a pea poking out of the top of the tube.) Take the setting tool and press it down onto one of the stones. Pick up the stone, and as lightly as you possibly can, touch the back surface to the wet glue. Pull the stone away from the glue making a twisting motion. (This motion will eliminate any “glue strings” trailing off of your stone.)
Move to your work and place the stone straight down where you want it to be. Slightly twist the setting tool to make it let go of the stone. The trick is to leave the stone exactly where you set it and not slide it along the fabric leaving a smear-of-glue trail. Voila, that is it.
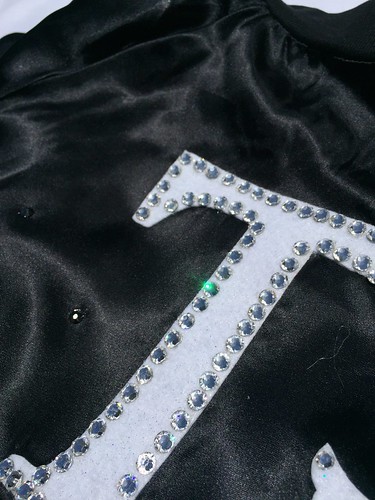
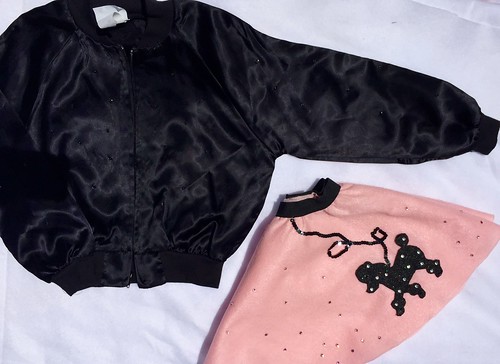
I used a #30 size “clear” crystal for the boarder of the “T”.
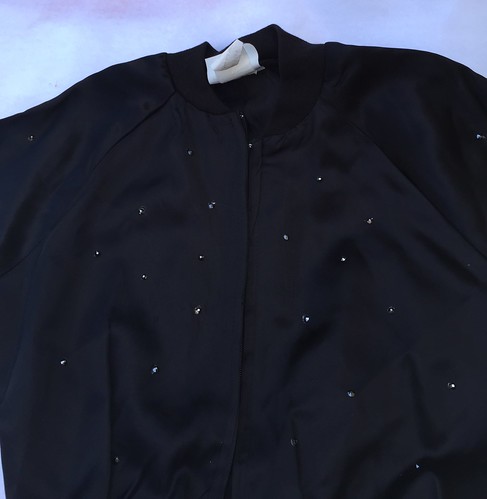
I placed random “hematite” size #20 crystals all around the black jacket.
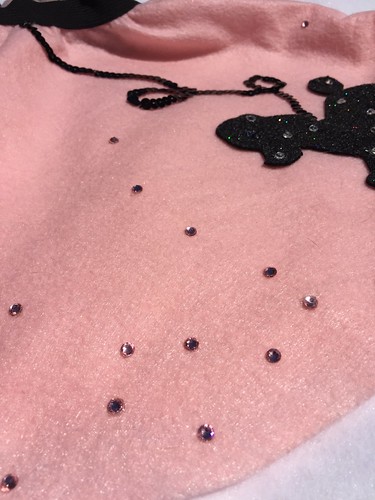
I added pink #20 crystals all over the skirt. And then #20 clear crystals to the poodle (on the skirt) and the bird (on the jacket)
And in the end the here is the look:
Now for all the opinions:
*The setting tool: The one I used is a plastic handle and a wax blob on the end. The color is so unfortunate because it looks alarmingly like a dirty q-tip. These tools are super cheap. (like $2.50 for a pack of 2) The high end setter is called Crystal Katana, and runs about $25-30. I think I would go ahead and get one before the next bedazzling season.
**Glue: people have so many different opinions about glue. I have only used e6000, so I can only speak to it. I have seen some people who put a tiny amount in a syringe tool and dispense it out that way. It makes sense, but I don’t think you can use the syringe over again, so there is a lot of plastic and glue waste generated in that method. I would consider it if I were “going pro”.
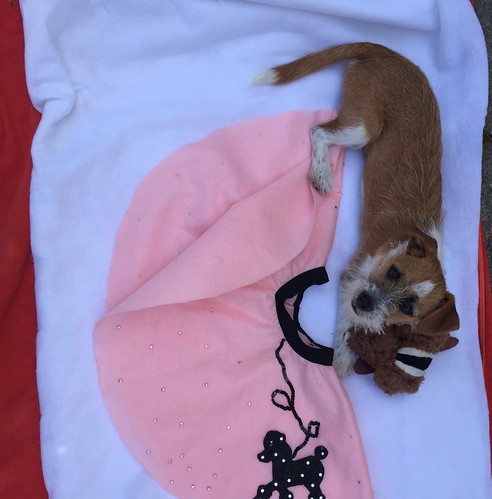
Before we go I have a personal update. We have welcomed a doggy to our house. When I was taking pictures for this post, I got “help”. I shooed him away gently but he wanted to be on the special towel I set out. He went off, got his own beloved toy, then came back and stretched himself out comfortably. Allow me to introduce you to Lucky Cashew Cornish. My word he is a sweetie.
© 2005 – 2016 Kathy Lewinski & Susan Cornish


One Comment to Embellished “Greased Lightning” Skating Outfit