
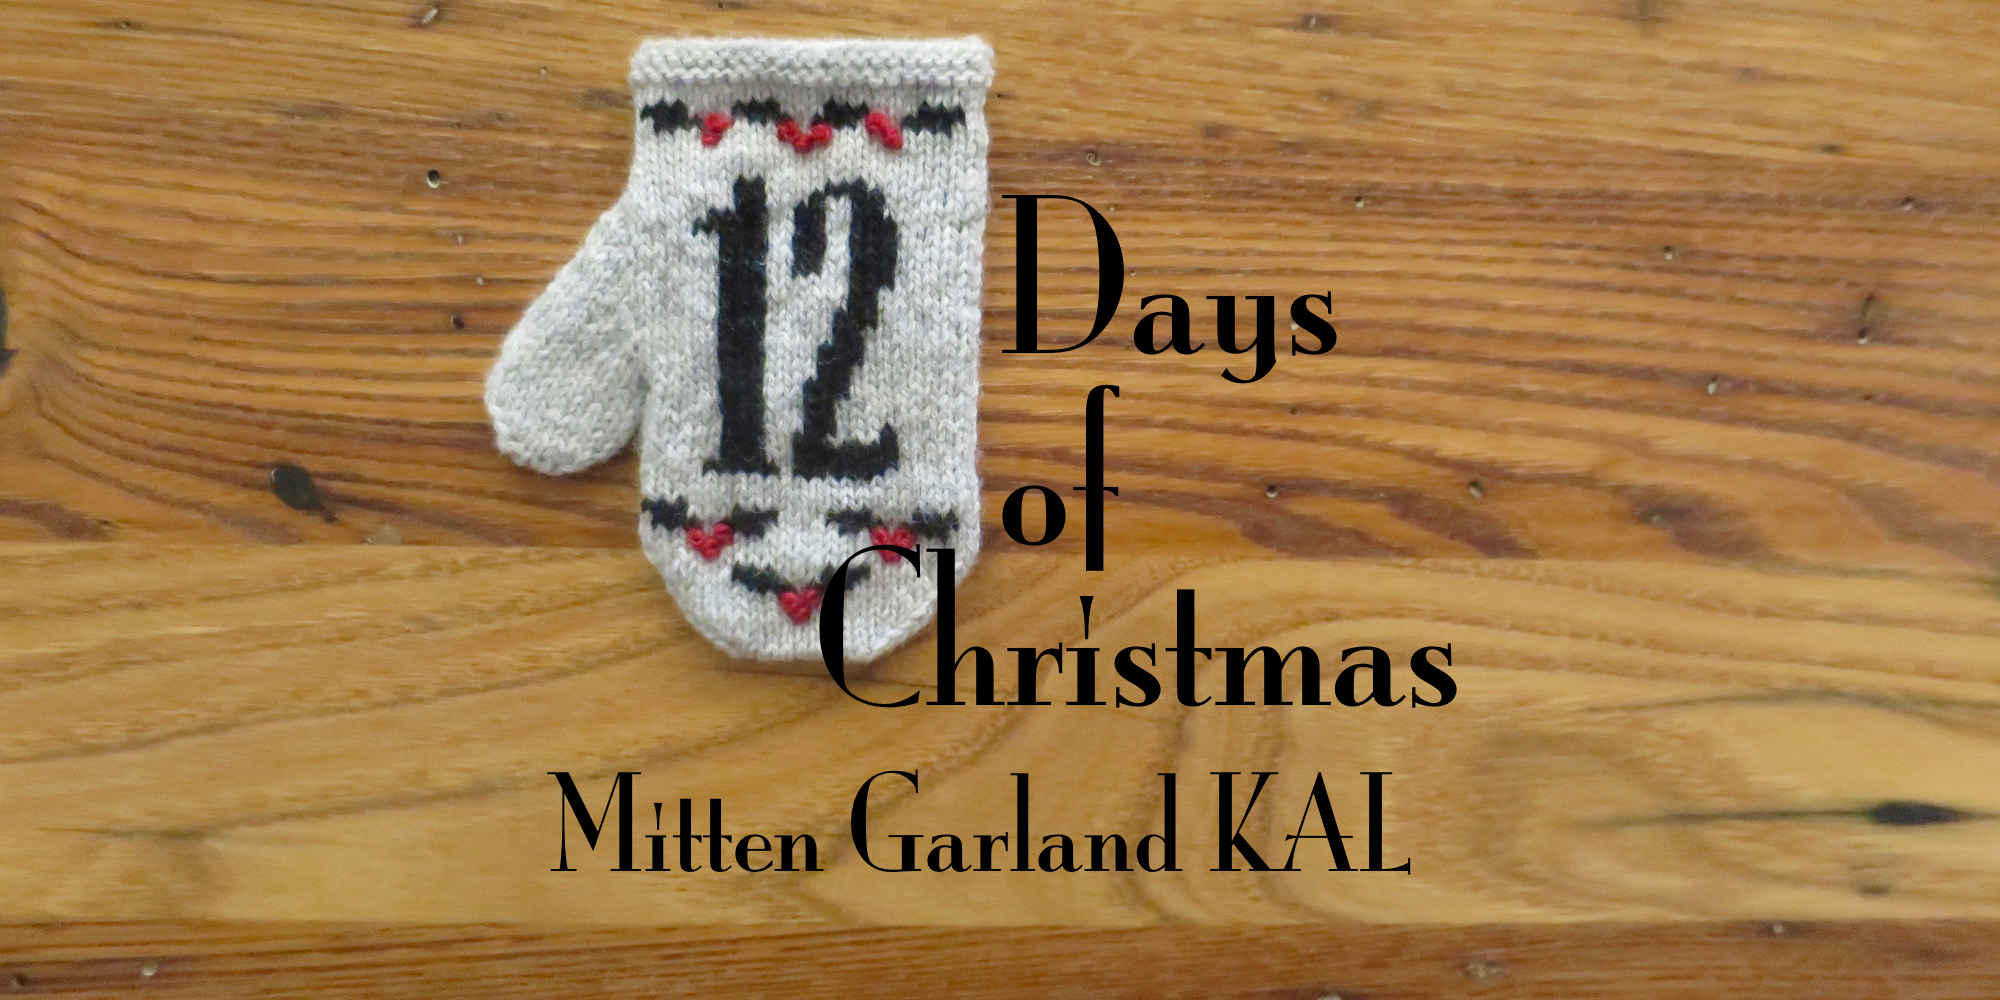

This is the last in our series to get you ready for our 12 Days of Christmas Mitten Knit Along that starts next Monday! Today we are going to talk about blocking.
Blocking is a wonderful thing and can really improve the finished look of these mittens. Wool blooms, puffs up and becomes fuller looking, when wash and/or dried. This can help even out stitches and even hide some peek through. Blocking, either with a form or just under a towel, can help shape your mitten and smooth out any puckering or curling.
I keep my blocking pretty simple for these little mittens, using just stuff I have at home.
I fill a bowl large enough for the mitten with some cool water and a little mild dish soap. (We had a little debate on the Advent Calendar Mitten forum last year about the temperature of the water. I feel safest using cool or cold water for my wools. Some people prefer to use warm or hot. I would suggest looking at what washing temperature your yarn recommends.) If I am worried about color bleed, I will use white vinegar instead of dish soap. Vinegar helps set the dye. (Last year, I had some trouble with the Palette pimento bleeding into the white.) Then I add the mitten and move it around until it is completely saturated with water.
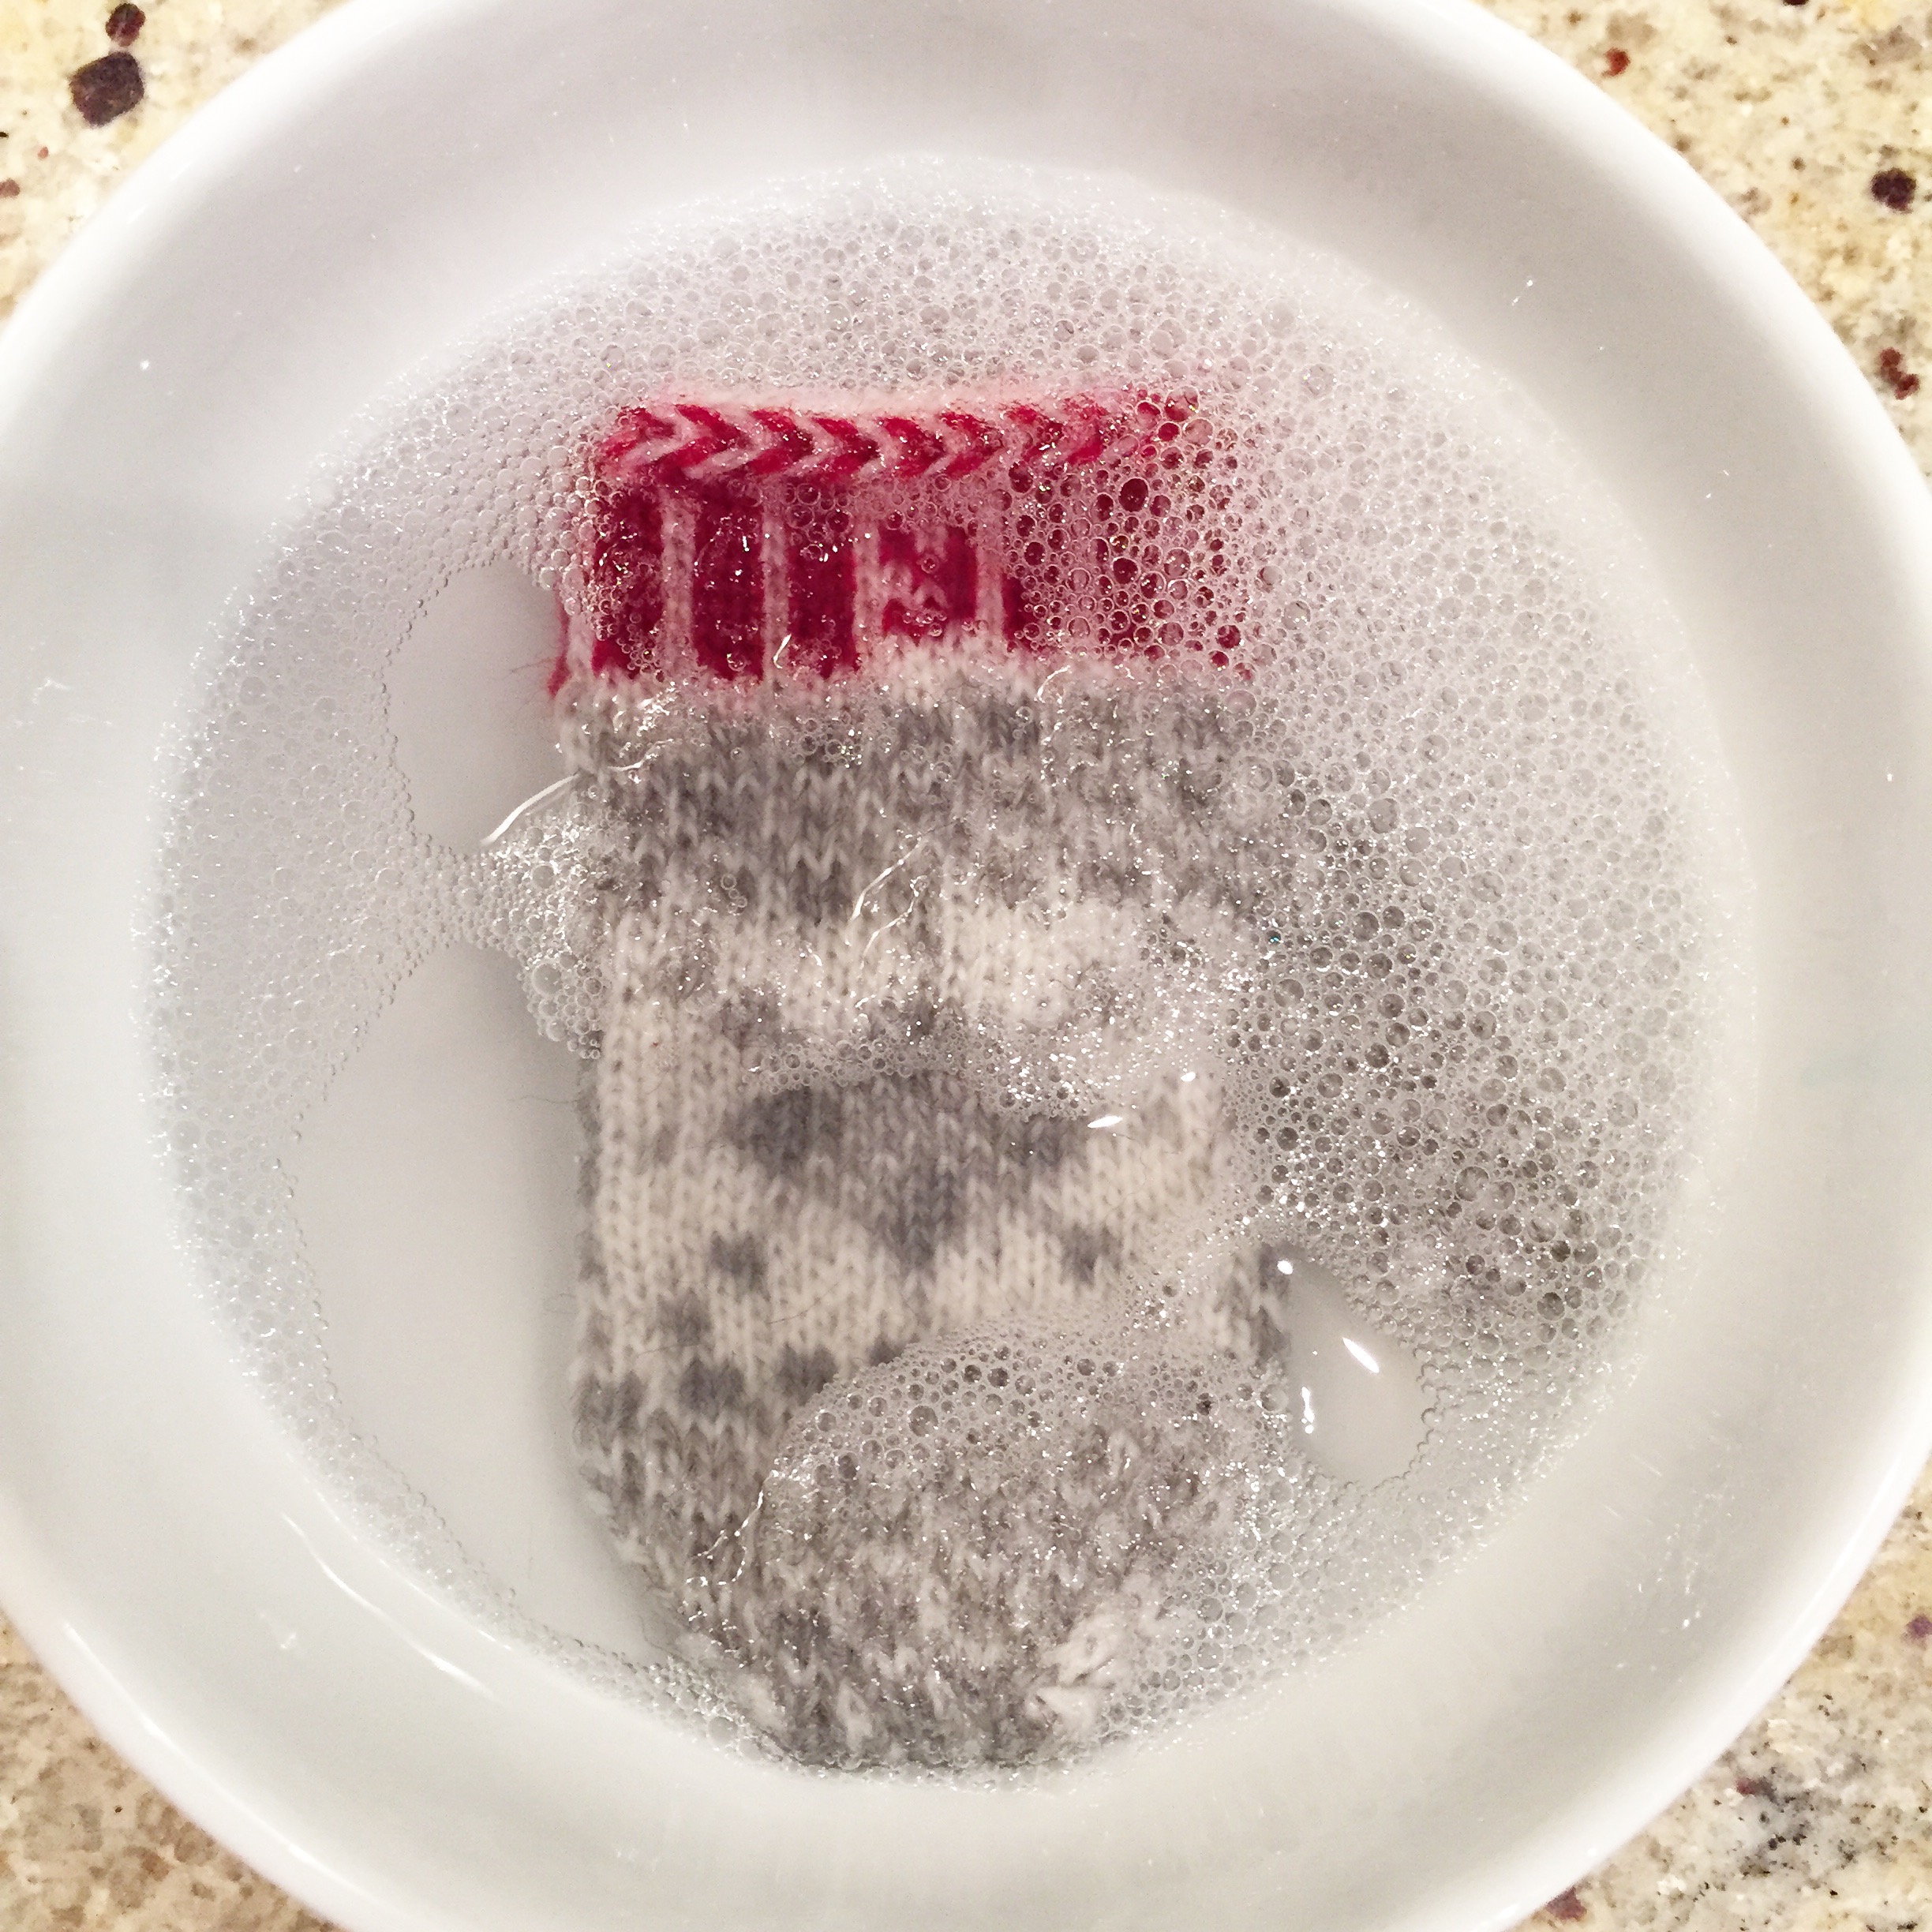
I let that sit for 10 – 15 minutes. Then I rinse the mitten with cool water and squeeze it out as best as I can. Do not wring your mitten. Then I lay out a dishtowel and place the mitten on it. I use my hand to shape it how I want, making sure it is an even width all the way down. I also play attention to the the garter stitch top so that is laying flat and even. Then I fold the towel over the mitten and press down with my hand.
(This picture is just for show and the mitten has already been blocked. I did the French knots after blocking.)
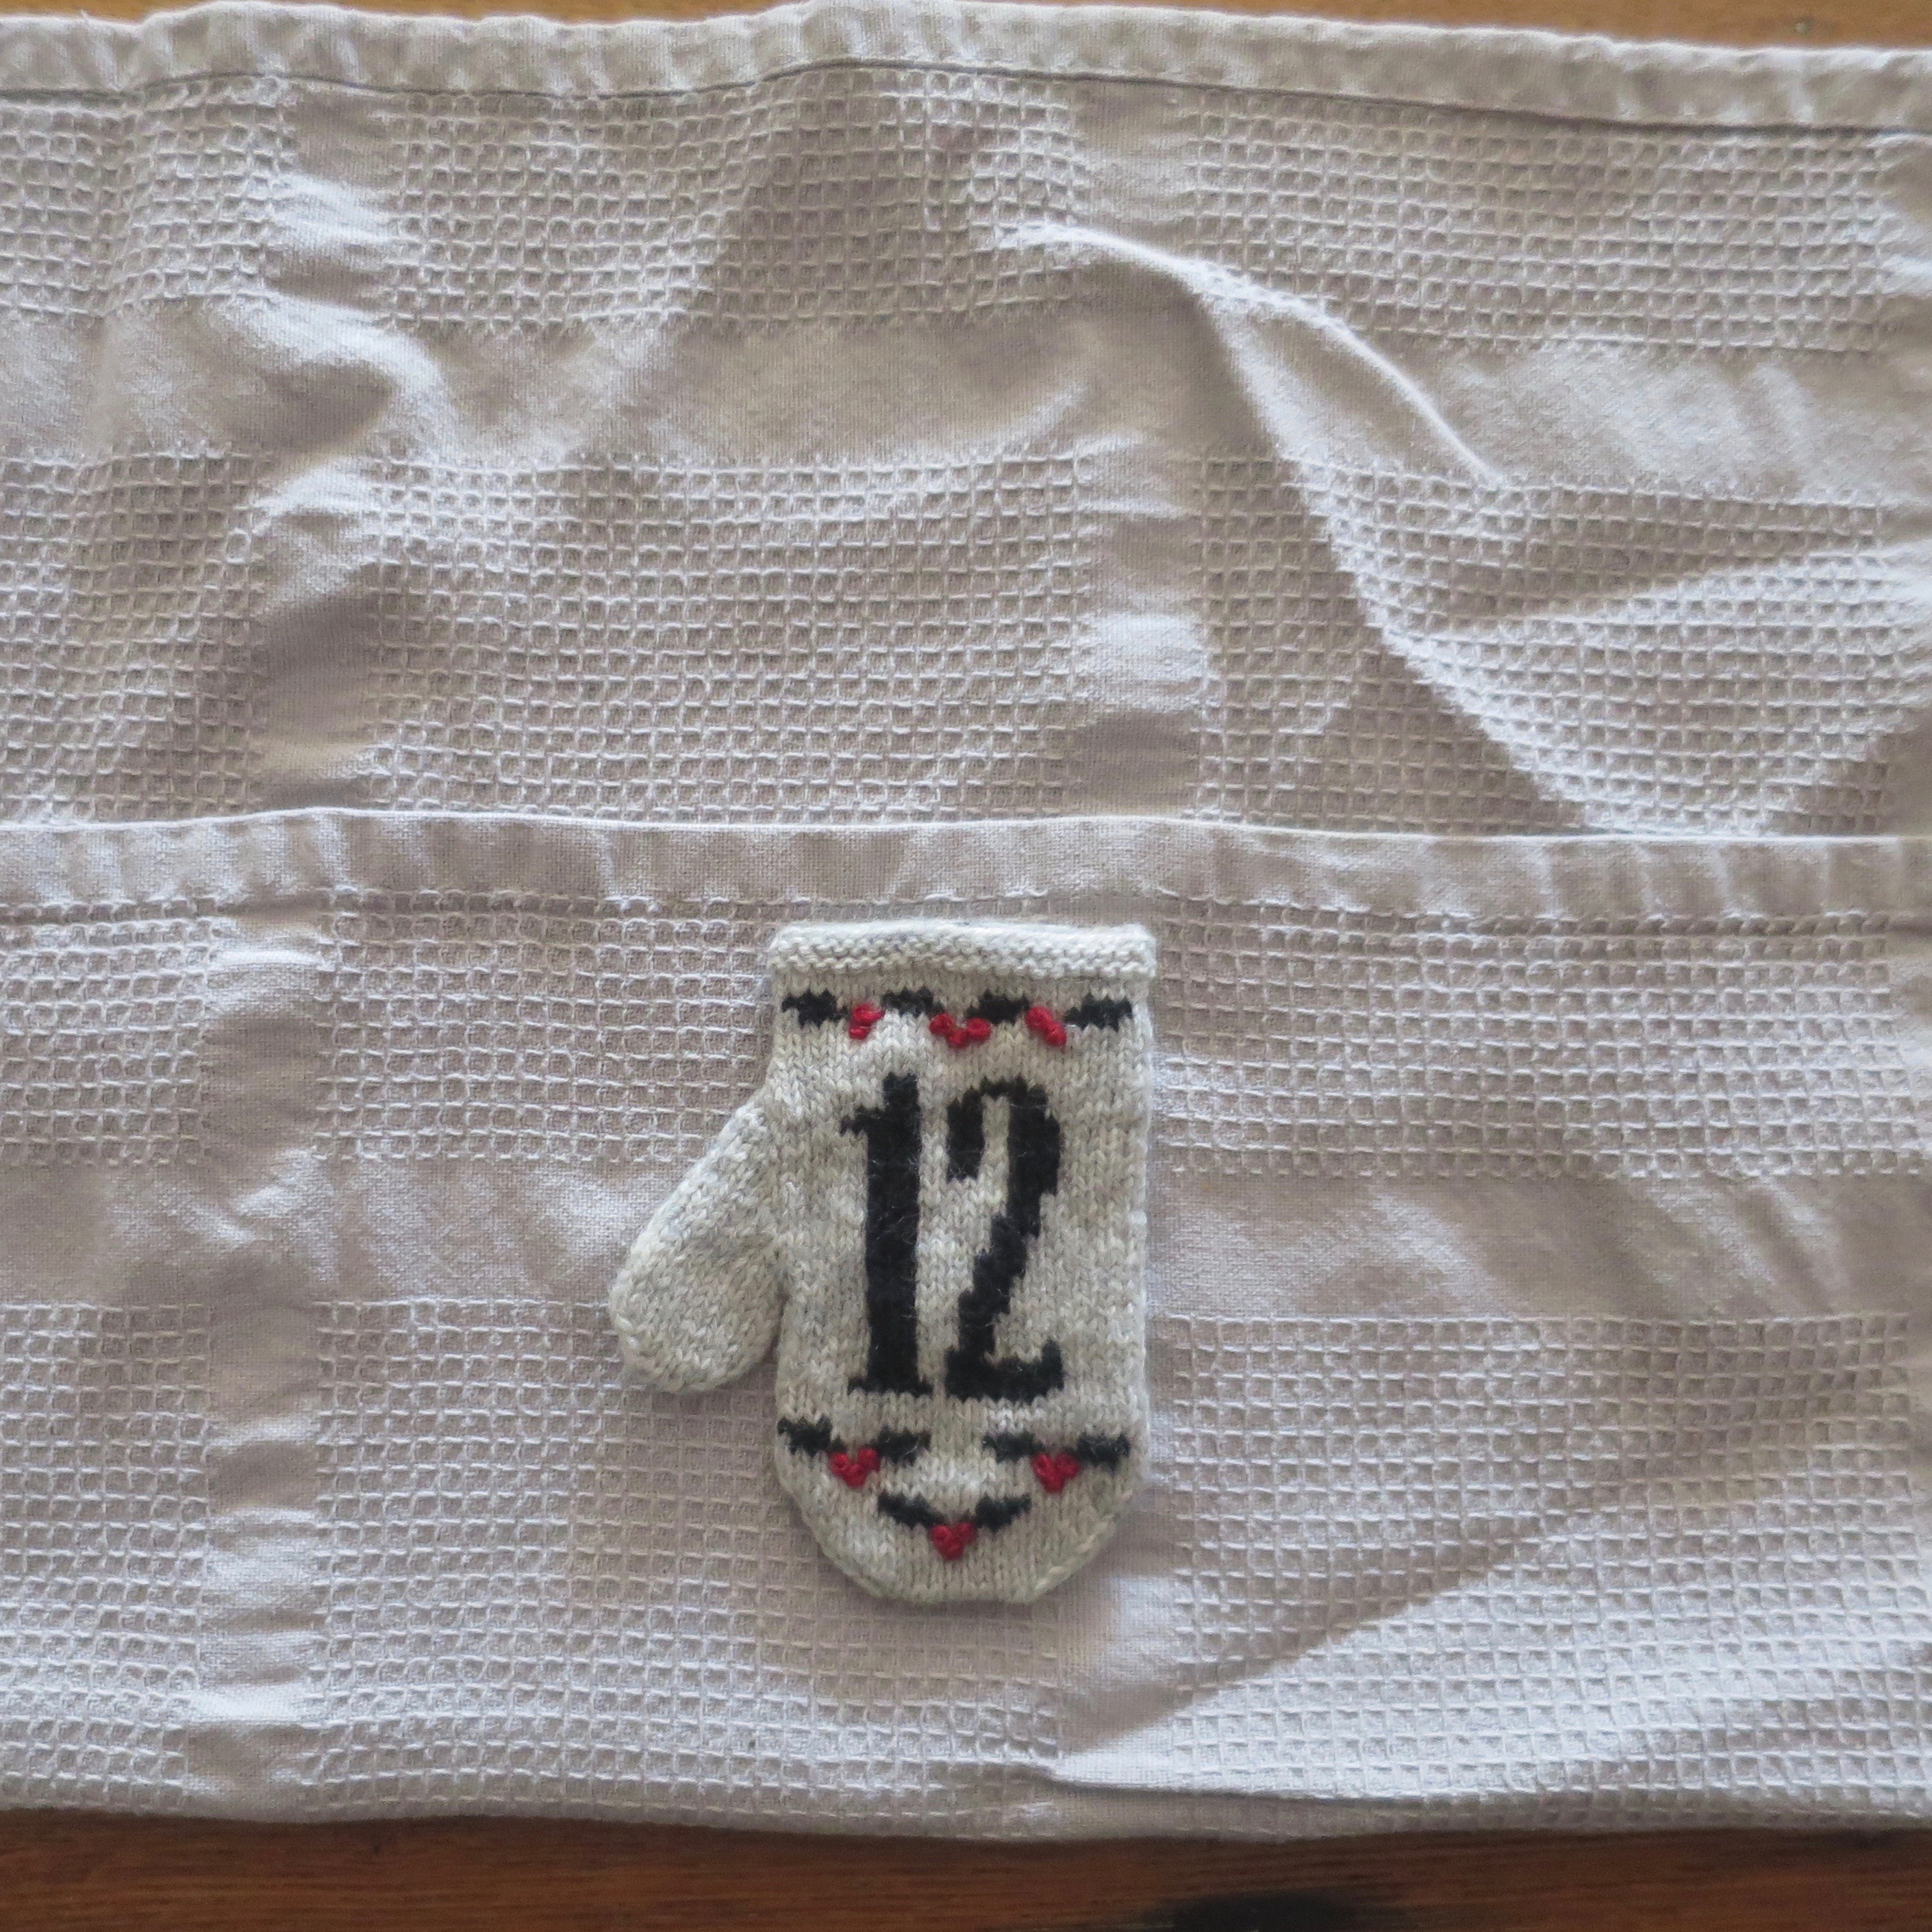
I let the mitten dry in the towel. I may check on it once and flip it over or move it to a drier spot on the towel.
That’s it. Super simple. No blocking boards. No pins. Nothing.
Of course, you can be a little more aggressive with your blocking if you wish and create a form. This is especially good if you have quite a bit of puckering. Last year, Chumily showed us how she made a really simple form.
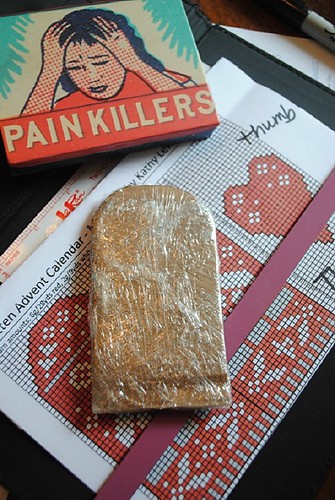
She just cut a cardboard box into the size and shape for the hand of the mitten and covered it with cling wrap. After soaking her mittens, she let them dry on the form. You can use it over and over again and get a very consistent size to your mittens.
I’ve also made mitten blockers, though for full-sized mittens, from cheap flexible cutting boards. I cut holes in them to help with air flow when blocking.
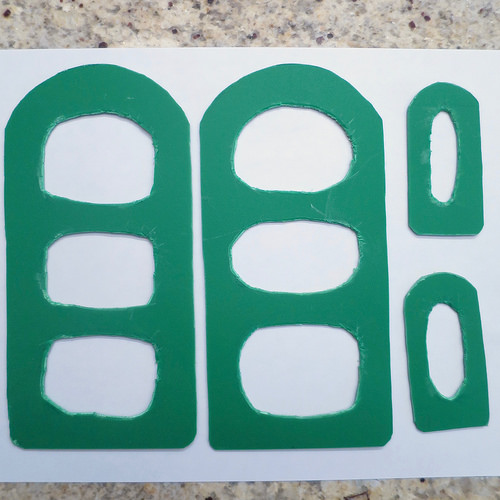
You can see how I made them on this post.
Monday morning at 8am central time, we’ll be starting with our first mitten!
© 2005 – 2016 Kathy Lewinski & Susan Cornish

2 Comments to 12 Days KAL: Blocking