
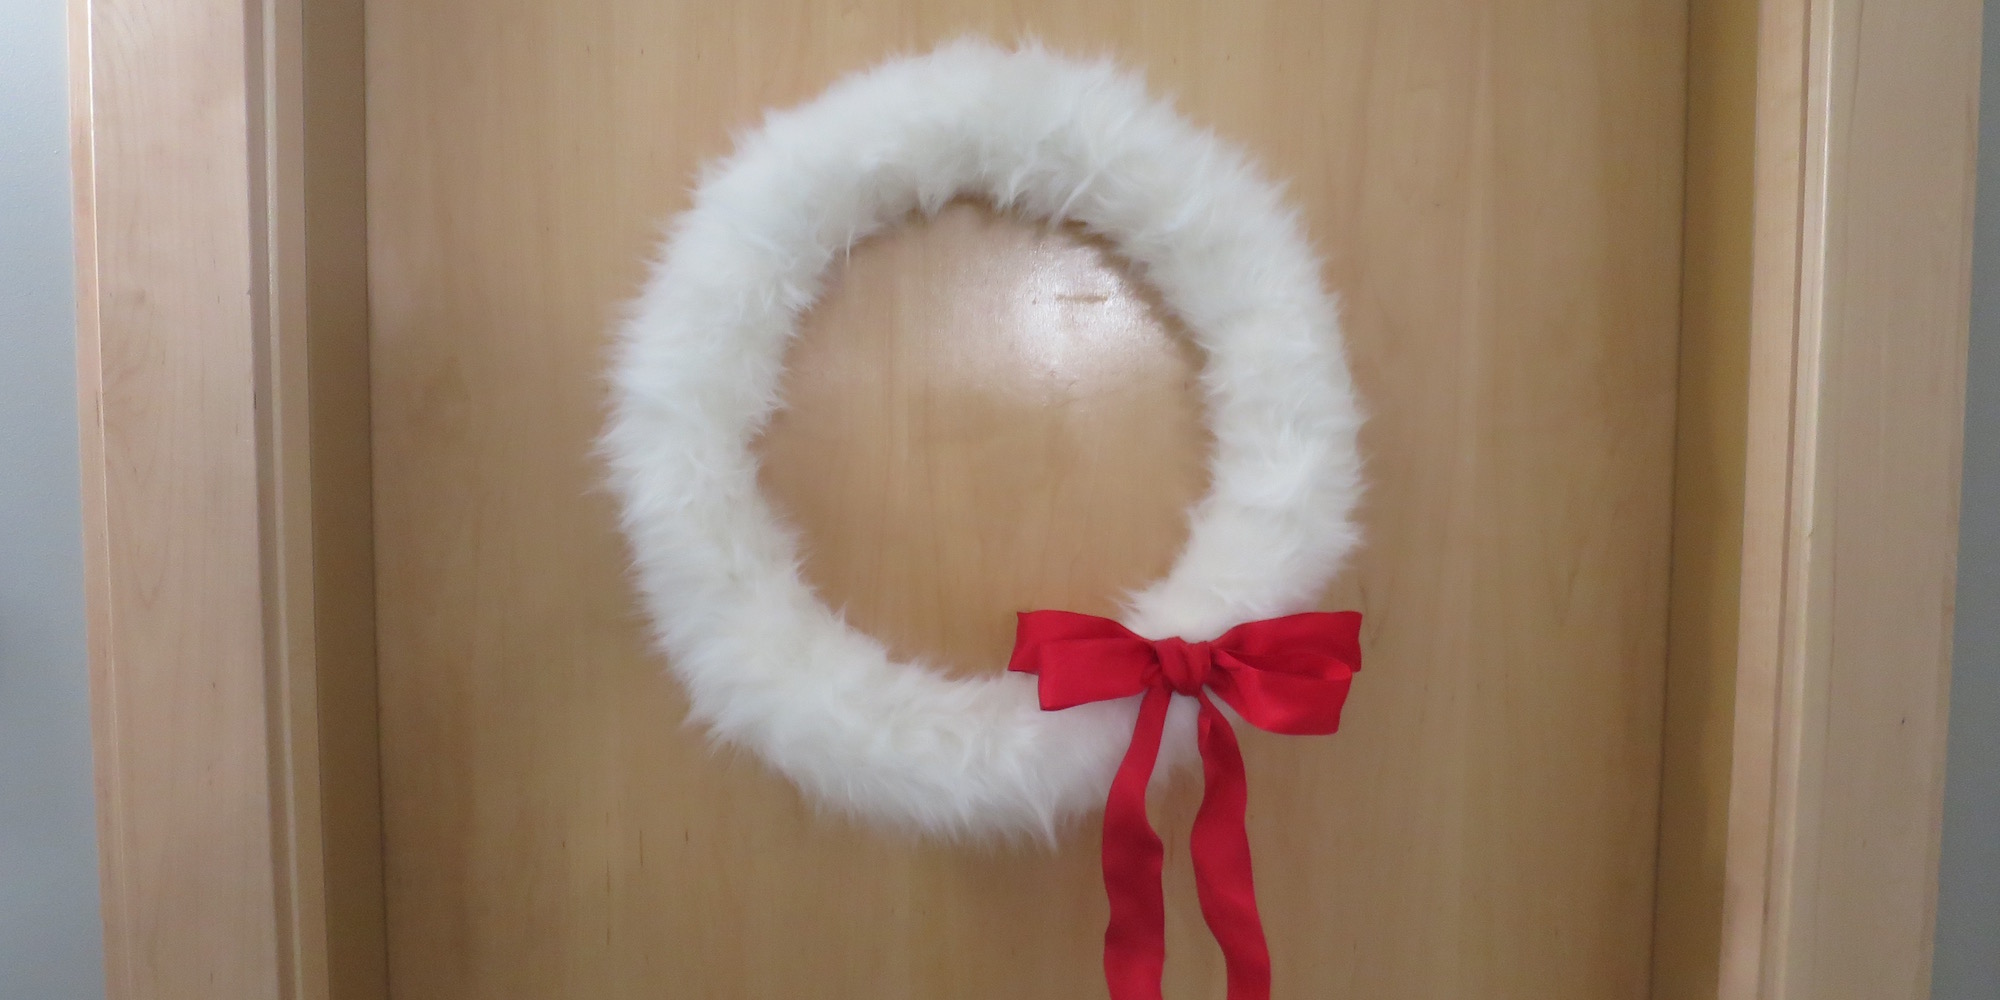

The Christmas wreath I made for us a few years back was looking very tattered and starting to drop pieces whenever anyone used the door. A perfect excuse to make a new one. I did mention to you all that I was using faux fur around my house this winter for a cozy feel, so why not on the wreath too?!
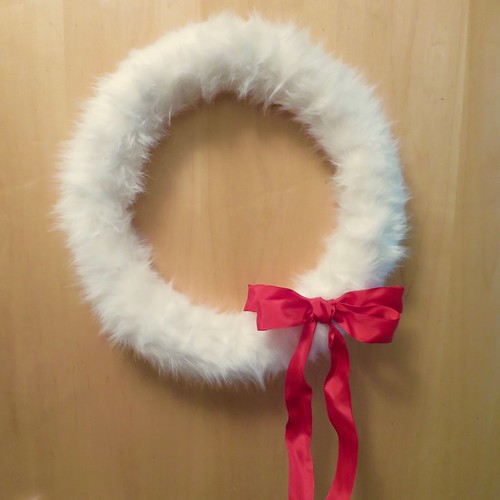
I love the simplicity of this wreath, it makes me think of a vintage fur trimmed coat, but you could really bling it up with Christmas ornaments or glittery floral picks. (I was tempted by the glittery floral picks myself.) It is an indoor wreath as the fur won’t stand up to weather. It works perfect for a condo like mine and bonus, it won’t scratch the door or wall you hang it on.
This is a easy wreath to make, just some simple hand sewing. Cutting faux fur can be a little messy though, so be prepared to pull out the vacuum and a lint brush when you are done. I tried to be as specific as I could with how much fur you will need, but it will really depend on the size wreath you use.
Faux Fur Wreath
Supplies:
- wreath form, see the notes in step 1
- quilt batting (optional)
- faux fur – The amount you need will depend on the size of your wreath. I needed approximately a 2 yards strip to cover my 18″ wreath.
- scissors
- straight pins
- thread to match fur
- hand sewing needle
- things to decorate your wreath – I made a bow from wired ribbon.
- 2″ piece of fabric ribbon
1. Prepare your wreath form if necessary – I decided to use a grapevine wreath form from a wreath I had taken apart for parts. If I had bought a new form, I would have gotten a white styrofoam one, but I couldn’t find one the size I wanted.
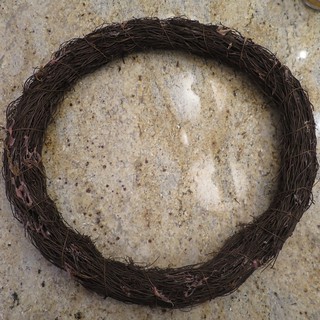
The problem with using the one I had was that I wanted a thicker wreath and you could see the brown color through the white fur. My answer to fix both problems was to wrap the wreath with a scrap of quilt batting I had. (Sometimes saving all my crafting scraps is good for something!)
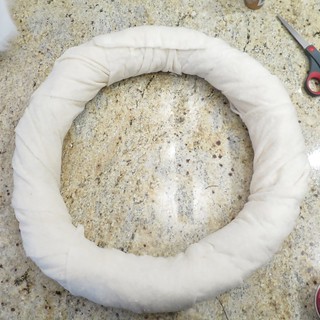
I used strip of batting that was about 6′ wide by 7′ – 7.5′ long. I wrapped it around the wreath, overlapping as I went. After the wreath was wrapped to the thickness I wanted, I glued the ends down.
2. Cut the fur – Basically, you will be cutting a long strip that you wrap around the wreath so the ends meet at the back. Figure out how wide a strip of fur you need to cover the wreath and just overlap.

Then cut a long strip that width. I only had 1 3/4 yards of fur and knew that wasn’t going to be long enough, so I made the strip longer by continuing it around the corner and shorter side of my piece of fur. The corner didn’t make it any harder to wrap around the wreath.
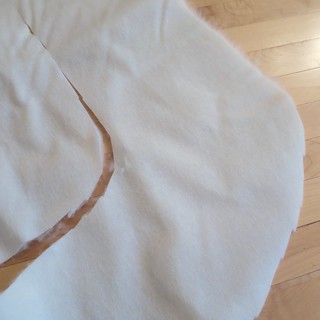
I ended up using a strip just over 2 yards long.
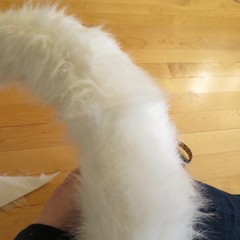
3. Wrap the wreath with the fur – Start wrapping the fur strip around the wreath so the edges meet in the back. Pin into place.
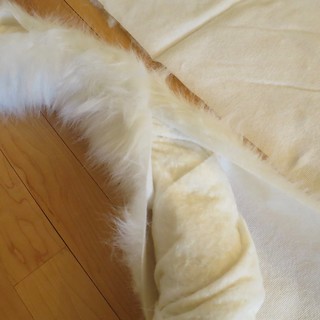
The back will look pretty sloppy at this point. Don’t worry about getting small folds in the fur, the pile will hide them in the finished wreath.
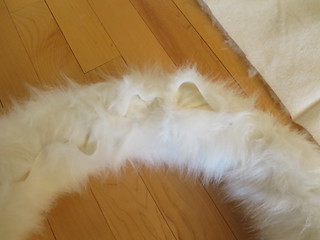
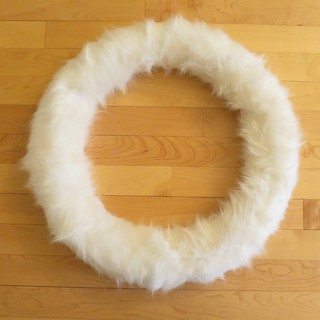
When you have covered the whole wreath, overlap the end of the fur strip over the beginning. Pull it a little snug and the pile will blend it in. You can also cover this section with any decoration you are using.
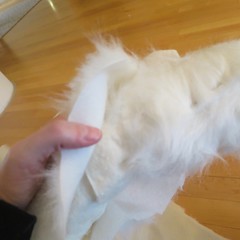
4. Sew the fur – Using matching tread and a hand sewing needle, do a whip stitch to sew the edges of the fur together around the back of the wreath.

Since it is the back of the wreath, I did big sloppy stitches, but you can see how much neater it looks than the pinning. I also sewed down little folds in the fur as I went along. When you are done, the front of the wreath will look like this.
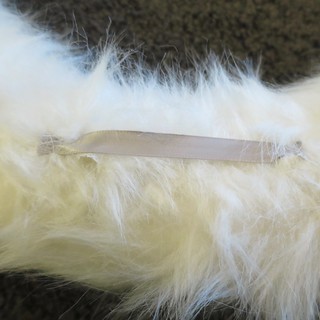
5. Sew on a hanger – Figure out where you want the top of your wreath. Sew the end of the 2″ length of ribbon to the back of the wreath at that spot. Make sure you sew the ends so the ribbon is taut.
You don’t have to add a hanger, you could also tie a ribbon around your wreath to hang it.
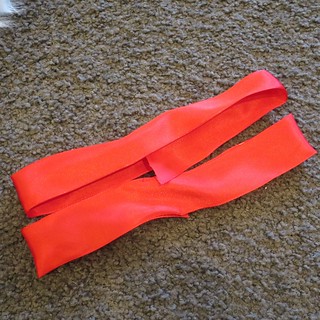
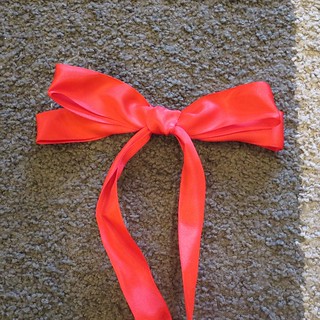
6. Decorate your wreath – You can add any decorations you like by sewing, glueing or pinning them on. I did a simple red bow.
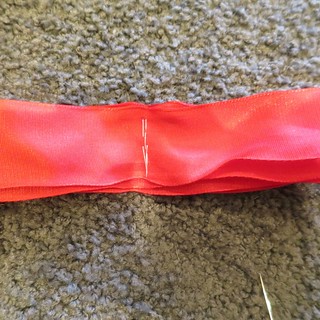
I cut two pieces of the wired ribbon and folded them into loops with the ends overlapping at the middle of the backs.
Then, I hand sewed the loops together down the middle making sure to secure the cut ends.
I cut another longer piece of wired ribbon, wrapped it around the middle of the loops (covering the sewing) and tied a single knot at the back. I used the wire edges to make everything look neat and trimmed the edges of the tails.
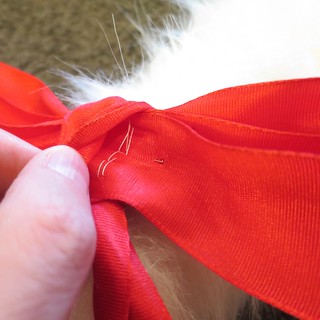
I pinned it to the wreath with a straight pin behind the center piece which also helps secure the single knot at the back.
I hung my wreath from a Command hook on the door.
© 2005 – 2015 Kathy Lewinski & Susan Cornish


4 Comments to Project: Faux Fur Wreath