


Every Friday for the twenty-four weeks leading up to December 1st, we will be making a handmade Christmas ornament. Follow along and make them all or pick and chose your favorites.
Well, we’ve made it through another year of the Advent Calendar Project. I hope you enjoyed this year’s collection of twenty-four handmade ornaments. Let’s get to number 24!
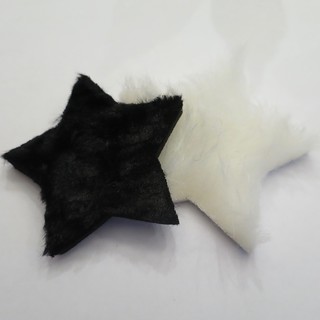
This one is a very trendy fur-covered ornament.
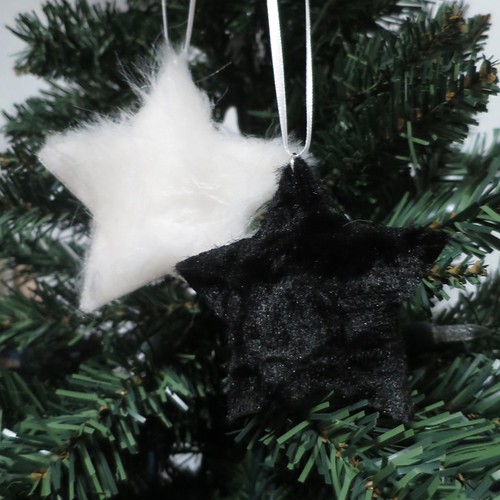
I used star shapes because that was what I had on hand, but you could do any shape you want. Target currently has fur covered initials and words.
I experimented with a shorter black fur, almost a very plush velvet, and a longer white fur, about 1″ long. The shorter fur shows the shape best, but the longer one is a lot of fun. I wouldn’t try to use anything longer than an inch or you’ll lose the shape of your ornament in the fuzziness.
Fur-Covered Ornaments
Supplies:
- wooden ornament shape
- drill with small bit or hammer and nail
- paint to match fur color
- small paintbrush
- pen (optional)
- faux fur
- glue
- small scissors
- large jump ring
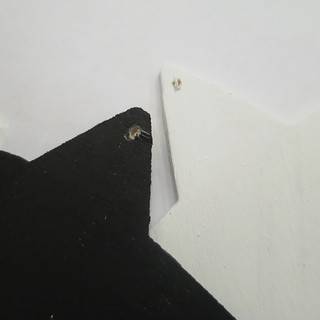
1. Drill or hammer a small hole at the top of your ornament for hanging.
I forgot to do it until after I had painted which meant I had to touch up the paint.
2. Paint the back and sides of the ornament. Let dry.
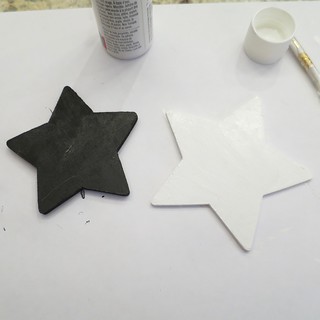
For the white ornament, I also painted the front. I found my white fur really showed the color is it up against and the bare wood made it look yellow.
3. Cut the fur and glue it to the front of the ornament. There are two ways you can do this.
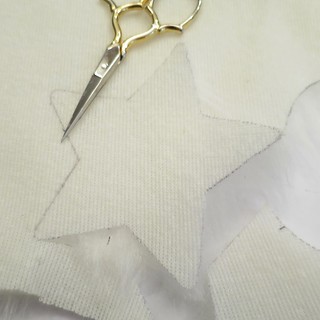
For the white star, I traced the wooden shape onto the backing of the faux fur and then cut it out. (If you use small scissors and just cut through the backing you get very little fur mess.) Glue to the front of the ornament, trimming as needed.
For the black star, since I couldn’t trace onto the back of the back fur (I couldn’t find my dressmakers pencil.) I glued the wooden shape to the back of the fur. Once it was dry, I cut it out with small scissors.
If you use longer fur, you may want to trim it a little to let your ornament shape show better. I trimmed my white fur a little bit especially around the edges.
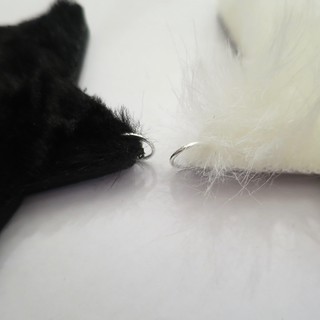
4. Put a jump ring through the hole in the ornament for hanging. You should be able to poke it right through the faux fur backing.
© 2005 – 2015 Kathy Lewinski & Susan Cornish


2 Comments to Advent Calendar Project ’15 – Week 24