
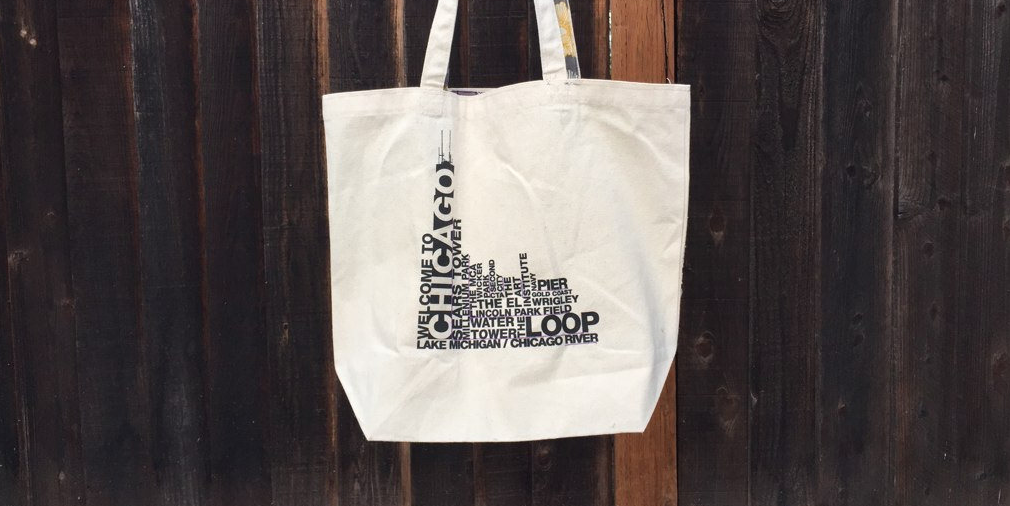

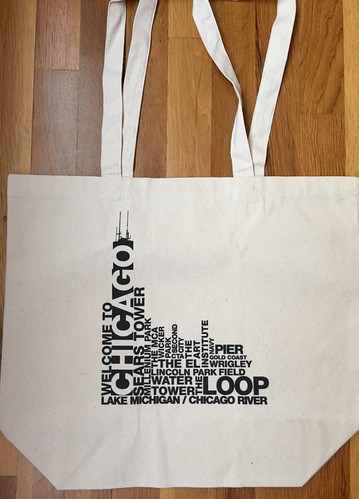
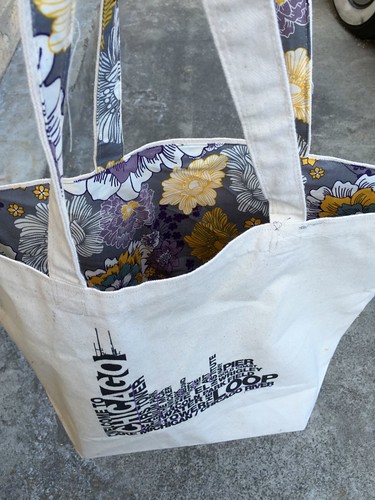
This summer I was invited on a trip to Chicago with all of the women in my family. It was a wonderful way to reconnect with my cousins from around the country. Part of our invitation for this trip was a Chicago printed tote bag.
One of my awesome “connection” conversations was with my cousin Laura, who lives in Washington State. She is a big fan of purple. Somehow we got into a conversation about “tricking-out” the tote bag and I said that I would be happy to do hers. (What a great inspiration for a project!)
I returned home and started to think through the details. I think originally I had a lot of “bling” in mind, but Laura is not really a “Miami resort” kind of girl. I wanted the bag to “fit” with her style a little bit more. I found the purple floral and we were off to the races from there.
Tricked-Out Tote Bag
Supplies:
- tote bag
- feature fabric
- colored thread for contrast stitching
- plastic “canvas” (like for embroidery projects)
- iron on double sided adhesive
Directions
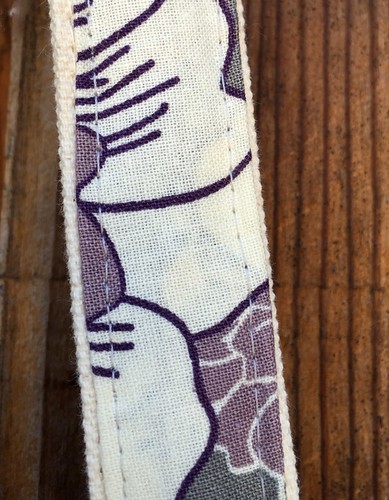
Handle Trim:
I made single fold tape for the under side of the handles. (Single fold tape is such an odd name because it is folded twice, once on each side. But technically “double fold tape” is folded three times. So there is something to ponder.)
Measure the width of the handles and double that measurement. Then measure the length of the handles and add 4″. Cut the strip just shy of double the width of your strip. You want to fold both edges to the middle and press. The goal is to sew that contrast to the back of the handle and not to have the edges flush. The canvas handle is much tougher than the contrast fabric (if you are using some fun colored cotton quilting fabric.) If the contrast strip is just to the inside of the canvas or webbing, then it will be protected from the hardest of the wear and tear. Cut the strips, and then iron them into single fold tape, by folding one side to the middle, and then the other side to the middle, wrong sides together. Press them to hold this shape. While they are still crisp and folded, pin them in place. Sew these strips down onto the straps. Work in sections (rather than just ripping it out in one long seam). Make sure you are sewing in the same direction on both sides. (ie: do not sew “up” one side and “down” the other) That way you will avoid pulling and diagonal stretching.
Applique:
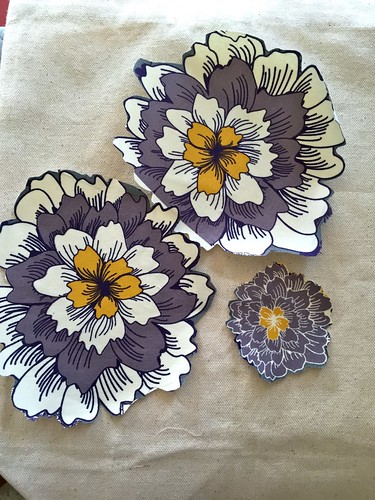
I took my lining fabric and found some flowers that I liked and wanted to feature. Take the paper-backed iron-on fusing and iron pieces over the motif that you want to use. Let them cool then cut them out (Fussy Cut) With the flowers cut out, I could place them on the back and lay them out to see what arrangement I liked.
Then peal the paper back and iron them down. The next step to give them more security is to sew around them very close to the edge. This will make the bag more long lasting, and it will really hold up if/when it needs to be washed.

(Above, the flower appliqued from the inside, with the lining flopped down in the bag ready to sew in)
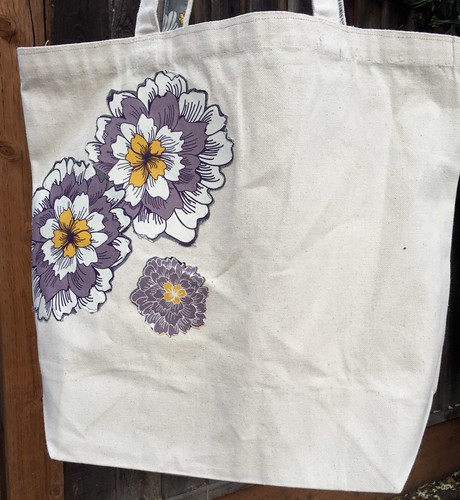
Here they are all sewn on.
Lining:
You will be sewing a second bag out of the lining fabric that will be identical to the tote itself, and inserting it into the bag. Here is my biggest caution on this project: measure carefully. The width measurement is straight forward. It is the length that is tricky. I thought I had it right, but the fold on the bottom of this bag was done a little bit differently than your “standard corner fold”. I ended up 2″ short and had to play around and sew in a false bottom to make up the difference. So please “do as I say and not as I did”.
Stability:
I measured the bottom of the bag and cut a piece of the plastic canvas that was just a hair smaller than the measurement.
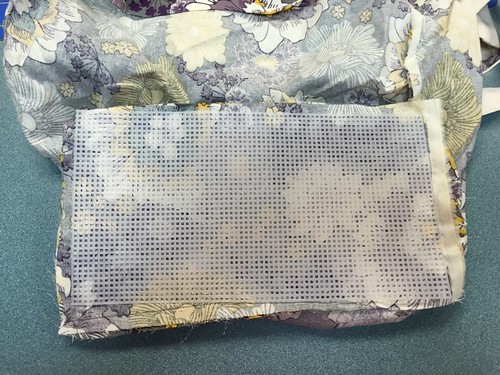
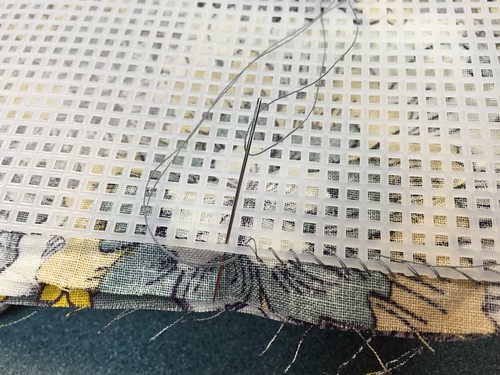
With a needle and thread I hand stitched the piece to the bottom of the lining before I sewed it in.
Finally, insert the lining piece into the bag, wrong sides together. Carefully line up the top edge, and fold over just as much as your bag will allow, to that you have a good fit. Sew around the top edge to hold the lining in place.
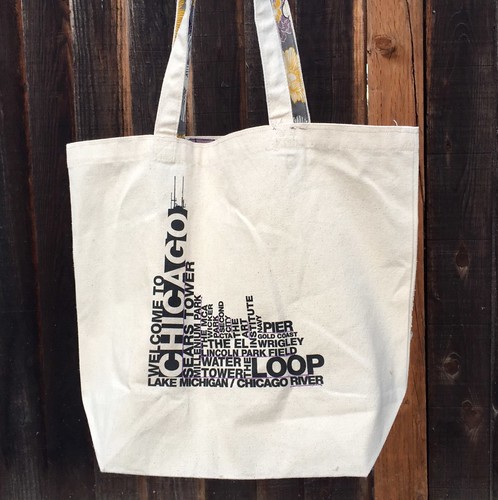
And there it is all done. I think it is a great upgrade on a canvas bag.
© 2005 – 2015 Kathy Lewinski & Susan Cornish

One Comment to Project: Tricked-Out Tote Bag