


Every Friday for the twenty-four weeks leading up to December 1st, we will be making a handmade Christmas ornament. Follow along and make them all or pick and chose your favorites.
This week we are making another dough ornament. This one is inspired by the red and white hearts you see as part of Scandinavian Christmas decorations.

I used salt dough to make my ornaments, but you can use any type of air dry or oven baked clay you like. Here is the post with my recipe and directions for baking salt dough.
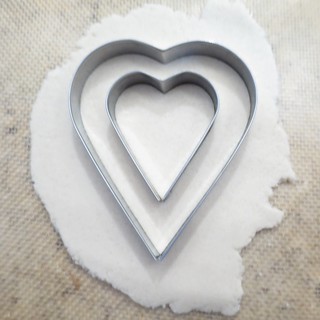
I used a set of nesting heart cookie cutters to cut out my shapes which made it really easy. If you don’t have those, you could print out a heart in two sizes on to paper and use that paper as a pattern to cut around with a sharp knife.
Two Hearts Ornament
Supplies:
- salt dough or other clay
- baking sheet (if using baked dough)
- rolling pin
- two sizes of heart cookie cutters or heart templates
- toothpick
- fine sandpaper
- white and red acrylic paint
- white and red glitter paint (optional)
- gloss polyurethane (optional)
- small paintbrushes
- embroidery floss
- sewing needle
1. Roll out your dough and cut out the heart shapes.
Carefully, move the smaller heart out from the middle of the larger. You want it to still be able to fit in the hole it leaves. Use a toothpick to put a hole in each heart as shown.
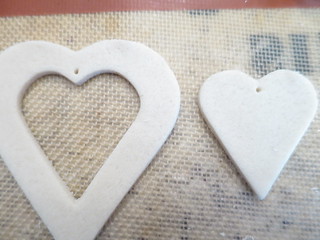
Bake or let dry as your dough requires.
2. See how your smaller heart fits into the hole in the larger heart when it is sideways. Mine was slightly too big.
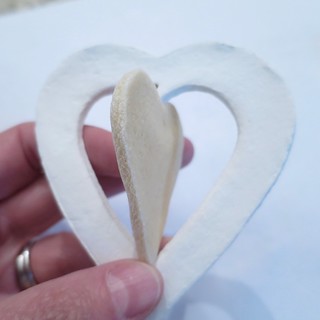
Using fine sandpaper, you can sand the sides of the smaller heart until it fits easily. (This also smoothes out any rough sides from cutting.

3. Paint both sides and all the edges of both hearts. It is best to do several light coats rather than one thick one as I found the paint cracks sometimes. Also let it dry between each coat.
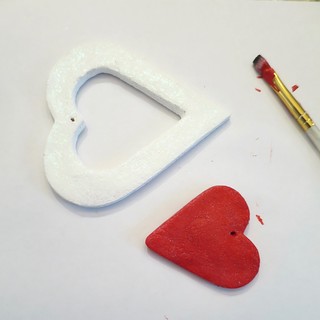
You can add glitter paint on top of the base coats if you wish. I did on both to give them a shine. You could also seal them with a gloss polyurethane or just keep them matte.
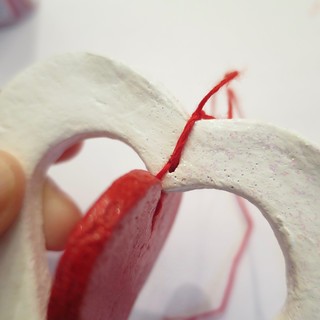
4. Cut a piece of embroidery floss about 12″ long. Thread it through the hole in the small heart, a needle is helpful with this. Put the heart in the middle of the floss and tie it in place with two or three knots.

Now take each end of the floss and put it through the hole in the larger heart. Have one end go through the front and the other go through the back. Bring the ends of the floss to the top of the larger heart and tie in to place with two or three knots.
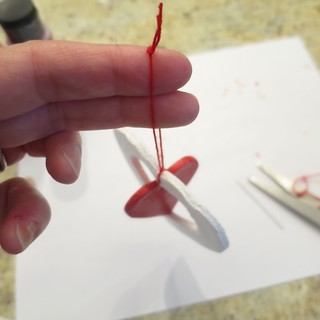
Tie the ends of the floss together to form a hanging loop.
© 2005 – 2015 Kathy Lewinski & Susan Cornish


8 Comments to Advent Calendar Project ’15 – Week 18