


Every Friday for the twenty-four weeks leading up to December 1st, we will be making a handmade Christmas ornament. Follow along and make them all or pick and chose your favorites.
This week was are going to make a decorative Christmas ball that is a mix of rustic and bling.
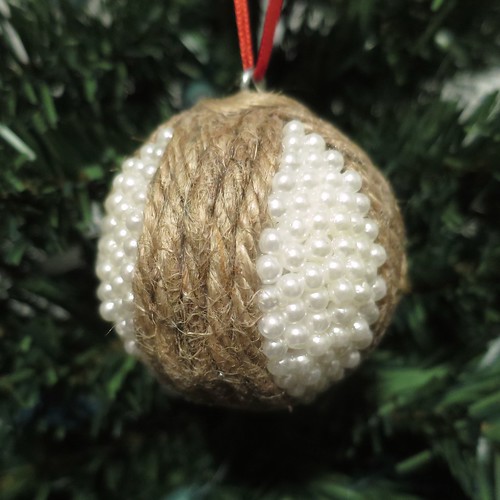
I used “pearls” for mine because I thought the shiny white was a nice juxtaposition with the jute twine. You could use colored beads or even rhinestones. You could also change up the layout, for examples alternating single lines of jute and beads. Create a whole set of slightly different balls.
Let’s talk a minute about glue. Styrofoam is really hard to get things to stick to unless you use a glue made for foam. I really like Hold the Foam, it has made crafting with styrofoam so much easier. I also find jute hard to make stay in place when gluing it, foam glue is so thick and sticky that it is perfect for jute as well. Not an ad or anything, just my personal review ;).
Jute and Pearls Christmas Ball
Supplies:
- styrofoam ball
- glue for foam
- jute twine
- scissors
- small paintbrush for glue
- faux pearls
- small eye screw
- straight pins (optional)
- Glossy Accents, Dimensional Magic or similar (optional)
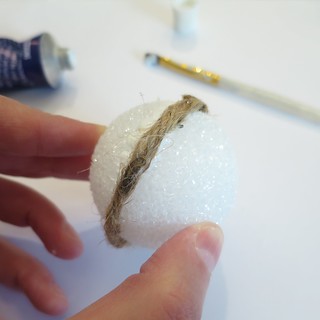
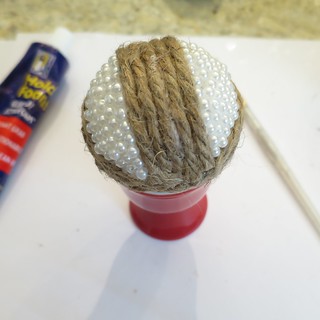
1. Glue jute to styrofoam ball – Start by cutting a piece long enough to go all around the ball. Glue it down so it cuts the ball in half. I used a pin to hold it in place.
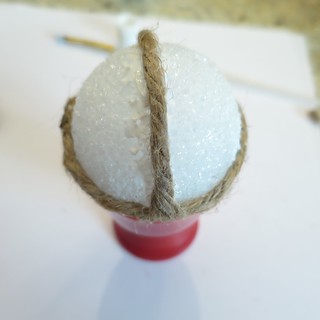
Now glue two pieces of jute on to divide the ball in half the other way, dividing the ball into quarters.
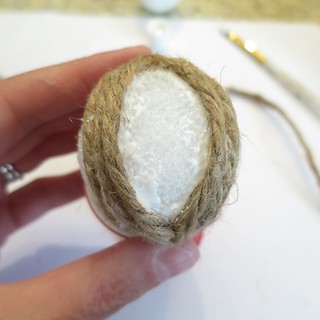
Cut smaller pieces of just to start filling in the quarters. Glue the pieces down alternating between each side of each quarter. I did two pieces of jute on each side of the quarters. Make sure to glue the ends of the pieces down securely (you will be covering them later).
2. Fill the open areas between the jute with pearls – Put a thick coat of glue in an open area of the ball. Place pearls to fill the whole area as tightly as you can.
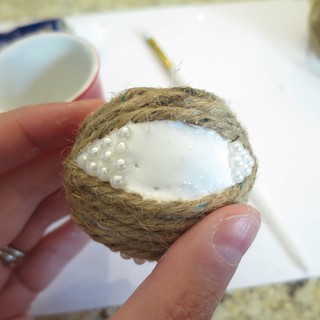
If you are using beads with holes in them like I did, try to place them so the hole are to the side and not seen. A straight pin makes a great tool for turning and moving the beads.
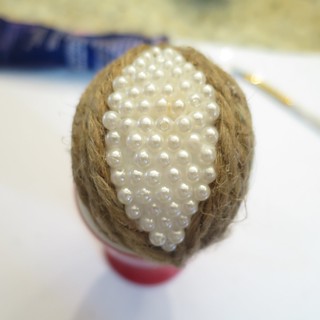
I found it was best to let one section dry a little before moving on to the next.
(Optional step – I wanted to really seal the pearls in and also fill in the little gaps, so I put a layer of Glossy Accents over the pearl areas. It doesn’t change the look much, but really keeps the pearls from ever coming off.)
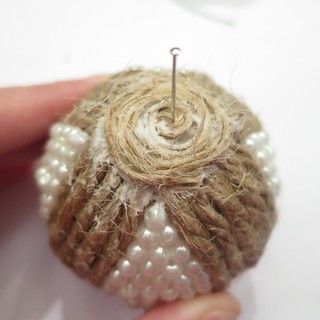
3. Make a spiral on the bottom of the ball to cover the ends of the jute pieces – Separate the jute into strands so you are working with a skinny piece. This will sit flusher to the ball so you keep a round shape.
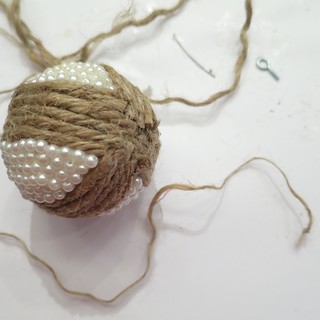
Tie a small knot at the end of the twine so you have something to pin into. (Pinning it down will make it easier to make the spirals.)
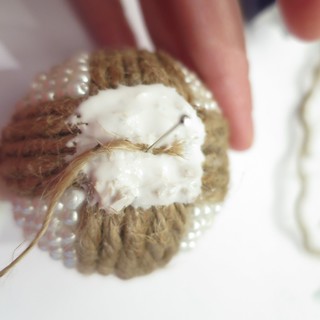
Paint a circle of glue on the bottom of the ball. Pin the knot in the middle and glue the jute down in a spiral covering the jute ends. Press it down to make it nice and flat.
4. Add a hanger and spiral to the top of the ball – Dip the end of the eye screw into the glue and push it into the middle of the top of the ball. Make sure it faces the right way for the how you want your ball to hang.
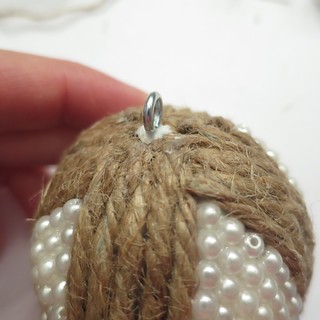
Make a spiral with a thin piece of jute around the screw eye to cover the jute ends just like you did on the bottom.
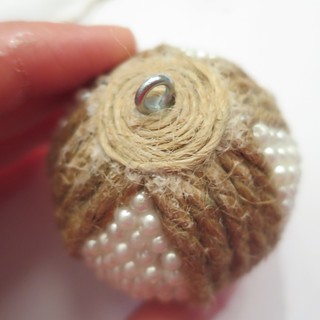
Let everything dry completely. Add a ribbon or hook to hang.
© 2005 – 2015 Kathy Lewinski & Susan Cornish


