


Every Friday for the twenty-four weeks leading up to December 1st, we will be making a handmade Christmas ornament. Follow along and make them all or pick and chose your favorites.
I was looking through something, don’t ask me what, and the words snowflake fairy hit me. I tucked that away as an idea for a peg doll ornament.

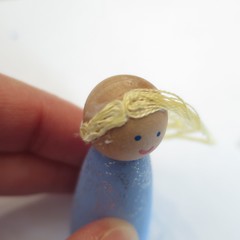
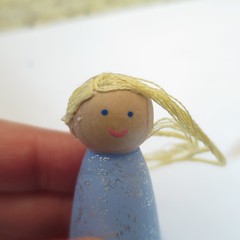
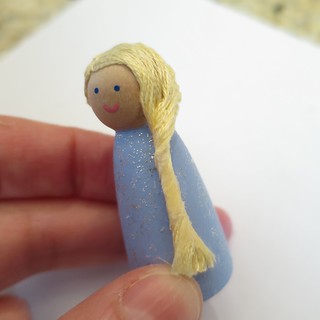
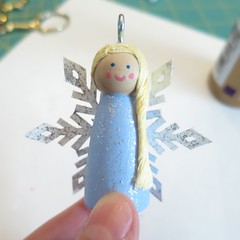
I took a little inspiration from the movie Frozen for this ornament as well, with the light blue dress and the hair style. I think she is the cutest little fairy and something little girls would certainly like. She is very easy to make, but the hair takes a little care to get right.
Snowflake Fairy Peg Doll
Supplies:
- wooden peg doll
- acrylic paint in light blue, blue and pink
- small paintbrush
- silver glitter paint
- pencil
- toothpicks (optional)
- yellow embroidery floss
- glue such as tacky or school glue
- small eye screw
- small nail (optional)
- hammer (optional)
- white cardstock
- exacto knife (optional)
- small scissors
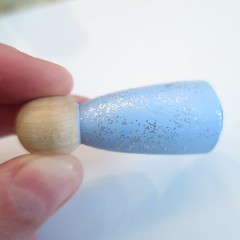
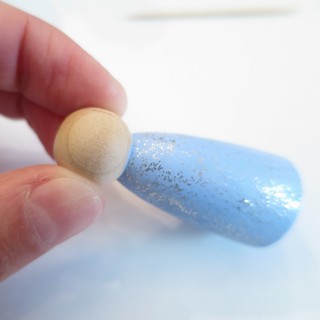
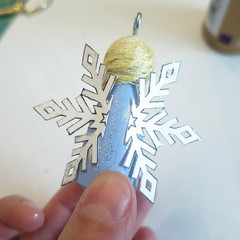
1. Paint the dress of the fairy first in light blue and then with the sliver glitter. I used two coats of both. Let dry.

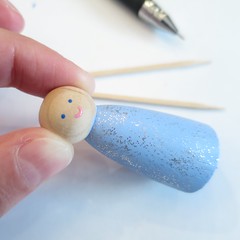
2. Decided where the fairy’s face will be. The doll pegs I use usually have a circle in the grain on the head which I use as my face.
Use a pencil to mark where you want your eyes and mouth, then paint them on. I keep the face very simple and use the end of the toothpick to paint it on. After I finished this fairy, I decided she needed pink cheeks, so I added them. Let dry.
(I do not usually varnish or seal my peg dolls, but if you want to this would be the time to do it.)
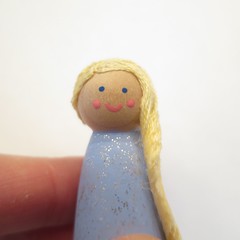
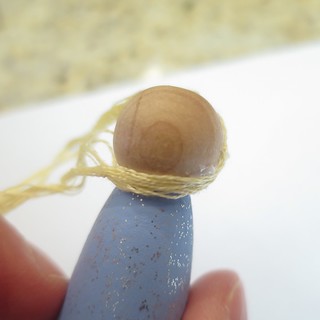
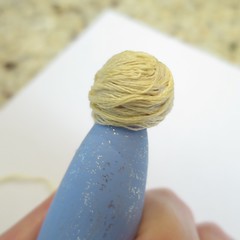
3. Now, add the hair. This is the trickiest part of the ornament, I’ve put in a lot of pictures to show how I did it. You will be using lengths of embroidery floss to create a side ponytail or braid. You want to fold the lengths of floss in half so you do not have cut ends at her part. I worked with longer lengths than I needed and trimmed them at the end.
Starting at the front glue the pieces that will frame her face and create where the part is. I used the tip of a toothpick to help separate and move strands of floss as I glued them down to cover the whole head.
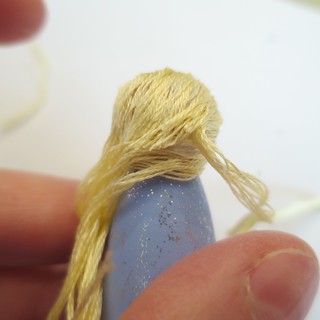
The pieces of hair that are sweeping over to the other side need to be long enough to go across the back of the head and over the shoulder and still be the same length as the other side in the braid. Glue this down on the back of the head.
Working back add a few more of these longer pieces until most of the top is covered but there is still a hole in the back. Do not glue down the last piece that sweep across the back. Fill in the hole in the back with some shorter pieces and then glue that last sweeping piece over their ends.
Braid or twist the lengths you have swept to the front using a little glue to hold them together. Trim to an even length. Glue in place.
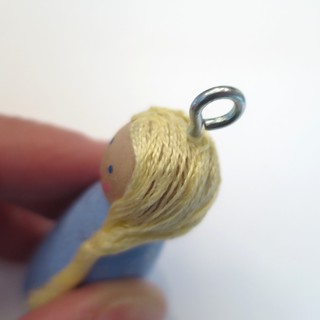
4. Screw the eye screw into the top of the fairy’s head for hanging. I find it is easier to get in if I make a hole for it first with a hammer and small nail.
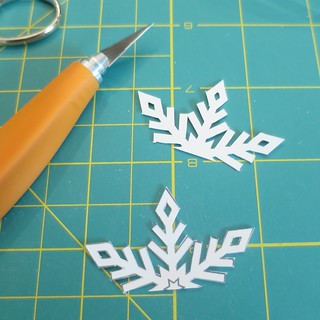
5. Draw or print out a snowflake on the cardstock. You want it to be just slightly shorter than your fairy.
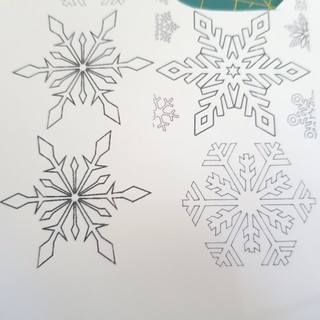
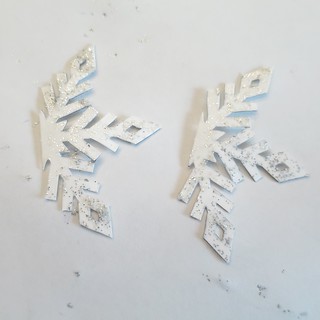
Cut it out. An exacto knife worked best for getting all the little cuts. Cut the snowflake in half to make two wings.
Paint the snowflake wings with the silver glitter and let dry.
Glue into place on the back to the fairy.
The black line on the edge of the snowflake didn’t bother me because no one will see it when it is hanging, but if they do bother you, you could paint them white.
© 2005 – 2015 Kathy Lewinski & Susan Cornish


2 Comments to Advent Calendar Project ’15 – Week 9