


Every Friday for the twenty-four weeks leading up to December 1st, we will be making a handmade Christmas ornament. Follow along and make them all or pick and chose your favorites.
I think I must have a thing for owl Christmas ornaments, this is the forth one I’ve done.
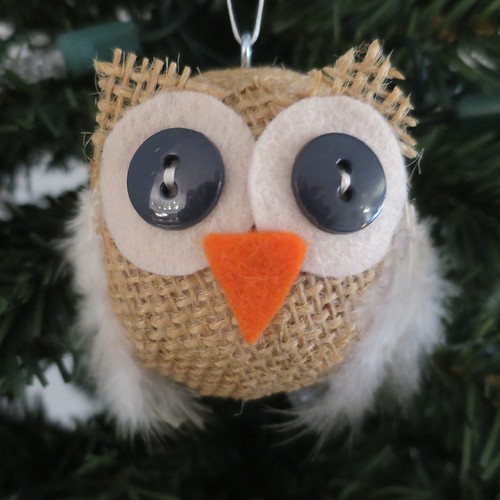
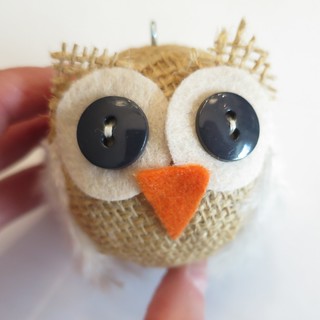
This little guy is so sweet and a little rustic thanks to the burlap. I like to think of him as burlap patchwork since I use pieces of burlap to cover the ball. Other than burlap being a little messy, this is a super easy ornament to make.
Burlap Owl Ornament
Supplies:
- styrofoam ball, mine was 2.5″
- glue for styrofoam, I use Hold the Foam
- scissors
- four small feathers
- tan or white felt
- 1/2″ black buttons
- thread to match felt
- hand sewing needle
- orange felt
- small screw eye
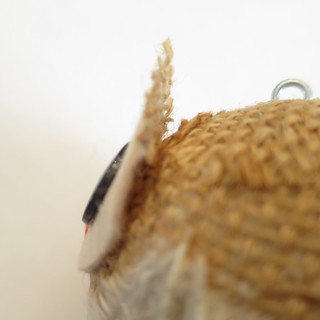
1. Cut pieces of burlap and glue them on the styrofoam ball, overlapping, until the whole thing is covered. I like to use round or oval pieces as they sit on the ball nicer. Make sure to glue the edges so they don’t fray. Let dry.
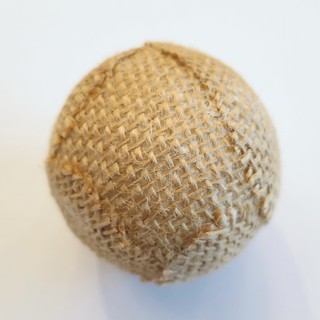
It is important to use glue for styrofoam as most other glues just won’t stick.
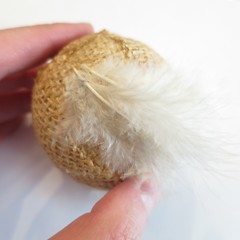
2. Glue two small feather on either side of the ball for wings. I had to trim my feathers a bit to make them the right length. I also bent the spine of the feathers to give them a curve to hug the ball.

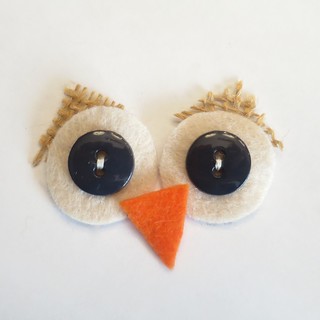
3. Prepare the pieces for the face. Cut two circles from the tan felt, I used a 1″ spool of thread as a pattern for mine. Sew the buttons in the center of these circles (or you can have your owl looking in a direction by sewing them off-center). Cut a triangle for the beak from the orange felt, round off the two top corners a little. (I did that after the picture below.) Cut two triangles from the burlap just big enough to go behind the eyes. If you want, you can put a little glue on the edges of these to keep them from fraying.
4. Glue on the face. I pinned the pieces in place first so I knew where I wanted everything. For the eyes, just glue behind the button leaving the felt edges unglued. Then glue the felt triangles to the upper back of the eyes, so they stick up and away from the ball a little.
5. Put some foam glue on the end of the screw eye and insert it into the top of the owl for hanging.
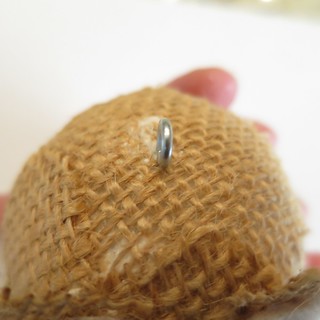
Put a ribbon or hook through the screw eye and hang.
© 2005 – 2015 Kathy Lewinski & Susan Cornish


One Comment to Advent Calendar Project ’15 – Week 4